Posted on

A Wild Lunch by the Shore

Welcome to the second part of my recent foraging experience. Last week’s post is called ‘Wild Food on Arran’ if you haven’t had the chance to read it yet:

https://staging.thebritishcrafthouse.co.uk/tag/sweet-thorn/

This is an account of a wild food workshop on Arran, led by Zoë from Wild Food Arran.

If you haven’t read my previous post I will just reiterate that this isn’t intended as an identifying blog, as I’ve only been foraging once. 100% certainty is what’s needed when snacking on wild foods. I am confident with a very few edible plants, such as blackberries and nettles. This post is more about the experience my friends and I had of a foraging workshop, where we were shown what we could eat and gathered small amounts for lunch. There are links to Zoë’s website and blog below if you want to know more about identifying edible plants.


pussy willow and gorse


After picking sorrel and nibbling at gorse flowers and blackberry leaf shoots, most of our foraging was done. We did see wild garlic leaves, but there were only a few plants growing, which would make harvesting the leaves unsustainable.


Another plant we tasted but didn’t harvest was scurvy grass. I’d never heard of it before but it was quite unusual. It took a minute for the taste to kick in and then there was a sort of mustardy/wasabi hit, which we hadn’t expected. As a decent source of Vitamin C, and so a preventative for scurvy, this would have been eaten more often in the past than it is now – and it’s one of the plants that suggests how our palates have changed. The food we eat these days is more likely to be sweet than bitter or wholly savoury, and this became clearer when we ate lunch.


nettles


Our final harvesting stop was nettles – a very useful plant for foraging as there are usually an abundance of them all over the place. And an excellent plant for beginner foragers as they are so familiar. Many of us can quickly recognise nettles, if only because we prefer to keep our distance.


Despite the effective defence system, nettles can be neutralised and eaten safely. The young leaves are best for eating before the flowers and seed heads appear. Cooking the leaves very thoroughly takes away the sting. We also tried the slightly more adventurous tactic of rolling the leaves up with sorrel to crush the stings so that we could eat them raw. We pinched and flattened our leafy parcels very firmly indeed, just to be sure! The nettles had a savoury green leaf sort of taste which the lemony sorrel made a bit more lively.


By the end of the first hour we had a good collection of leaves and shoots, as well as a full bag of litter. We set up lunch camp at a picnic table and Zoë set out some tasty foraged extras while the soup simmered away. I have to say, if I can come across crab apples at any point they make a very tasty whisky. We sampled two of Zoë’s recipes – crab apple and also a blackberry whisky. They were both really excellent ways to flavour whisky. The bramble one was rich and fruity, while the tang of crab apple complemented the warmth of the alcohol very well.


hedgerow whiskies and sea kelp salt


The photo shows the two whiskies, and a dried kelp seasoning (kelp, sea salt and a mix of seeds) which we used on our soup.


While the nettles slowly lost their sting (Zoë doing intrepid taste tests every now and again), we enjoyed sourdough bread with wild garlic butter. It was as delicious as it sounds, and so nice to have fresh herbs in the butter. It was interesting to think that the colour and taste both came from just the leaves. I’m used to making garlic butter from crushed up cloves and herbs, but wild garlic butter is an excellent reason to experiment with growing ramsons at home.


collage photo: wild food soup with bladderwrack pods. Wild garlic butter on sourdough bread. 

You have all waited patiently to get to this point! In time the soup was ready and you can see from the photo how fresh and appetising it looked. I’ve always been curious about what bladderwrack tastes like, so the first thing I did was crunch on a juicy pod. I had always thought that the little bladders were full of air, but they actually have a sort of gel inside them, which gives them a lot more substance. They were very satisfying to eat, as were the little spears of knotweed, which had a more lemony zest once they were cooked. 


The fascinating thing about the soup was how unfamiliar the tastes and textures were. The nettles, sea radish and sorrel wilted down like kale or spinach, while the seaweeds stayed robust with a bit of crunch. The savoury flavours were delicious and also very rich and filling. Eating foraged foods gives you some idea of how our palates have changed over time – we’ve become far less familiar with native vegetation as we rely on it so rarely now. The bitter and savoury tastes emphasised how our diet is a lot sweeter these days – it’s not often that we eat foods which are totally unsweetened.


It turns out that there are a lot of things to consider when eating unfamiliar foods. Soup is a very useful introduction to wild foods because it can combine a variety of plants and only needs a small amount of each. Zoë had previously made careful checks about allergies for our group, but she also pointed out that unknown allergies can occasionally surface. As a result, it is best only to eat a small amount of anything new to mitigate the possibility of severe reactions.


collage photo: a sliced sponge cake decorated with small pink flowers. A single slice of a gluten free version of the cake.                     


Look how splendid this cake is – and thank you to Zoë for allowing me to use the photo from your Instagram feed. The slice on its own was a gluten and dairy free version, as Zoë makes this experience as accessible as possible by catering for a variety of diets. She also provided a dairy free alternative to the garlic butter.


This fabulous cake was the final touch to our meal. The gorgeous little pink flowers are from flowering currant and apparently have more flavour than the currants themselves. The sponge was soaked in a rich syrup flavoured with fir needles – it tasted like the scent from the forest floor in autumn. Again, the more unusual tastes made us think how sweet and similar so many of our cakes and puddings can be. This cake would definitely add a new dynamic to any tea shop or bakery.


Thank you for following my foraging walk. I really enjoy learning more about my surroundings, so that I can gradually put more names to wildflowers and plants. This was a really interesting step towards recognising plants that I see all the time and have heard about, but couldn’t identify reliably. I am not yet planning to forage much beyond the plants I am already very familiar with, but I have been practising identifying plants so that I can become more confident about what I’m looking at. I would definitely attend more workshops like this one, to reinforce my knowledge and find out more.


For anyone who plans to visit Arran, or who lives near enough to consider it, Zoë’s foraging trips are well worth attending – lots of interesting knowledge, without being overwhelming, with delicious results and wonderful scenery as well.

If you’d like to know more, here are Zoë’s web pages again, and Wild Food Arran can be found
on Facebook and Instagram.
https://www.wildfoodarran.com/

https://www.wildfoodarran.com/blog

Posted on

Wild Food on Arran

I’ve got lots to talk about in this post, so you maybe want to have a cuppa handy first! In fact, this experience was so epic, this is a blog post of two halves, and there will be a second instalment on its way next week.


I recently went on a foraging trip with friends, led by Zoë from Wild Food Arran. You can explore her website
and social media accounts here:

https://www.wildfoodarran.com/   

https://www.wildfoodarran.com/blog

https://www.instagram.com/wildfoodarran/

https://www.facebook.com/WildFoodArran

Zoe from Wild Food Arran

Our foraging workshop took place on the coast, at Brodick, five minutes from where the ferry gets in. It’s easy to imagine a trek through fields and woodland – but we collected the ingredients for our lunch across a very short distance. And it was fascinating to discover how much variety there was in such a small pocket of land – more than we could learn in one hour.


I will just say that I have been somewhat vague about the plants I wasn’t already familiar with. I’m not a forager, so this post isn’t intended to clearly identify all of the plants we harvested, some of which could be confused with toxic plants. Zoë’s Instagram and blog pages will give more informed descriptions of some of the things we found, and safe methods of identification. 


Apart from recognising blackberries or nettles and wild garlic, I don’t tend to try and identify edible plants myself as I don’t know enough to eliminate poisonous lookalikes. It was interesting to hear how subtle identification can be – mushrooms require skilled knowledge, and so do the umbellifer flowers of the carrot family. I am enjoying learning the differences between umbellifers for the purposes of embroidery, but the difference in flowers or leaves is not thorough enough to be safe for foraging. I always find myself looking in the hedgerow telling myself, “Ooh, cow parsley (well, possibly fennel, possibly hemlock, don’t know really)”. That’s why I just take photos and save tasting for blackberries…

Foragers make a point of emphasising that we should never eat anything unless we are 100% certain that we recognise it as safe. Poisoning is largely down to mis-identification, so it’s important to know which features indicate edible plants, and which will tell you something is poisonous. Again, Zoë’s pages will point you in a better direction than I can.


seaweed on the rocks at Brodick beach


Starting on the beach, Zoë showed us seawort – a familiar-looking plant, but I didn’t know its name, or that it tasted something like cucumber. Similarly, looking at the seaweed, I could recognise bladderwrack, but not channelled wrack or spiral wrack. Until we looked more closely it was hard to realise that there were several different types of seaweed growing all together. I also didn’t appreciate that seaweed is a type of algae, which I tend to associate with the slimy, cloudy green clumps found in ponds and lakes, rather than with robust organic forms.


channelled, spiral and bladderwrack


It’s important to only harvest living seaweed, rather than detached pieces that have been decomposing. This means snipping pieces off here and there, rather than pulling any seaweed free from the rocks. It is particularly important not to cause damage to organisms while foraging, or to over-harvest them so that they cannot recover quickly.


Moving a little inland we came across large leafy clumps of sea radish. Zoë harvested these leaves very carefully, because they were growing quite near to hemlock water dropwort, which is extremely deadly. All the harvesting was also done within thickets, a little beyond the more open areas where dogs may have been.


The sea radish did have a recognisably radishy bite, and provided a good handful of large leaves for a soup. Then a little further on was one of the biggest surprises of the day. Although a horribly invasive and generally unpopular plant, young Japanese knotweed shoots are good to eat. Like three-cornered leeks, which are also invasive, this is a plant that foragers can collect as much of as they like. This can benefit native plants in the area which struggle against such aggressive competition.


We harvested the shoots we could find, as well as picking up any litter we came across. This is another important facet of foraging etiquette – a way of appreciating nature by helping to protect it. Most of the young knotweed shoots were collected for lunch, but we also tried them raw. They had a tang which was quite similar to rhubarb.


Just beyond the knotweed we saw little clusters of plantain. We didn’t eat this, but the juice from the leaves is even better at relieving nettle stings than dock leaves. Incidentally, the plants that looked somewhat dock-ish to me were actually wild horseradish. This plant is also safe, but I wouldn’t have known that without Zoë identifying it. You can see what foragers mean about being 100% certain – it’s really not the sort of thing that’s safe for educated guesses!


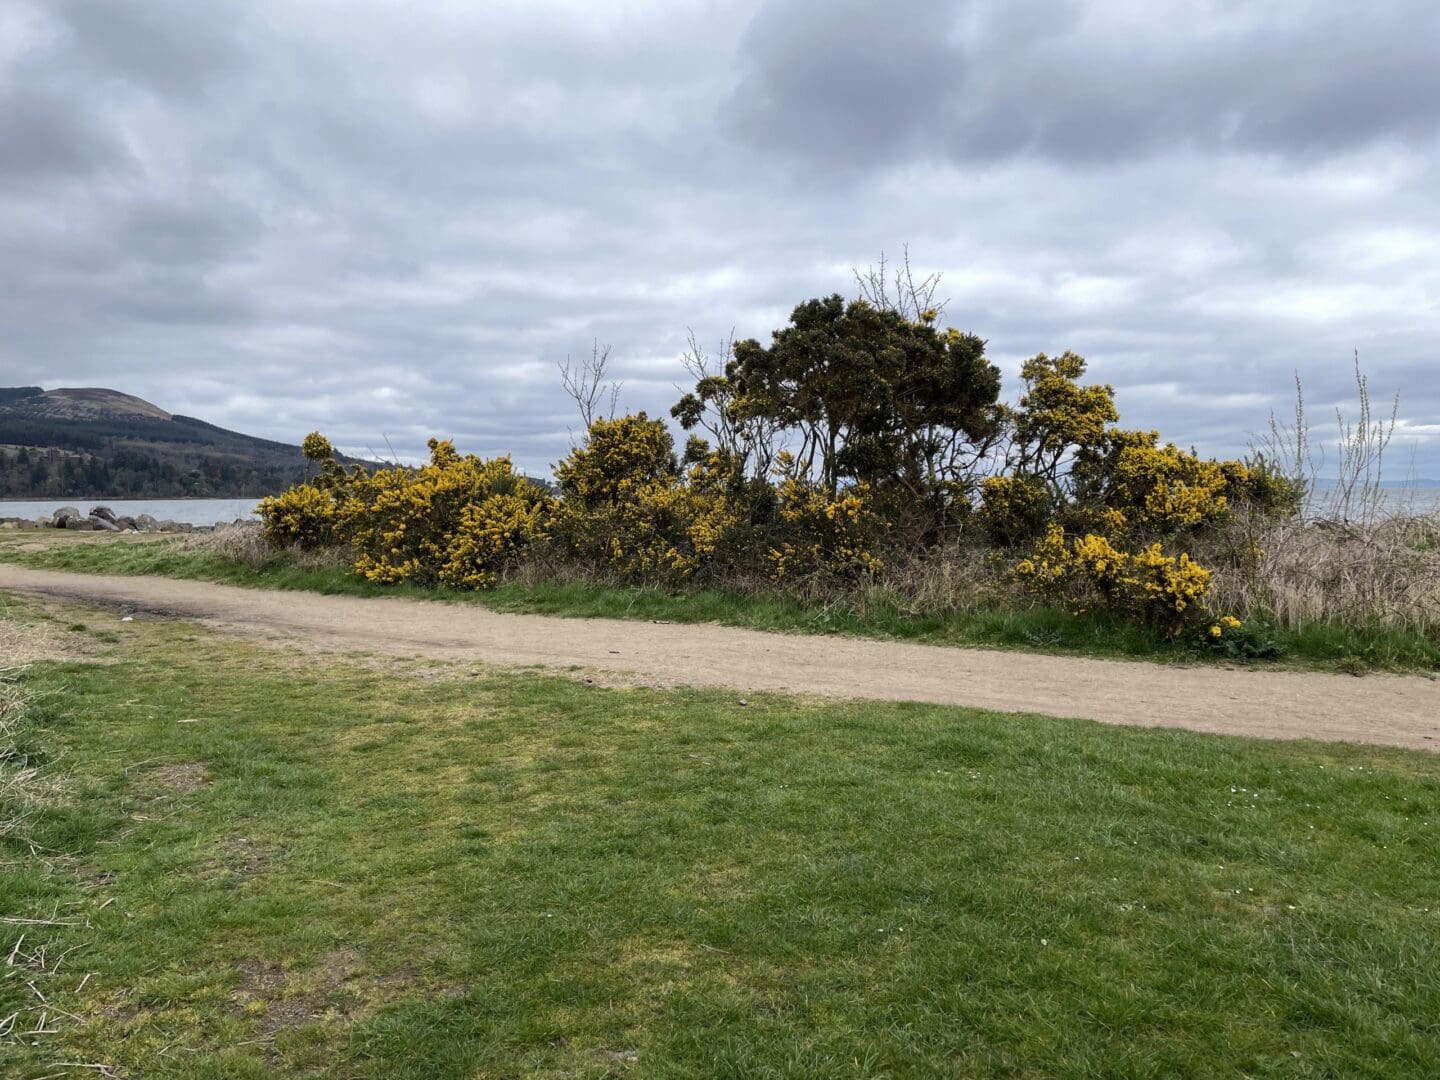
gorse up close 


Only a few steps on and we found three different edible plants almost on top of each other. Behind thickets of gorse and a few brambly tangles, there were clumps of sorrel on the ground. The leaves tasted of apple peel – always a lovely thing to eat – but with an extra tang like lemon. We collected a good handful of these.


We were confident about identifying blackberry plants and gorse, but we had no idea that gorse flowers were edible (though not suitable for pregnant women), and that young blackberry leaves and buds can be eaten or used to make tea.


On a very sunny day, gorse flowers can taste of coconut. On this occasion they had a strong coconut scent (new to me – usually I think of vanilla), but there wasn’t much taste in the petals. The blackberry leaves were mostly leafy and musty, with a faint blackberry taste at the end. I probably won’t eat many blackberry leaves, but I’m waiting for summer to try the gorse again to see if that coconut taste comes out. 


Thank you for accompanying me so far – keep an eye out for the second half of this experience next week!

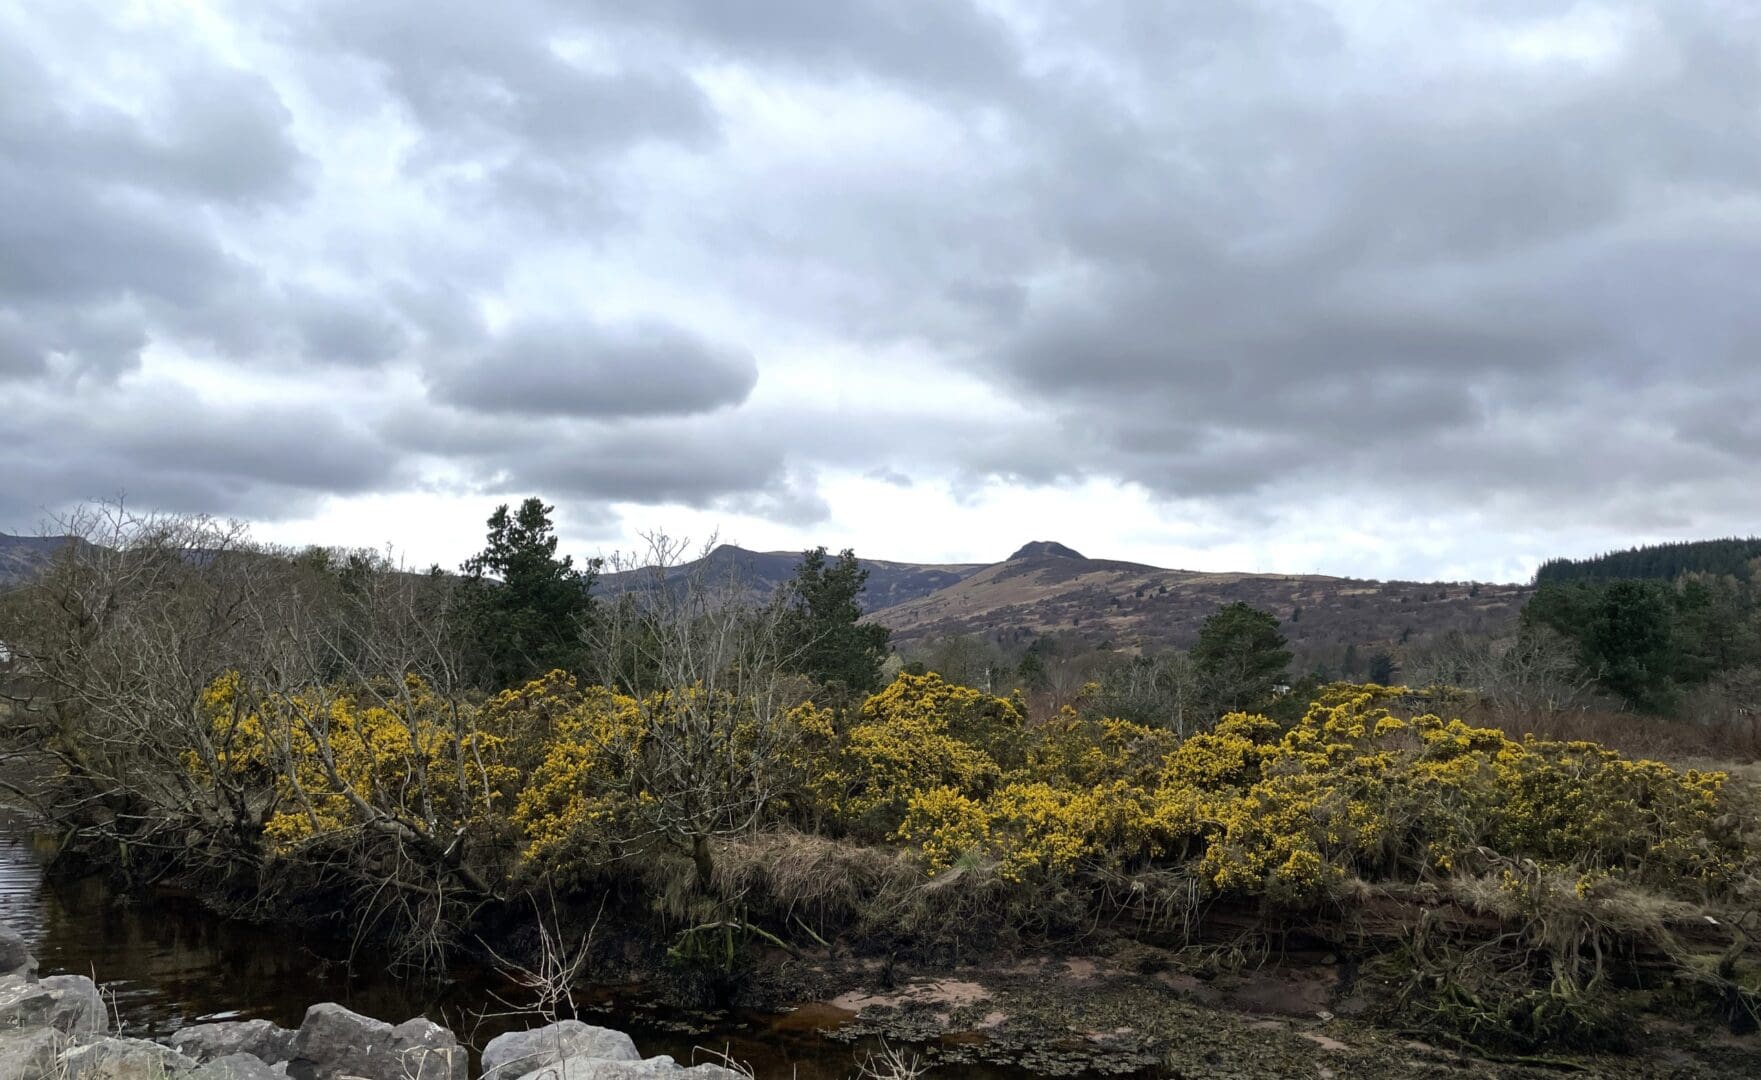
pussy willow and gorse at Brodick


Posted on

Snippety Moments

December is here and it’s brought its to do list. For all that I love having lists any month of the year, December is the one that gets most strictly tamed with tasks and blocks of time. With Christmas prep added to all the everyday routines, I need to chip away systematically at writing cards, buying and wrapping presents and organising food. This doesn’t mean everything is happening in a smooth and clockwork sort of way (it gets to a running around with hair on fire stage eventually), but I usually know what’s done and what still needs to be done.

In one of my social media posts for this blog I mentioned that these posts give me a nudge to remember to notice details around me. And it gives me a place to write down what I’ve observed, so that I can collect a little parcel of moments together and then take a look at what I’ve got. A bit like filling your pockets on a walk, then taking all the contents out and seeing what you’ve got at the end of it.


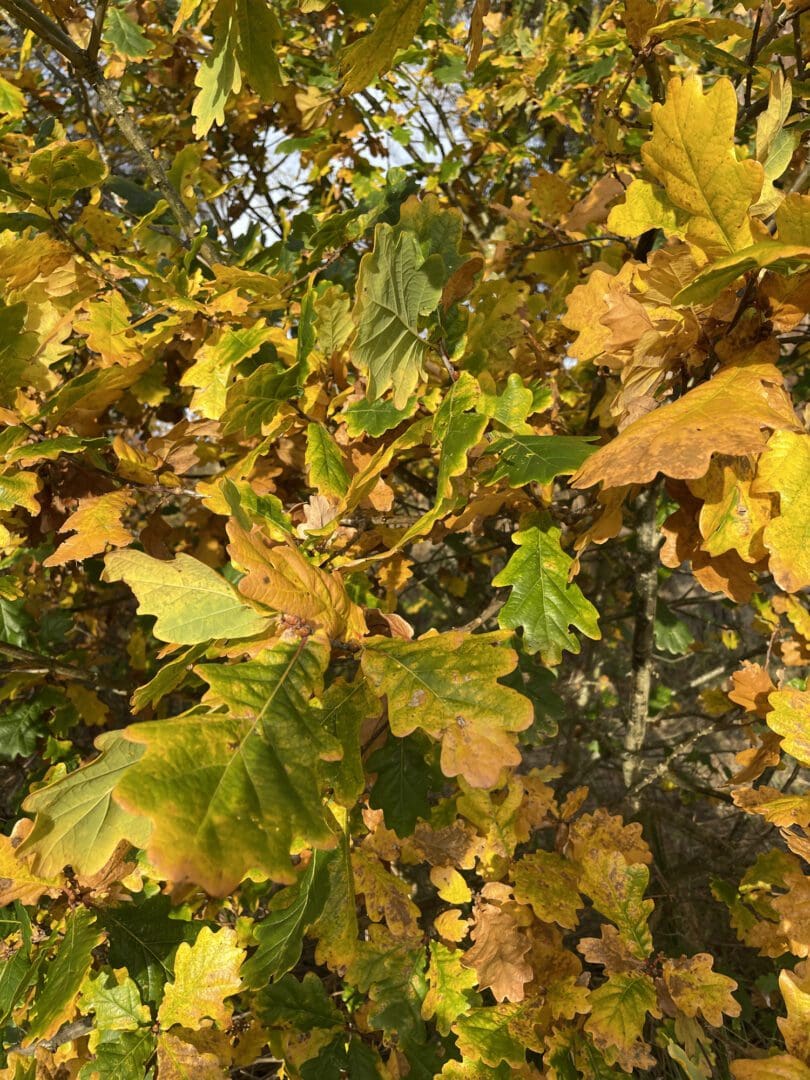
Yellow and green oak leaves 


Throughout the week this is definitely a more snippety kind of exercise. Heading to the shops or the post I notice the golden light and the colour of the trees in the early morning, and the extra nip in the air. There’s a vivid mix of colours around still – evergreens contrast with golden yellow and orange leaves – while other
trees are wintry and bare.


On the way down the hill, I can see the jewelled red berries of woody nightshade. A few weeks ago most of them were still unripe, green and firm. Now there is a scarlet glow of juicy clusters – enticing for the birds if poisonous for almost anyone else.
 

At home there are often birds in the garden – the sparrows have been using a shallow plant saucer for a bird bath all summer. We’ve been stopping every now and then to watch them splashing and fussing. The sparrows have been chattering all year, but there’s a blackbird as well. I caught sight of him the other day, looking well-fed and ready for winter.


On damp and milder days, the garden still smells warm and earthy. More autumn than winter still. I
am reminded of the very summery February we had some years back, when I could go out without a coat and there were dozens of ladybirds in the hedgerows. It’s both pleasant and unsettling because the seasons are definitely a bit off.


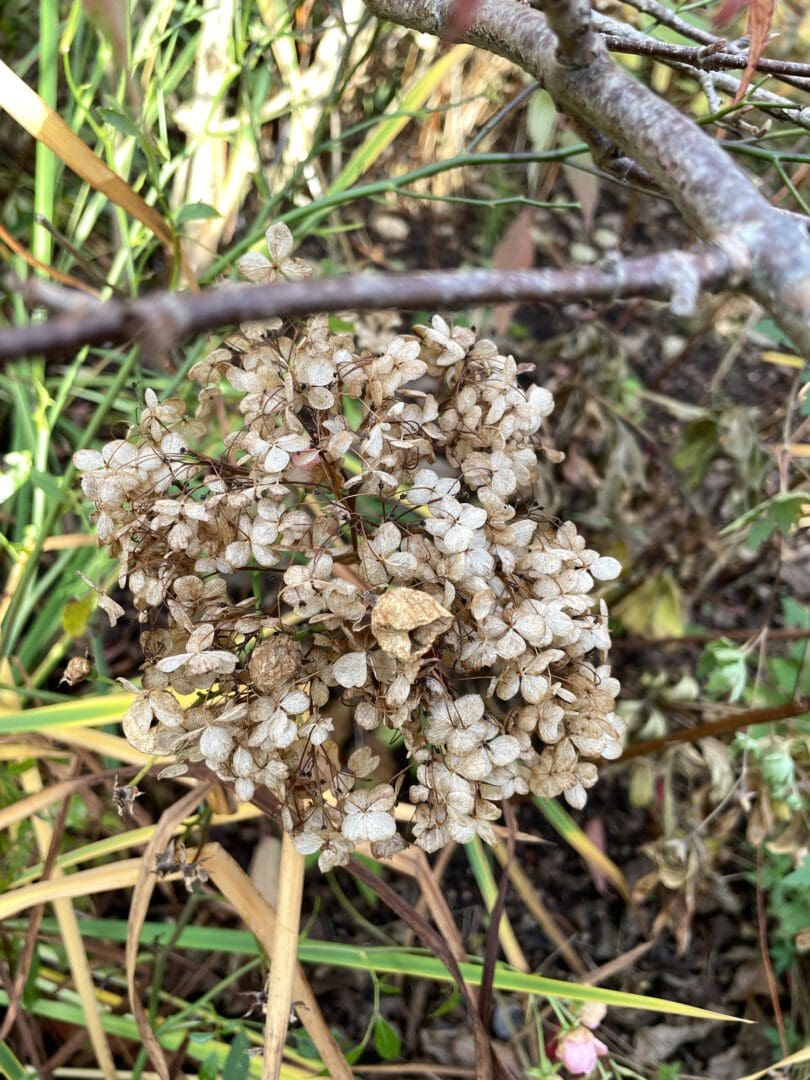
Dried hydrangea flower head


Snippety moments through the week help to lift the days above the to do lists, if briefly. Weekends are best of course for having more time to get out and look around. The photos in today’s post were all taken at Dumfries House, which has beautiful grounds and a really splendid walled garden. It is interesting at any time of year and the autumn colours were looking delightful in November.


Wherever we go, I try to get photos of flowers and trees. Looking through the pictures afterwards is another way of emptying my pockets out to see what I have – I’m always sifting through to see what might spark an idea for a project.


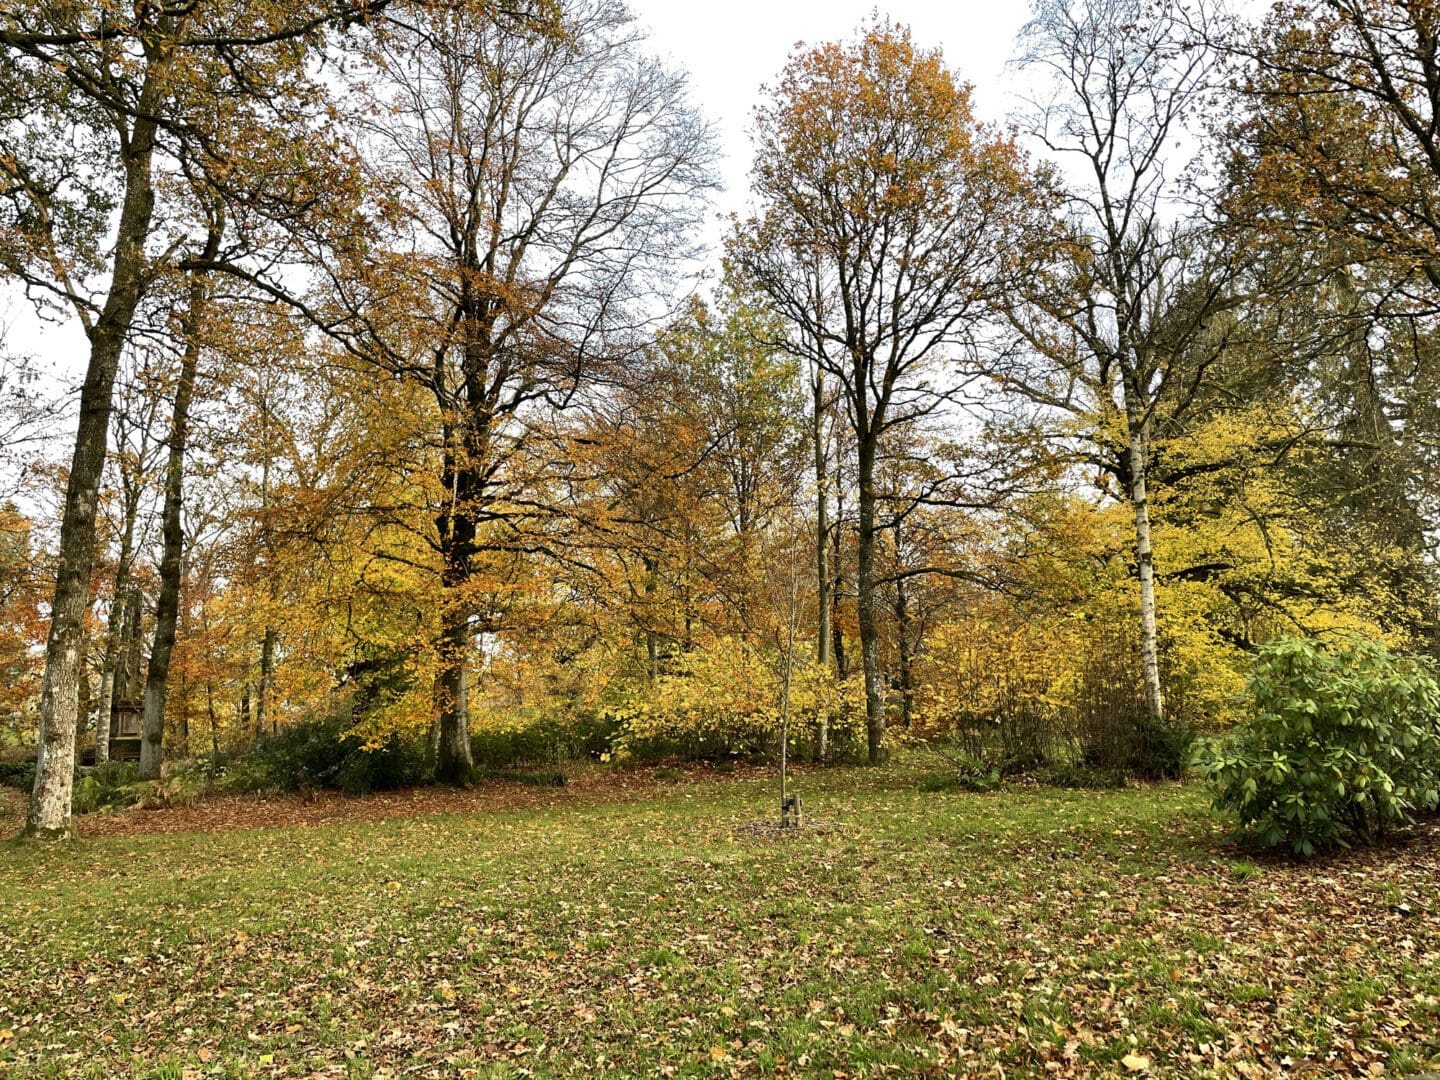
Golden trees in late autumn


At this time of year, my thoughts are already leapfrogging Christmas to think of spring designs. I’m thinking of the details I love most in the early spring, when everything has been dormant for so long, and then there are flowers again. This year that’s a little topsy turvy, as our primroses are still in flower! The spring bulbs are already making an appearance too, so we will see what January brings…

Posted on

Getting Started with Blackwork

After dreamily reading through lists of many embroidery techniques and researching some of the styles I’ve seen in museums, the first style I’m going to explore more closely is blackwork. The rest of the schedule is not set in stone but I have plenty of ideas to be going on with.


My last blog post has a bit more about my long term plans for a deep dive into embroidery: https://staging.thebritishcrafthouse.co.uk/ginkgo-leaf-embroidery/


Blackwork is an ideal place to start as the techniques involved are very simple. Some of the most commonly used stitches are: back stitch, double running stitch (Holbein stitch), chain stitch and stem stitch. Many blackwork designs can be done entirely in back stitch (hooray, that’s an easy one!).


The reference I’m using for stitches and patterns is Becky Hogg’s excellent book on blackwork, published by the Royal School of Needlework:

https://royal-needlework.org.uk/product/rsn-essential-stitch-guides-blackwork/


The book has an interesting summary of the history of blackwork and its uses. For example the double running stitch – which creates the same design on both sides of the fabric – is also known as Holbein stitch because it appears in so many of Hans Holbein the Younger’s portraits. This in itself indicates what a popular type of decoration it was in the sixteenth century, at least among royalty and the aristocracy who could afford richly embroidered clothes.  


Following Becky’s advice in the book, I bought some white 32 count evenweave linen and some tapestry needles. I’m using a size 24 needle and a single strand of DMC black embroidery floss (310).


I’m stitching each design in a 2” x 2” square – large enough to give me an idea of the design but small enough so that I have time to stitch quite a few different styles.


I started by stitching the small diamond pattern in back stitch. One of the pleasing things about blackwork is that even simple designs look striking, so that any design is interesting to stitch.

  Black lines embroidered diagonally     Small diamond shapes created by crossing embroidered diagonal lines.     Reverse of small diamond embroidery pattern

At first I started by working the whole diamond shape but then realised that I didn’t need to do anything so fiddly. I used a similar technique to cross-stitch, running the stitches diagonally one way and then the other. At the end I followed along the rows adding the tiny notch at the top of each diamond.

Completed blackwork design: small diamond pattern. Interlocking diamonds, each with a tiny notch at the top.

After finishing the piece I discovered another method, where the top halves of the diamonds are stitched in staggered rows. The next row down completes the row above, which is also very efficient. This is one of the advantages of blackwork – different methods can produce the same results.


One of the challenges is counting the spaces accurately so that the whole pattern is even. Some designs are simpler than others but the 32 count linen is very finely woven, so I have to keep my wits about me. It’s not compulsory to stitch the design so small – I just love the fiddly delicacy of tiny patterns. I didn’t quite get some of the edges right on the small diamonds, but noticing where I make mistakes is all part of the experience.


Having tackled one fairly basic pattern I was itching to get going on something more demanding. This open lace design is suitably thrilling and beautiful. It is also being worked in back stitch.

 One line of open lace blackwork      A 2 inch square half stitched with a blackwork open lace design      A two inch square of white linen nearly covered in blackwork open lace.

Crucially, this design doesn’t allow for a repetitive system of stitching, like the small diamonds. There isn’t a specific way to work the pattern, which means I need to stitch a little more mindfully. The main thing is to keep the stitching within small areas. If the black thread reaches too far across the linen at the back of the design, it will probably be visible on the front. So I need to think about my stitching as I go, to avoid stranding myself in a spot where I need to cross a large gap. If needed I can secure that section and start again somewhere else, but it would be a slow process if I had to do that too often.


This attention to detail can make my eyes (and head) feel tired, but I can also get into a rhythm. Once I had enough of the lace design stitched, it gave me reference points to continue in the same way.


As I have quite a few patterns I want to try out, I’m working on several different pieces now. At the moment I’ve got an enjoyable balance between watching a detailed pattern develop and having a simpler design on hand as well for when my brain wants something easier to follow.  

A few lines of triangular darning stitch

This procession of triangles is done in straight stitch and the design is called triangular darning. It’s one of the patterns which allows for areas to be filled more densely. The combination of darning stitches with more open patterns can be very effective.


Thank you for reading this far – there was quite a lot to talk about. I am planning to stitch a variety of blackwork patterns and create a couple of different sampler displays from them. I will post another update in a month. You can also follow my progress on my YouTube channel:

https://www.youtube.com/channel/UCjEFsCMObyKooe-GRP6jucw

Posted on

Ginkgo Leaf Embroidery

After surprising you all with an actual embroidery project in my last posts, I am continuing with this stitchy theme for now. As far as spare time allows, I am planning a variety of projects so that I can explore different embroidery styles and techniques.


Very pleasingly, there are so many sorts of embroidery to learn about. I have an idea about the first few projects but I don’t know where all these ideas will finally take me. I have a vague notion about trying out a variety of styles and then focusing more on my favourites. That’s the sort of project which will take years and it will be interesting to see what develops as I go along.


I have made some lovely long lists of various embroidery styles and I have some idea of what to explore first. I’m planning to keep things relatively simple for now and move on to more complex techniques and designs over time. As with any art, embroidery designs cover a range of complexity and the simplest designs can be as striking as the most detailed ones.


My first mini project was an exercise in design as well as technique. I enlarged one of my own ginkgo leaf designs and had a bit of a play with colour.

Embroidered veins of half a ginkgo leaf in a variety of green shades and autumn colours.

The veins are in stem stitch. You can see that I made a note of the colours I was using by adding a small key at the side. I wanted to mix these colours up to see how they worked together. To save time on making the next colour choice every time I finished a vein, I wrote down a pattern which spread the colours out across the design.

Embroidered veins of a ginkgo leaf in a variety of green shades and autumn colours. Central section filled with long and short stitch in green.

I stitched the central part of the leaf in more natural colours, to get some practise with filling stitches. This is definitely an area I need to concentrate on more at some point. I am always trying to improve how neatly the stitches sit together. As far as colour goes I was just winging it. I tried to add some subtle highlights to the dominant moss green. When I look at needle painting more closely I will have the time to consider how to use embroidery thread for shading and for variety. The technique of shading similar colours together subtly is a delicate skill. The next step seems even more complex –  judging how different colours work together to create a more nuanced idea of shading, and how to work in accents of contrasting colours so that they complement the design and don’t clash.


To add a bit of texture and stitch variety, I edged the leaf in whipped backstitch and trailed the stem. I like the smooth raised effect of trailing. Another name for this technique is satin couching, but it has several different names. I still need to work on this stitch to create a consistently smooth result. It is a really effective way to highlight details.

Embroidered ginkgo leaf with a raised outline and stem. Veins stitched in green shades and autumn colours

The final task is to wash away the fabric marker and mount the embroidery on card to start the embroidery portfolio that I’m planning. If you’re following me on Instagram no doubt you will see the finished product soon.


In the meantime I am already stitching away into my next project. All being well, I should have another blog post ready soon and you can see what kind of a start I’ve made.


If you want to explore embroidery styles and stitches, the Royal School of Needlework have provided a very pleasing rabbit hole: https://rsnstitchbank.org/technique


The instructions are gorgeously clear, with photos, graphic and videos. I have several of their beautiful books, but I am sure that this page will be a valuable resource as I explore more types of embroidery.

Posted on

Finishing the Flying Acorn

My last flying acorn post ended when the easiest stitching tasks had been completed and I was getting ready to tackle the tricky curves of the oak leaves. Not the most riveting cliffhanger (embroidery is yet to establish itself as an extreme sport), but I definitely faffed a bit getting to grips with it. It always takes a bit of extra effort to get started on something when you know the end result will be imperfect. But the challenge of it is the spur that keeps the project going.


(If you’re coming in cold to this second half of the project and the context seems to be missing, here’s the first part: https://staging.thebritishcrafthouse.co.uk/flying-acorns/)


Applique acorn with two grey and green oak leaves.


My hand appliqué techniques could do with some finessing. Most of the time I coaxed the fabric into turning underneath. I pinned and tacked everything mercilessly so that it would hold in place until I could stitch it more subtly. There was the expected amount of fraying and fiddliness, but I more or less wrestled the leaves into submission.


It would have taken me a lot more time to get a neater result, although that’s something worth trying when I have the time to do and redo. In the spirit of done is better than perfect, I was quite happy with my efforts. And I covered up some of the issues with more couching…


Once the leaves were stitched, it was time think about decoration. I’d been waiting for this point to see what ideas occurred to me. Lou’s blog mentions beads and metallic threads so I’d been turning over some thoughts in that direction.


I spent a bit of time doodling designs on a bunch of oak leaf outlines, to see what suited the shapes. Curves and swoops seemed the way to go. It was an easy decision to use one of my favourite doodle patterns for the right hand leaf. A delicate scroll design, backstitched in a silvery thread, gave a pretty suggestion of filigree. Another time I would have whipped the backstitch to create a smoother line, but time didn’t allow. I’ll need to create some more projects that allow me to play around with that sort of design as I find it so pleasingly pretty.


For the left hand leaf I got out a stash of fabric scraps and cut out some paisley swirls to highlight the curves of the oak leaf. I tacked them down and secured them with embroidered outlines, plundering my Embroidery Stitch Bible (link below) for stitch inspiration.


Close up of oak leaf with paisley applique shapes. Each paisley shape outlined in a different embroidery stitch: Pekinese, heavy chain, feather, herringbone, fern and French knots.


This style of textile art is new to me. I wanted decorations that had some variety and allowed for creative play, but which were simple enough to be stitched quite quickly. I like my golden highlight on the acorn – a teeny bit of bling and easy to stitch.


The final step was to add some beads, to chime with Lou Gardiner’s flair for mixed media creations. It was easy to decide on a random-ish scatter of silver beads among the scrolling threads. The left hand leaf had me thinking a bit more – I was tempted to create something a little more elaborate. But I didn’t want the beading to outweigh the rest of the decoration, so I went with my scatter plan for both leaves.


I am pleased with the final result. It’s always satisfying to complete a project in any case, and this one felt like a bit of an unknown quantity until everything was stitched in place. This piece had such obvious stages – from felt padding to appliqué, followed by embroidery and beading. I wanted each stage to enhance the project and not spoil the work that had already been done. I still have plenty to learn and refine in terms of hand appliqué, textile design and mixed media embellishments, but I like this piece as an introduction to those techniques.


As per the brief, I have also composed a hand written letter, ready to send to the Acorn Team at Marchmont House with the hoop. It will be on its way shortly. Keep an eye on my Instagram account – or, more importantly, Lou Gardiner’s – and I will give a shout out when the exhibition appears.


Thanks for reading, I hope you enjoyed following my progress. My next blog will be about the next stage in my stitchy plans. I have a list of projects as long as several arms, which I’m hoping will develop and refine my embroidery skills over time.


If you would like to see the video journal I have created for my embroidery projects, the YouTube link is also below:

Sweet Thorn’s embroidery chats on YouTube: https://www.youtube.com/watch?v=h2WHepz224A&list=PL5GoJm8wxHjSfwVkBbOvzUC8IbWjirYGp


Lou Gardiner:https://www.instagram.com/lou_gardiner_embroidery/

Sweet Thorn: https://www.instagram.com/sweetthorn.embroidery/


The Embroidery Stitch Bible (Betty Barnden): https://royal-needlework.org.uk/product/the-embroidery-stitch-bible/

Posted on — Leave a comment

Flying Acorns

Nearly a year into this blog and I have some embroidery content to talk about. If necessary, now is the time to pick yourself up off the floor…


But I always wanted embroidery chat to evolve naturally in this blog. I didn’t particularly want to replicate my social media posts and newsletters, where I talk about work in progress and the finished results. I have taken this blog off at a tangent and talked a lot about connecting with sights and sounds in nature, much of which inspires my embroidery work. 


Now I have some embroidery projects developing which are largely separate from what I’m selling in my online shops. They are slow projects, and I’m using them to learn more about embroidery techniques and designs. All being well, I will have a lot to talk about here.


Today’s post is about a collaborative project that I’ve joined: Lou Gardiner’s Flying Acorn Army, an exhibition inspired by and hosted at Marchmont House in the Scottish Borders. Hundreds of people have already submitted embroidered acorns to accompany Lou’s very fabulous Cape of Creative Courage.


You can read about how this project started on Lou’s blog and follow its progress on herInstagram account:

https://www.lougardiner.co.uk/blog.php 

https://www.instagram.com/lou_gardiner_embroidery/


When this project was initially announced last year, I didn’t have enough spare time to work on an acorn piece. But the deadline has been extended to the end of August and I’ve had more time over the summer to get stuck into my own interpretation of Lou’s design.


This first stage was put together according to the guidance on Lou’s blog. A sheer fabric mounted in a hoop, with the inner hoop bound to keep the muslin in place.


Felt acorn with two green felt oak leaves.


Lou provided templates for the acorns and instructions on how to build up layers of felt padding to provide a foundation for stumpwork.


Applique acorn with two  green oak leaves.


I chose a variety of fabrics to layer over the felt. As you can see, on the left I opted for a top layer of felt too. Whipstitching the padding to the hoop turned out to be pleasingly neat, and felt is so forgiving and doesn’t fray. So I chose to use an extra layer and kept that section tidy at least.


Applique acorn with two  green oak leaves.


I began with the least challenging fabrics, on the whole. I am not practised at hand applique, so I started with fabrics that I could stitch straight onto the muslin, without turning the edge of the fabric. The felt was easy to whipstitch. I then used a buttonhole stitch to secure the acorn cup, to prevent the tweed (oh gorgeous barleycorn!) from fraying. Similarly, I couched the edge of the second leaf – laying down 6 strands of silvery-grey DMC floss and securing it with 4 strands of one of my favourite green shades (which is 3051 in case you’re interested).


I chose an easy target for the first attempt at applique and tried out hidden whipstitch for the cotton part of the acorn. The curve was indeed tricky. I am pleased with how it turned out but it gave me a lot to think about in terms of capturing wiggly oak leaves. 


I’ll be back in August to show you how the rest of the applique went, and hopefully to show you the finished piece all decorated and ready to send. Thanks for reading!

Posted on

A Concert of Birdsong

I have another woodland walk to share with you. This time I’m going to try something a bit different as I take you along. Rather than describing this walk, I can give you an idea of what it sounded like. There was a constant soundtrack of birdsong throughout the walk, giving me plenty of opportunities to stop and video snippets of melodies as I went. 


I have to apologise straight off, as I can’t identify most of the birds I heard, but this really didn’t prevent me from enjoying the continual chorus through the day. It was fun to recognise the odd call here and there. I was particularly pleased to hear the occasional pheasant, as I’ve only just learned what they sound like.


If anyone knows which birds they can hear, do please leave a comment as it would be so interesting to find out.   


bare trees in green woodland

https://www.youtube.com/shorts/MSIU2oAf_CA


The first songs were recorded as I walked through cultivated marshland. There were paths and boardwalks tracing their way through a wooded area, past reedy beds. The area felt more enclosed among the trees, so the sound of the birds was very distinct.


tree with curving trunks against blue sky

https://www.youtube.com/shorts/1LiLmhyTPT4


After the marsh area, the path opened out to fields and hills, with more people walking around. The birds were continually singing but, as the trees were further away, the birdsong merged with people chatting, dogs barking and lakeside splashing.


When the path started winding through woodland again, I could stop beneath trees, or go and sit in one for a while, and listen to the birds directly above.


pine tree and bare trees

https://www.youtube.com/shorts/URgQD4MyUPc


I hadn’t expected to take so many videos when I started out. I had originally planned to find quiet and peopleless spots in the woods where I could record two or three videos. As I was intentionally listening out for the birds, however, the constant singing stood out through the whole afternoon. I just kept my camera handy and took videos every five minutes or so. In places where the bird calls were loud and distinct, or really varied, I videoed the songs for about a minute, in case I didn’t get such a good chance further along.


greenery on the woodland floor

https://www.youtube.com/shorts/qDqd5Z49kn8


This was the pattern of the afternoon and I ended up with 15 videos of birdsong, and also a handful of water videos as well.


ivy covered trees in woodland

https://www.youtube.com/shorts/pmk3ZgS2E3g


I was enjoying the bird concert so much, I continued to take videos as I walked home. I chose a different route back and the woods were alive with birdcalls through the late afternoon.


bare trees against blue sky

https://www.youtube.com/shorts/JFC2YR4HMTE


When I got back to the more built up areas I could still hear the birds – now getting into their evensong routine. There were still plenty of trees around and the birds were just as vocal here, above the noise of traffic and people, as they had been in the woods.


ivy covered trees and wild garlic in woodland

https://www.youtube.com/shorts/RHduNOEyvV8


Thank you for joining me on my musical wander. As well as these shorts, I am adding longer videos on TikTok. Some of them are already up and I will be adding more videos over the next week, so do head over and check them out.

https://www.tiktok.com/@sweetthornembroidery


Posted on — Leave a comment

Waiting for Spring

Spring flowers are the most beautiful overture to the garden reawakening and welcoming the sun with a rush of blooms and greenery. There are other flowers that I love to see arriving later in the year such as cherry and apple blossoms, poppies and irises. But there is always a thrill at seeing the first flowers of the year breaking through gloomy winter and making the cold days less bleak.


Year by year a little more gets added to our garden and I’m gradually building up a display of early spring flowers. A friend of mine, whose back garden will be a riot of crocuses now, mentioned that she planted bulbs every year and this seems like the best plan to me. Some flowers appear regularly, like the snowdrops in the back garden, and others are more intermittent, like our daffodils. Sometimes flowers die off of course – we used to have a lovely primrose, and I’m not sure that the cowslip will come back this year. So there are always gaps to fill here and there.

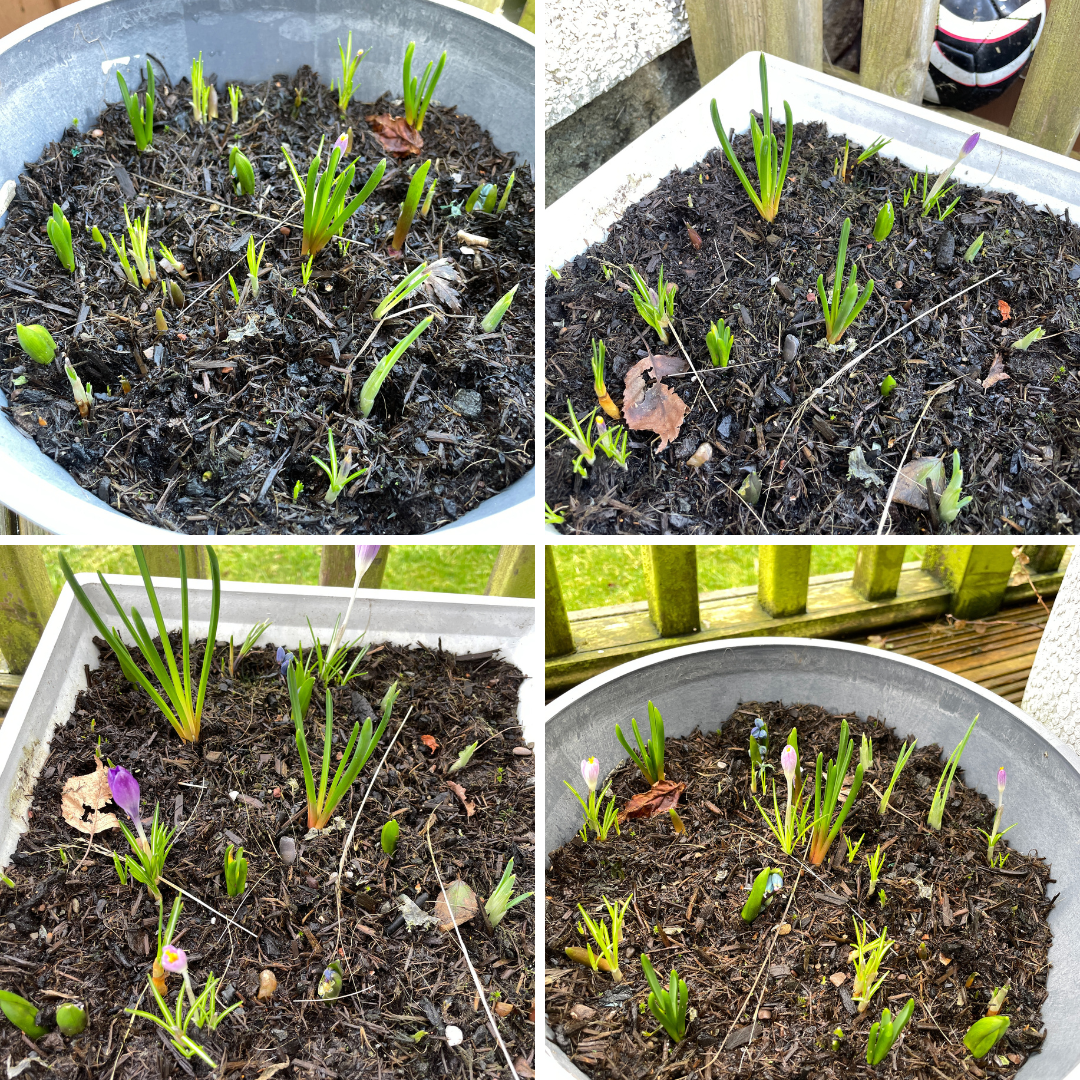
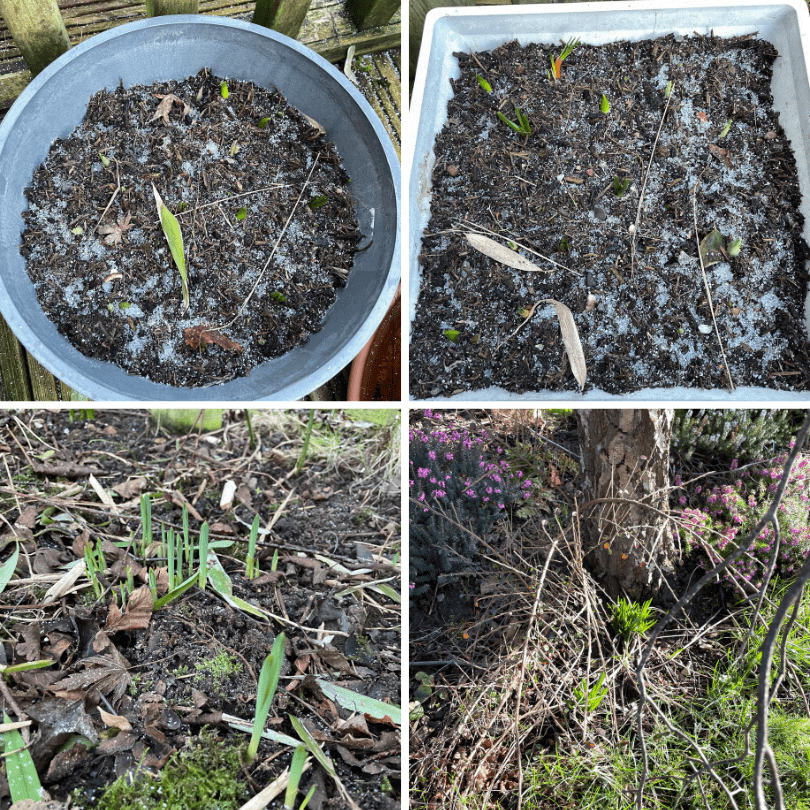
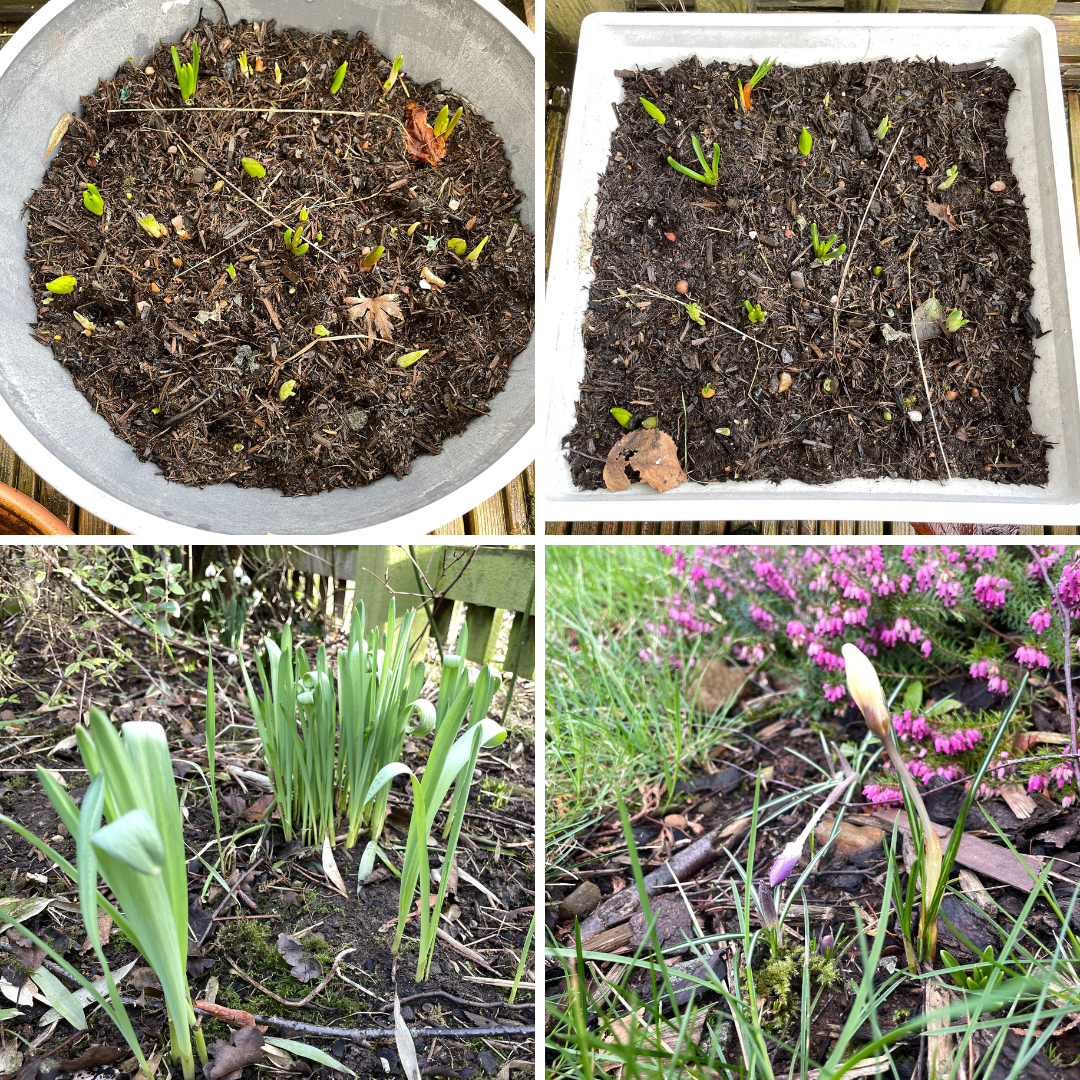
Collage photo of early crocuses amd bulb shoots

Sometimes I only have one or two packets to plant, last year I had quite a few. I added more crocuses because they will look so wonderful when I’ve finally created little carpets of them. I also bought flowers I’ve not had before – muscari, chionodoxa luciliae, scilla siberica and (swoon) dwarf irises. I’ve dotted them around the flower beds in the front and back gardens. I only have daffodils in the lawn, but crocuses look spectacular growing out of the grass so I’ll have to give that a go sometime. It’s easiest with early flowers as the grass won’t be getting cut for a while yet.

Collage photo of containers with new bulb shoots

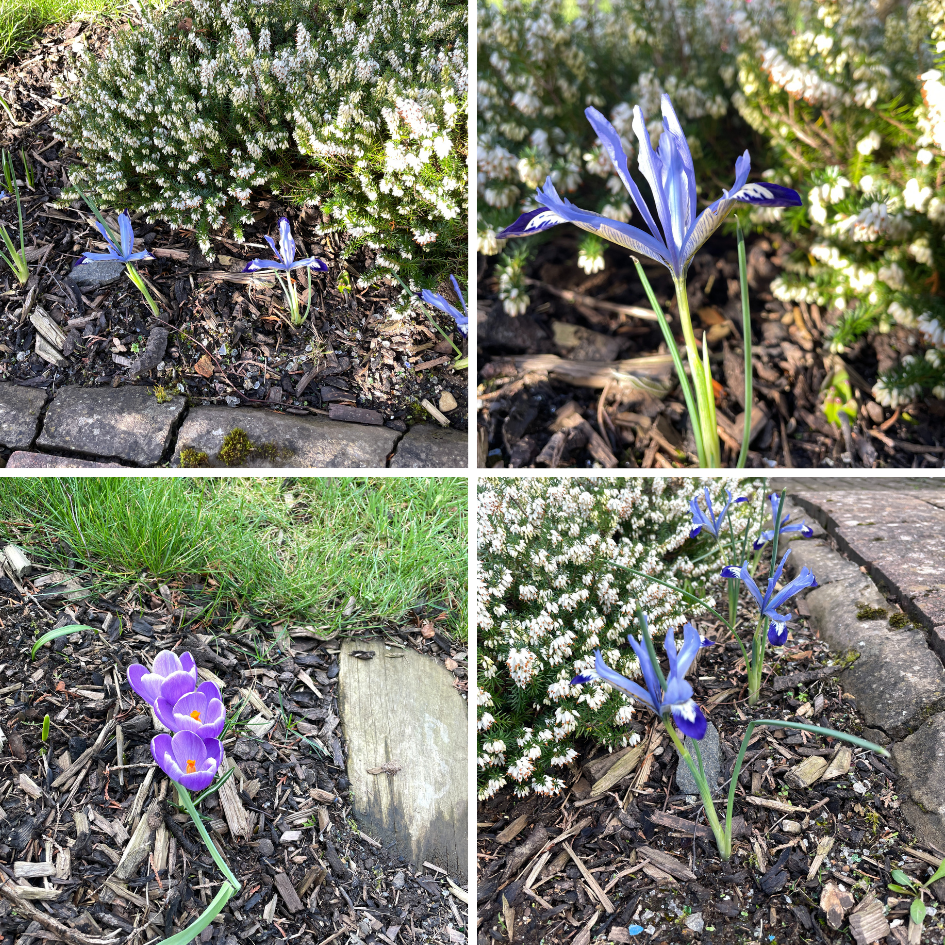
This is the first year I’ve had bulbs planted up in containers. It’s lovely having a colourful display in the front garden, but we have a better view on the back garden. The containers sit just outside the back door, where I can enjoy them every day. The dwarf irises have come up best in the front garden though – it’s a sunnier spot, so they look all stately and glorious. They’re the first irises I’ve been able to encourage to grow and it’s a treat to finally have some in the garden.

Collage photo of dark blue dwarf irises and purple crocuses

I think Monty Don from Gardeners’ World plants out container bulbs to his lawns and meadows a year or two after the first flowering. This definitely sounds like an interesting rotation plan to try out. It’s been useful learning from other people so that I can have a plan of what I’m doing. Addressing different garden tasks through the year has been a learning curve since we had a garden. We’re busiest in spring and autumn when weeding, planting, pruning and frost coverings are the main activities. The momentum often falls away in summer due to holidays and different routines. If it’s not too British a summer, we make a point of watering the garden and taking a look round every so often. The biggest task for me is maintenance – making sure that the plants are healthy and thriving through the year, and get enough attention.

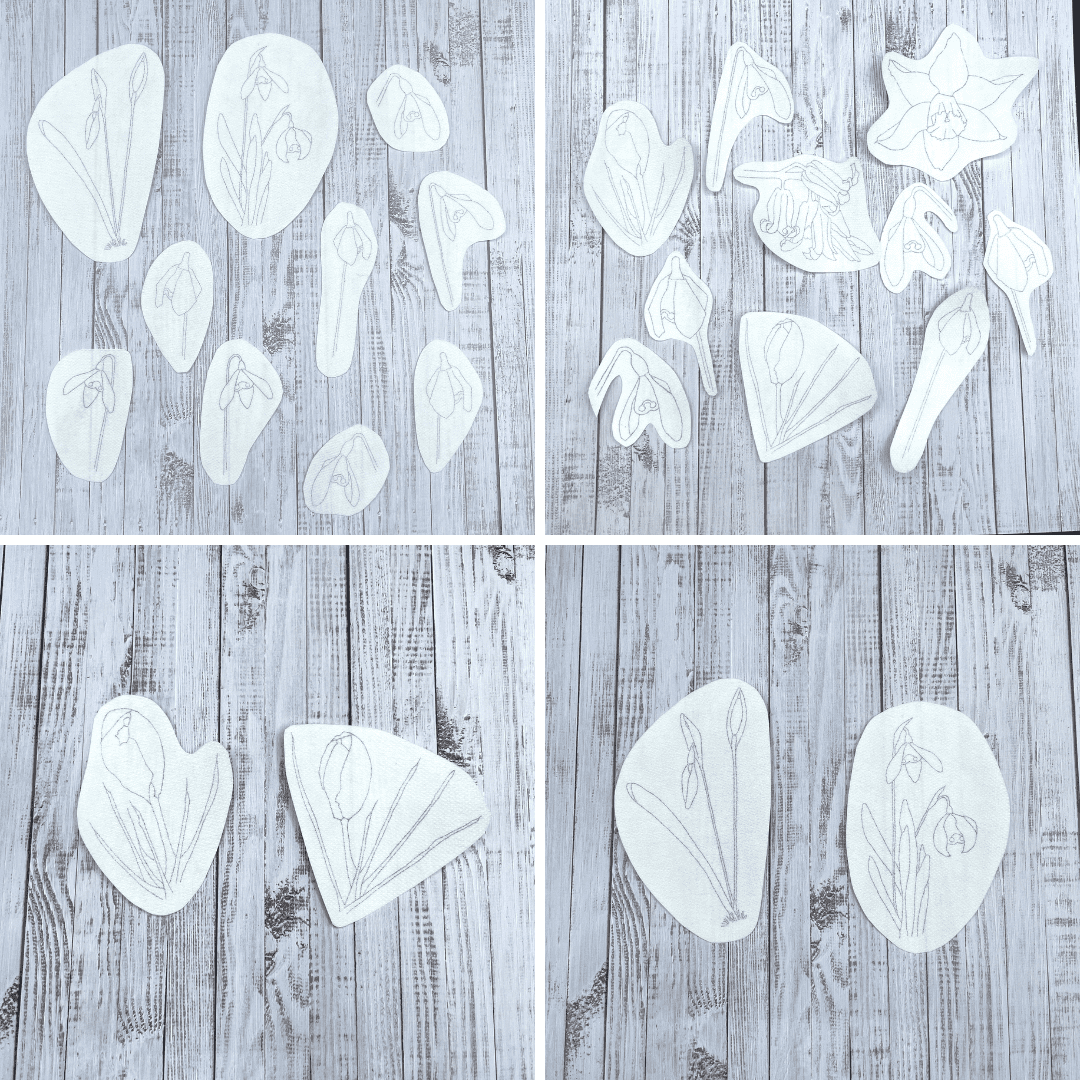
 Collage photo of spring flower embroidery designs

Given the season, early spring flowers were the natural choice for my first stick and stitch embroidery designs. I got particularly carried away with the snowdrops. These sketches are developed from my photos of spring flowers, most of them from my garden in the past few years. Naturally I am already planning designs for next year based on the new additions that are flowering now. I’m also working on more meadowy themes for the summer and I hope to have a kit or two released later in the year – I’ll keep you posted. In the meantime, although you won’t see these designs in my British Craft House shop, you will find them at TBCH’s spinoff site Buy Indie, where I’ve got a Sweet Thorn corner too:


https://buyindie.co.uk/product/stick-and-stitch-spring-flower-embroidery-patterns-2/


Thanks for reading, have a lovely March!


Posted on — Leave a comment

A Walk in the Rain

A wet winter’s day along a puddled track. The footpath leads away from the river, bordered with hedgerows and fields either side. Earlier in the year the fields sounded of sheep bleating, mouthfuls of grass torn with a rip, and the rapid, dull thud of alarmed sheep bounding away from passing walkers.


A few sheep remain outside at the end of the year. They sit quiet and huddled under hawthorn hedges, dark shapes through a mist of rain.


Apart from the traffic beyond the fields, the most insistent noise is the familiar drumming of raindrops on the umbrella. A private acoustic performance aimed at me, beneath, listening within the seclusion of my little domed roof.


After travelling away from the river I turn left and meet it once again, crossing over a high bridge. The rain slants through the water, creating chains of ripples that crash into each other, perpetually active.


Over the bridge, a sidetrack leads towards woodland and the raindrops are caught before they reach me, their sound changing to a patter on tree leaves. Fog blanks out much of the landscape, but there are pheasants silhouetted under an oak tree in a neighbouring field. Their colours are indistinct today, but the familiar
shape of angular heads look like cutouts against the grey backdrop, while long flicks of tails bob and sweep through the rain.


The path becomes increasingly waterlogged. As the sludgy muddy track peters out, the footpath continues through grassland. Marshy puddles bubble through reeds wherever I step, and there are small pockets of flooding. At first I can walk through them, but eventually I am crammed to the side of the path, crouching
through leafless shrubs and small trees, whose whippy branches allow me through.


Eventually the path descends towards the lake where it dissolves into the water. A short way beyond this point stands a newly made island – a wooden bench. The lake has crept past its boundaries and merged the landscapes of land and water. The blanket of fog encircles and shrinks the landscape to a stretch of water edged with the dark spiky tangle of a winter forest.