Posted on

Packaging my Suncatchers

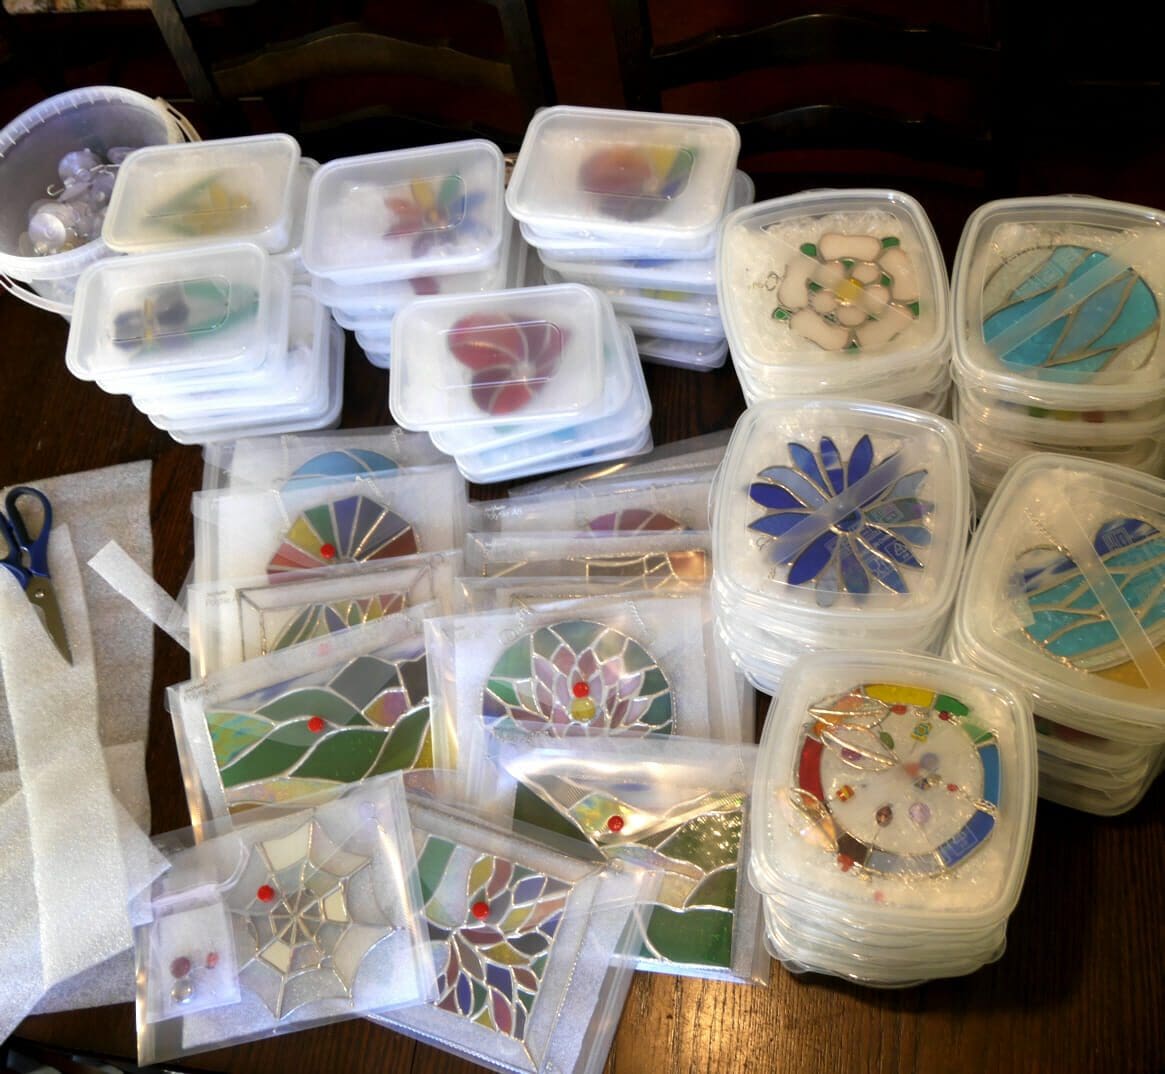
I have three types of ‘container’ dependent absolutely on the size of the suncatcher.

      1.   Small Suncatchers


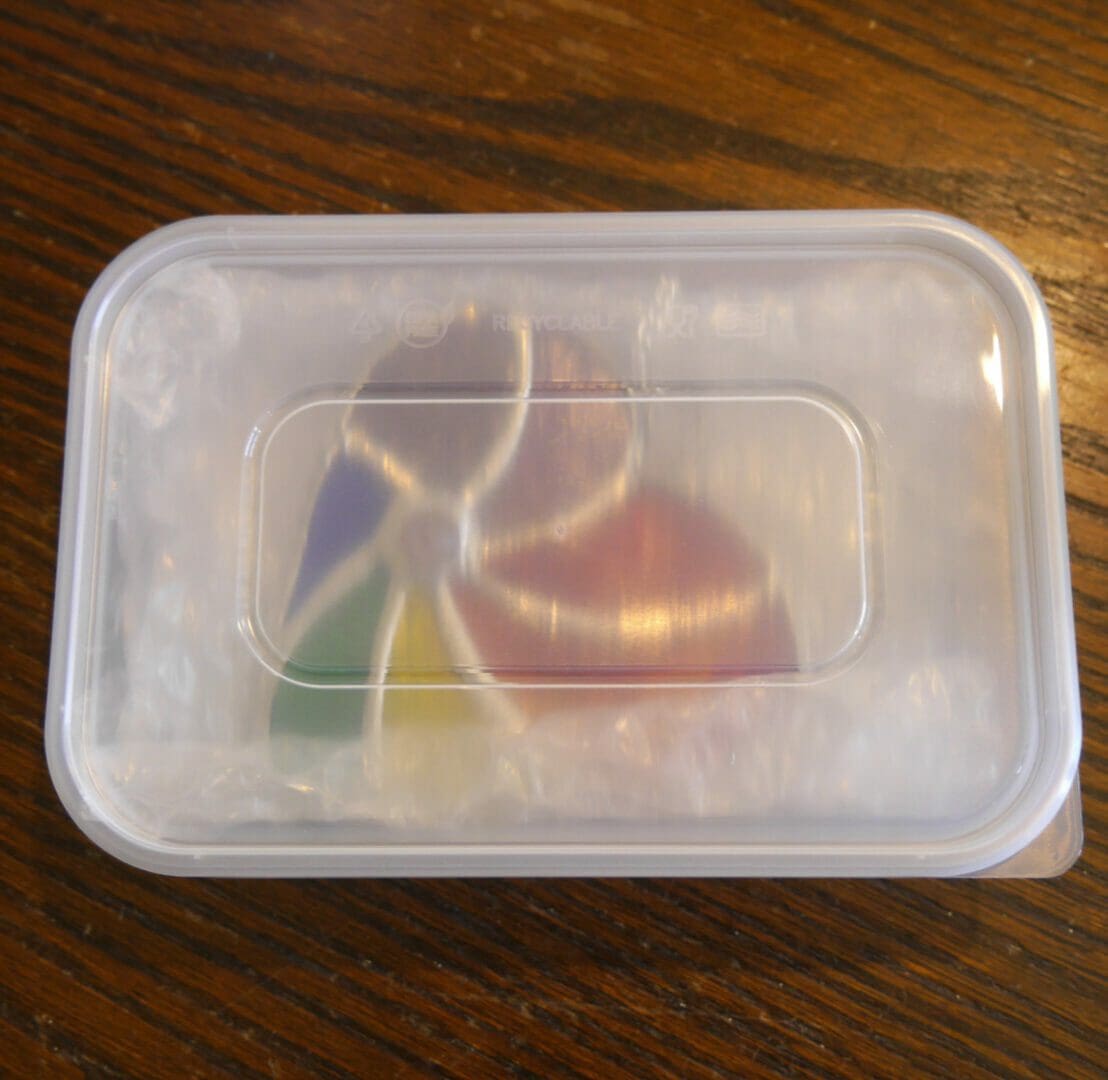
These are stored in my microwave lidded containers, like those used for your
Chinese takeaway. I buy them new of course (250 at a time) as I wouldn’t want your
suncatcher to arrive lightly smelling of sweet and sour pork 
J

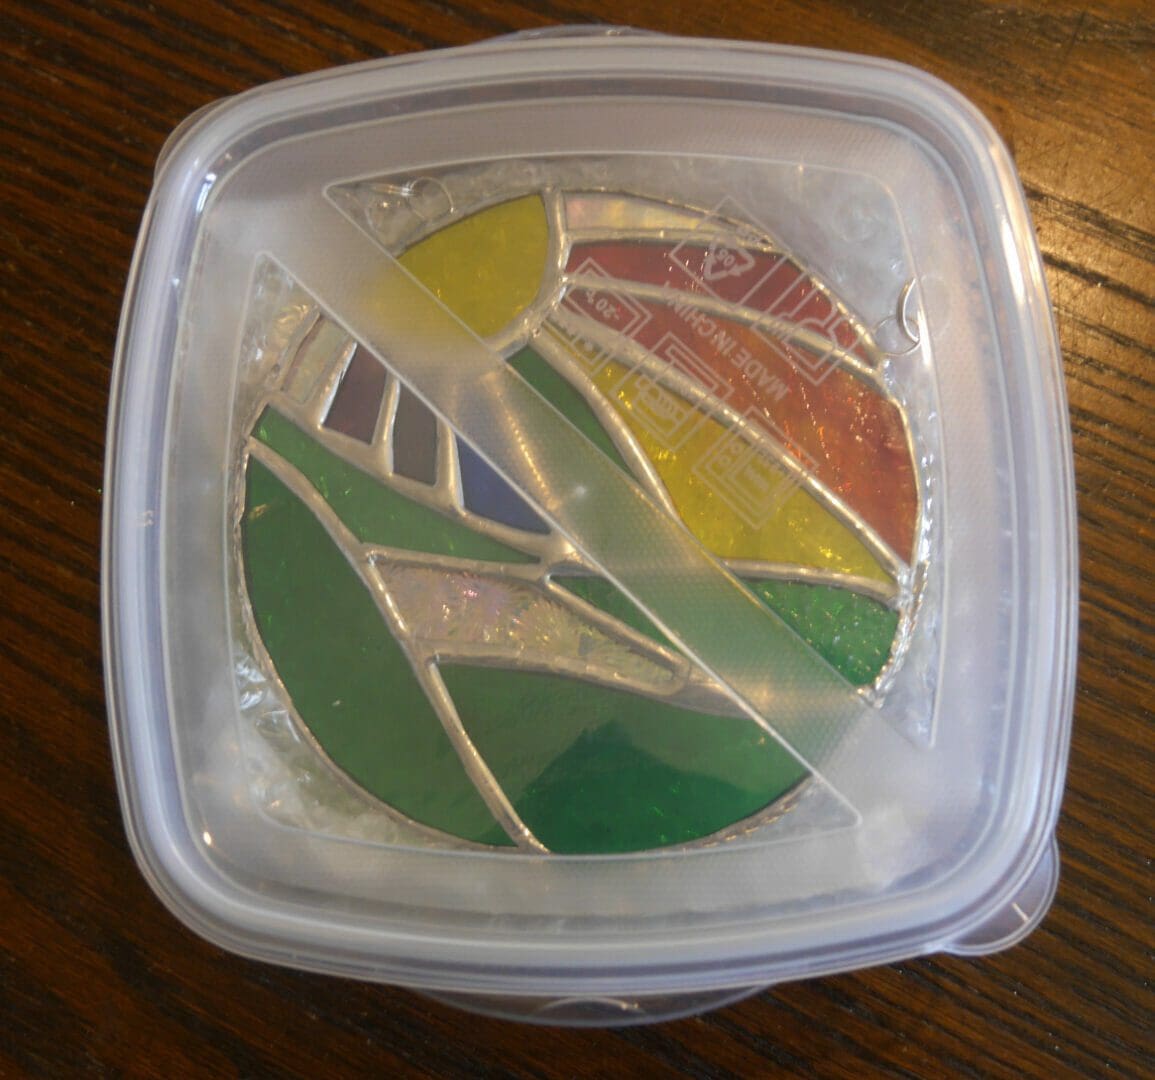
I put a strong suction hook in the bottom, then a length of small bubblewrap
padding, the suncatcher carefully on top and then the lid. Job done.

      Packed like this I can see what is in each box when I need to find the
      suncatchers which have been ordered in my storage crates and they will sit safe,
      dry and warm inside their box. 

      When it comes to post it out all I need to do is wrap the bubble wrap round the
       suncatcher, put the suction hook and my business card on top, lid on and then
       pop it into a padded envelope for posting.

      And the customer can use the container for storage so it’s a win win.
2.  Medium Suncatchers
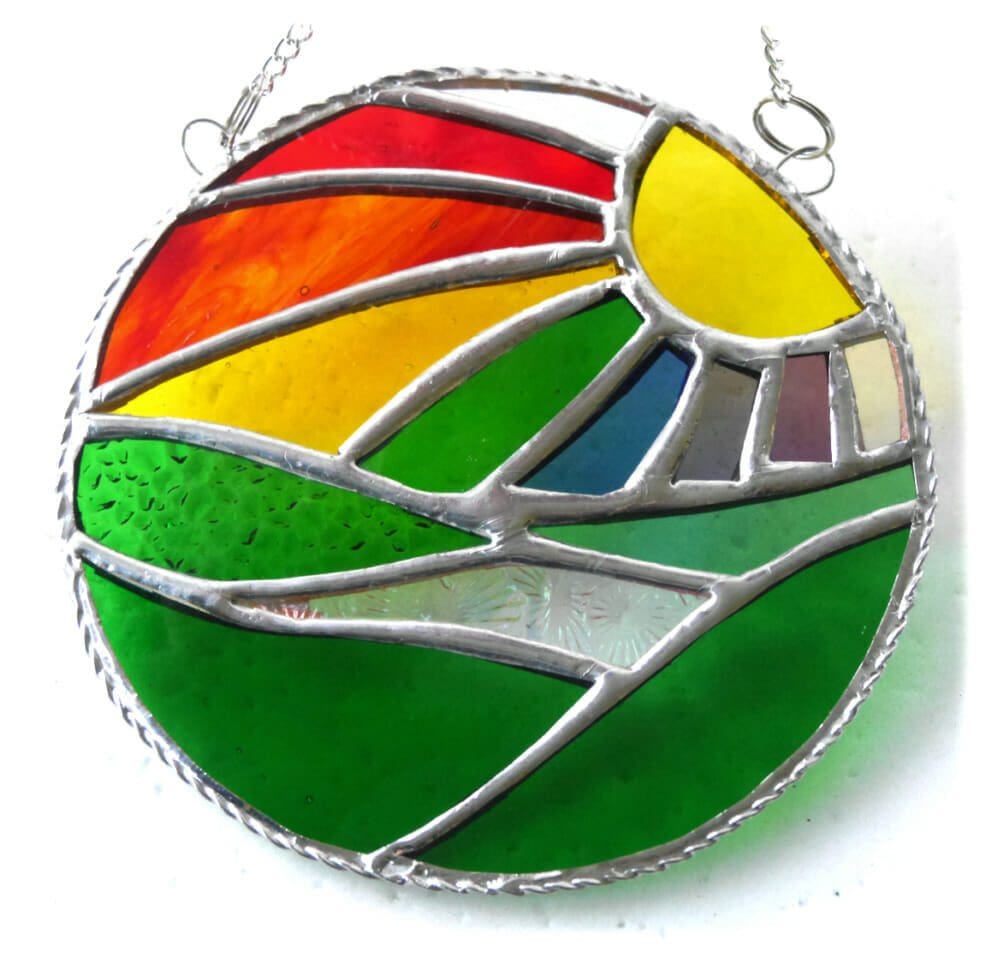
     If it won’t fit into the small container then hopefully it fits into my medium sized square
     containers. These are much harder to get hold of and sometimes I panic that I won’t
     be able to get more and empty the shelves in the discount store of them just in  case  
J
    These are also food containers but more accommodating size-wise for circular
    and bigger suncatchers.

     I pack these the same except more bubblewrap needed as they are more spacious. 
     Again they fit into padded envelopes so I can get orders out pretty quickly when I need to.
3.  Bigger Suncatchers
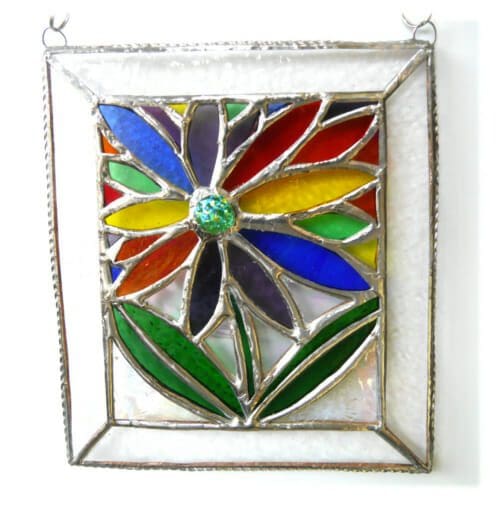
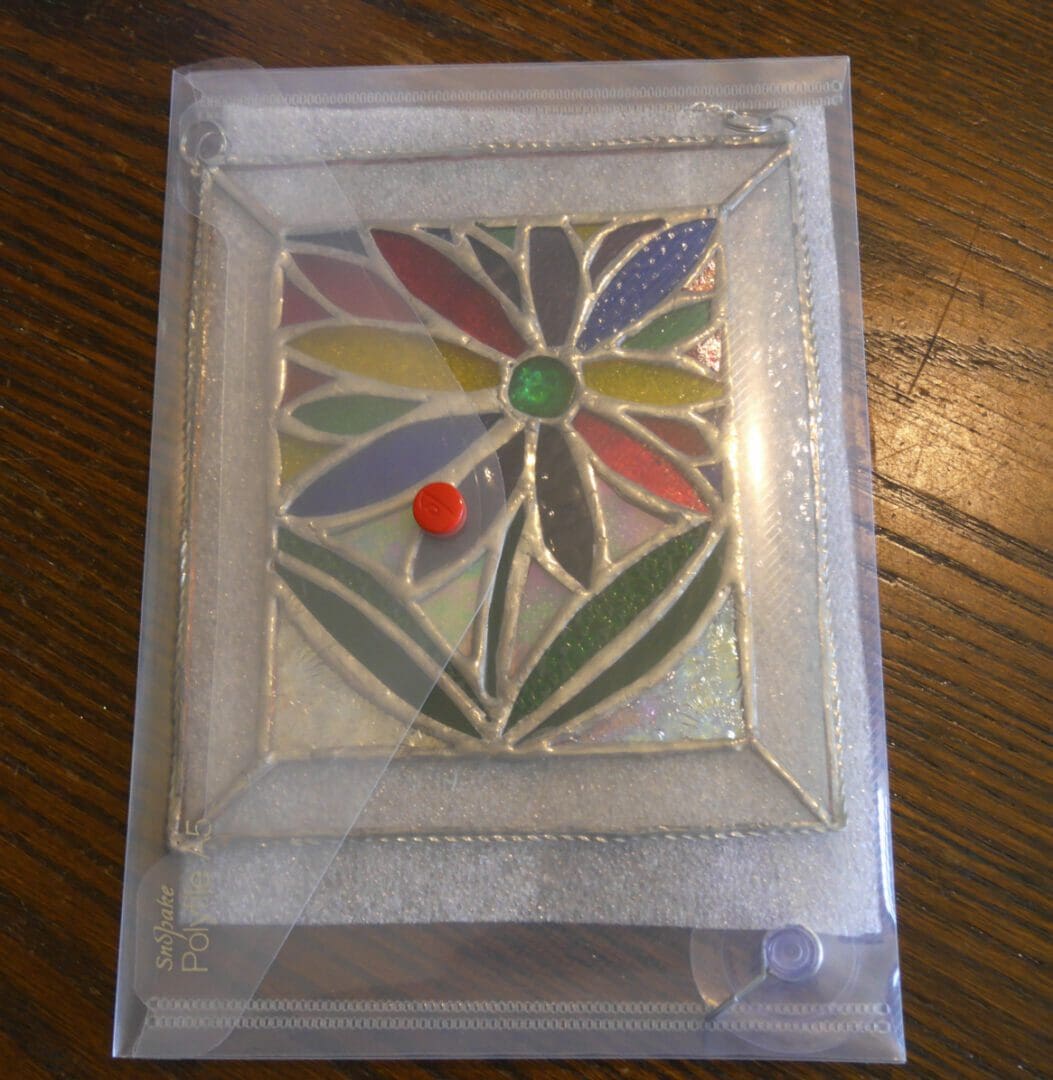
       Suncatchers which are too big for the boxes have to go into A5 clear popper wallets. It is very
       important to me that I can see what is in each container so I never use cardboard boxes.

I put compressed bubblewrap in the back of the wallets
for padding, a suction hook and then the suncatcher comfortably on top.  Posting these out needs more ‘care’ as the wallets
don’t provide the same protection as my microwave boxes.

When I send these out I double wrap the suncatcher within the wallet with compressed bubble and also wrap the outer wallet with big bubble wrap then strengthen with cardboard.

      I can’t think of anything worse than a customer opening a parcel and finding a broken
       suncatcher inside so I pack well enough that I don’t even wince if I drop a
       parcel on the hard Post Office floor J
stained glass packaging joysofglass suncatcher british crafthouseka

When all my latest makes are packed in their containers I pack them away in my storage crates where I can pretty quickly find any suncatchers which have been ordered as the crates
and packaging is all see-through.

My garage is full of packaging material. Padded envelopes, bubble wrap
(3 types), stacks of packaging I have received and saved to reuse and then cardboard
boxes for bigger suncatchers and orders for more than one suncatcher.

My lovely local post office is a great source for cardboard boxes and I often post out in
biscuit outers or even boxes labelled as bleach J. The local garden centre has boxes
for me too and if I’m really quick I can get the odd one from Tesco shelf-stackers…
but they are so quick to flatten a box once emptied I have to work fast to grab those 
J 

I print my parcel labels on the computer and copy / paste the address so it goes to the
address the customer provides. I use a big bold font and I cover the label in
sellotape to make sure it remains entirely legible.
Then a return label on the back of my package and off to the post office.
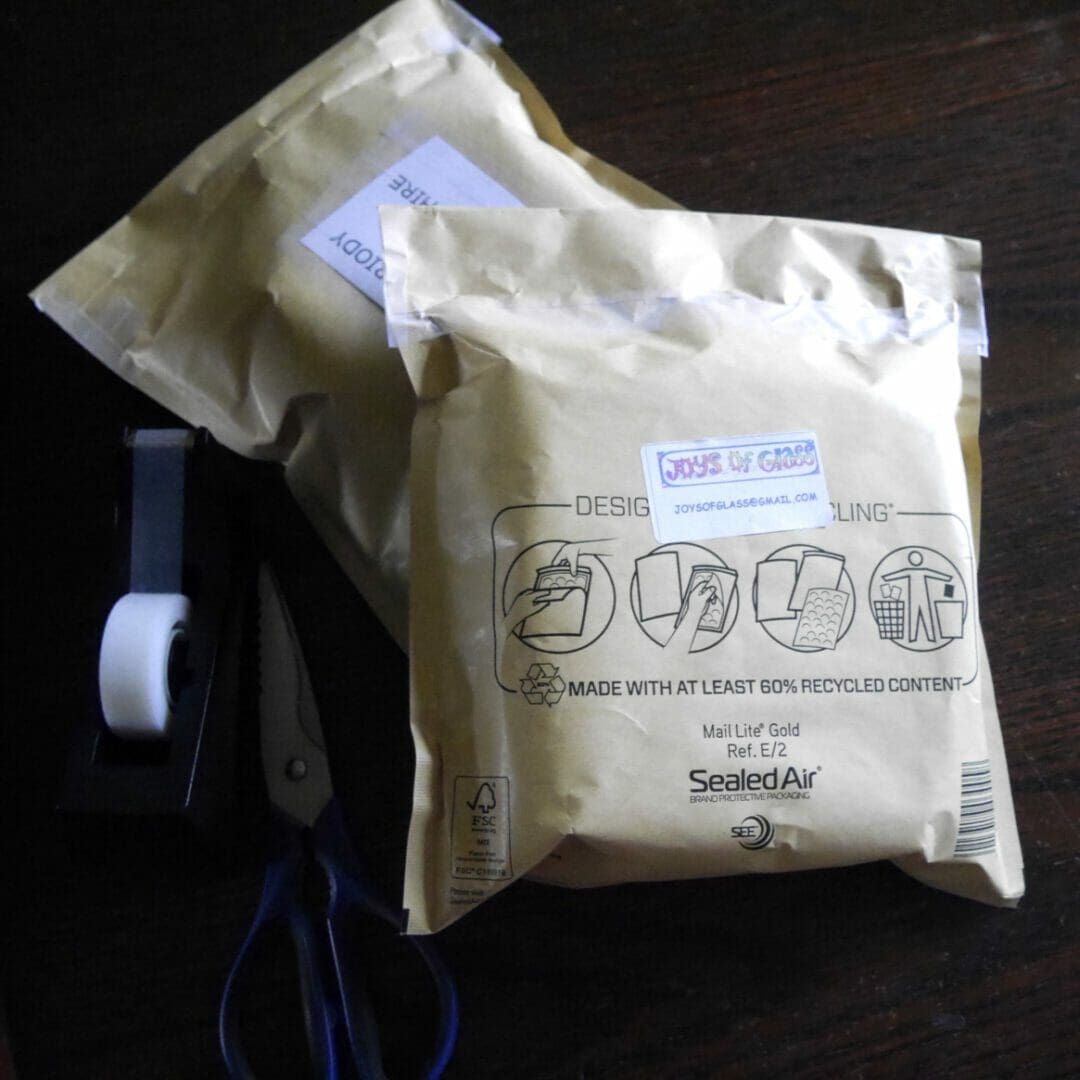
This seems to work well. I can honestly say I have had very very few post problems in the
13+ years I have been selling my glass online.

I always buy my postage at the local post office counter as I need to keep it open and in business.  If that were to close I would have to drive 5 miles and pay to park to use the town post office.  
As it is it’s a 5 minute trip across the village which I do most days. 
Posted on — Leave a comment

The Birth of a Joysofglass Water Lily ..a Work in Progress

I thought you might enjoy some pictures showing how I make my suncatchers so I took some photos when I was making my latest Waterlily and am sharing them here.  One of these days I will get Bob my husband to video the process more fully but in the meantime I will leave you with these pictures of most of the stages the Waterlily goes through before it gets into my shop here.

1. Cutting out the pieces. Lay the chosen piece of glass on top of the pattern and trace round each piece using a black permanent marker. Then score each piece with the spring loaded oil-filled glass cutter and snip each piece out.  Sounds so easy……… 
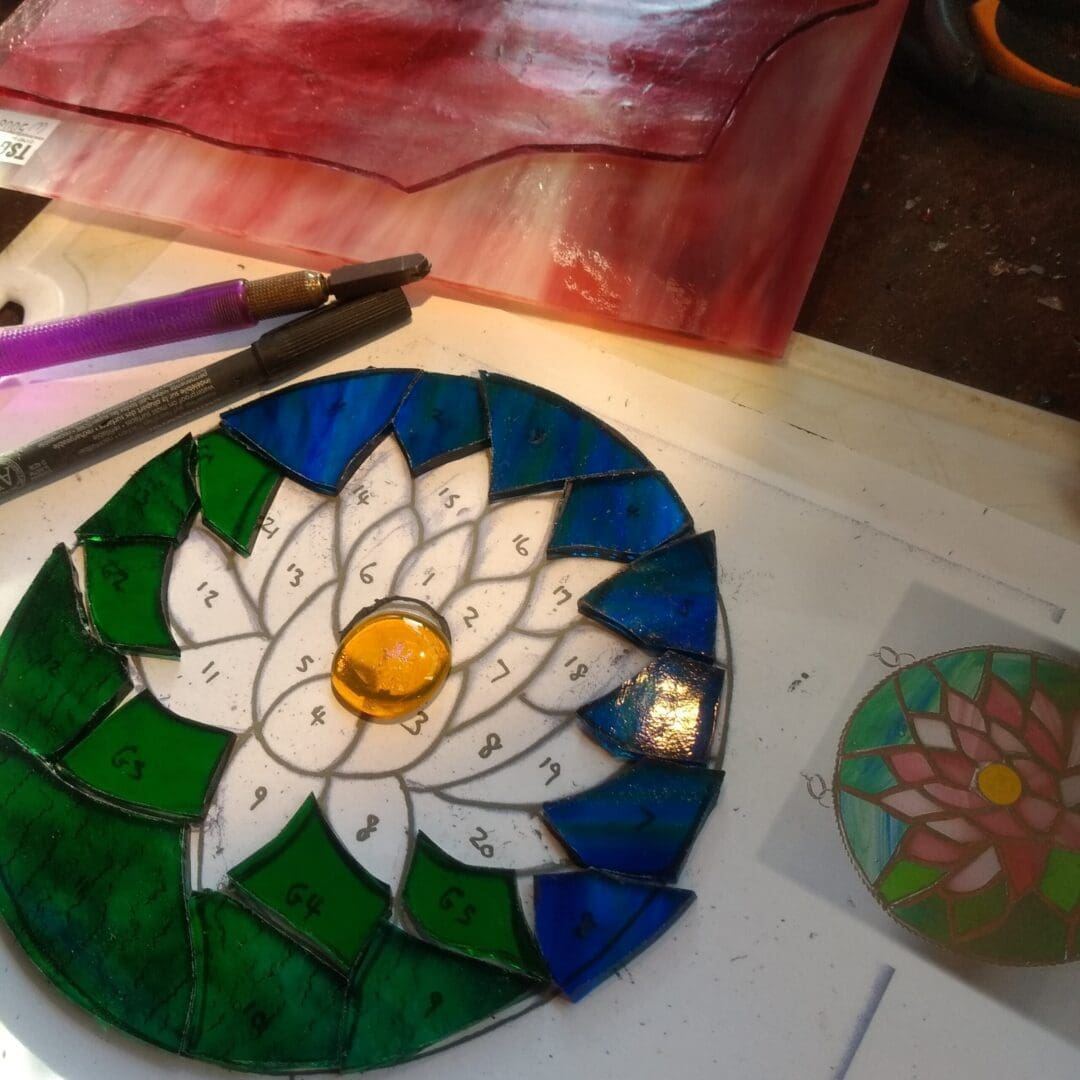
This is the water lily with the leaves and water pieces cut out and waiting for the pink petals.   

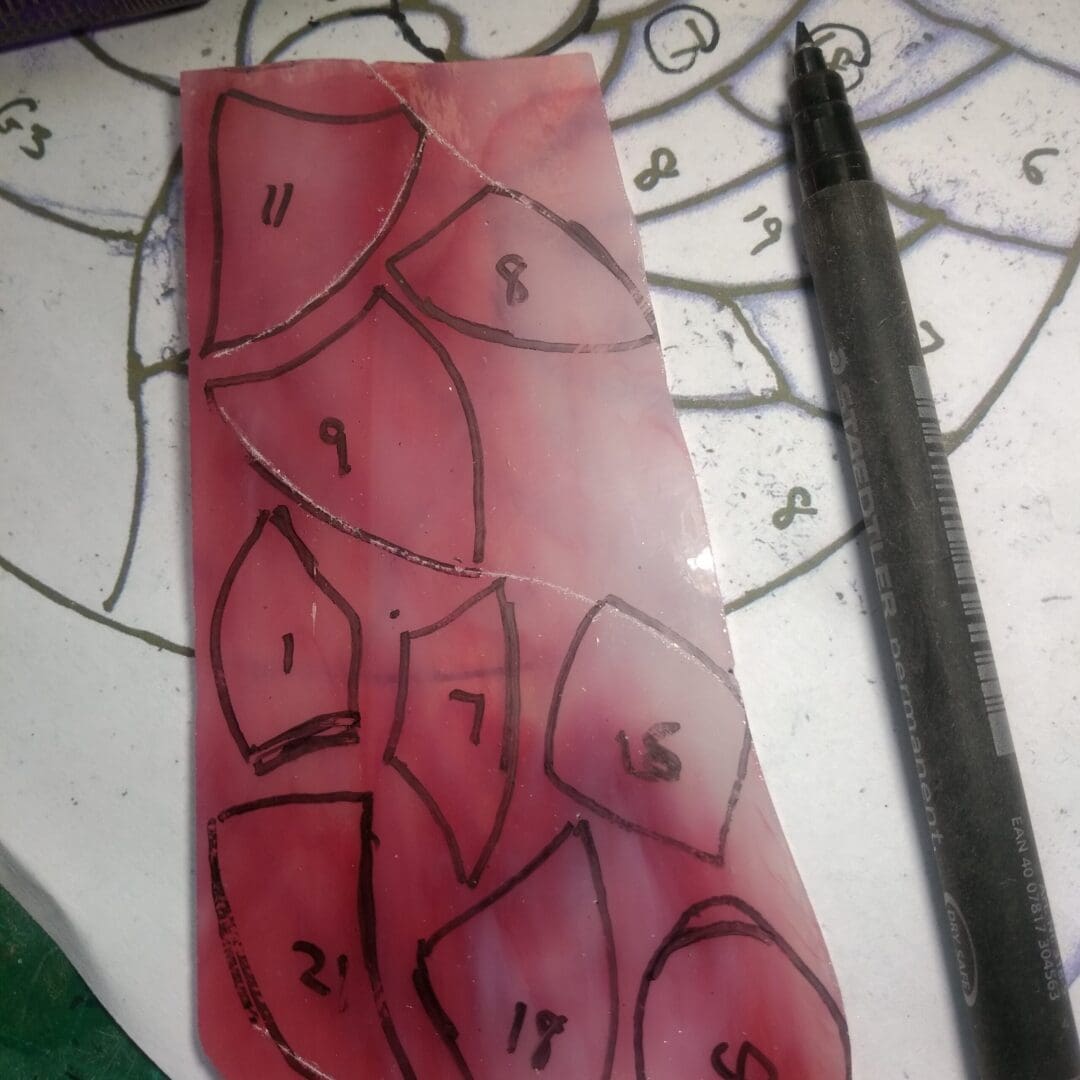
2. This is some pink  glass with the petals marked ready for cutting out.

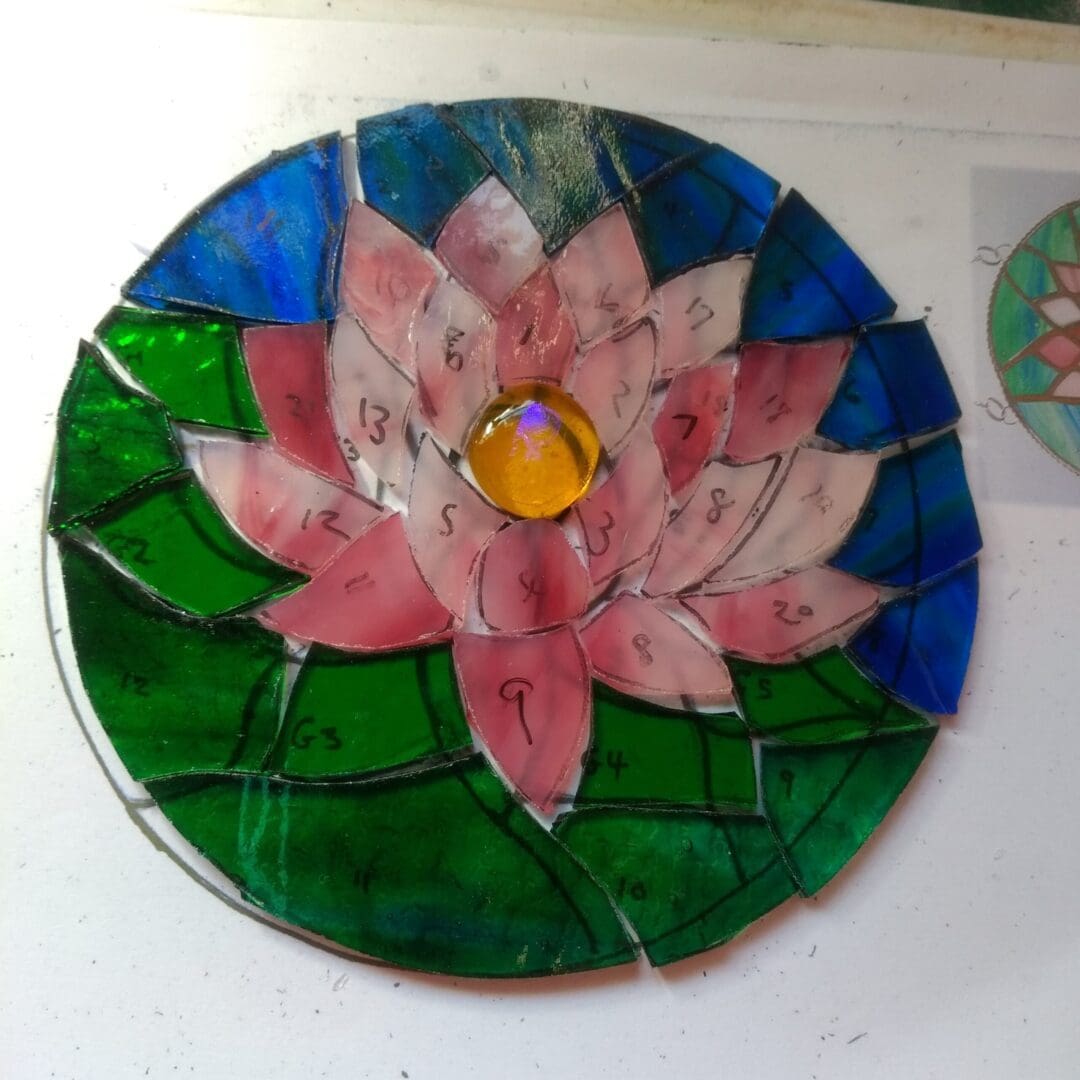
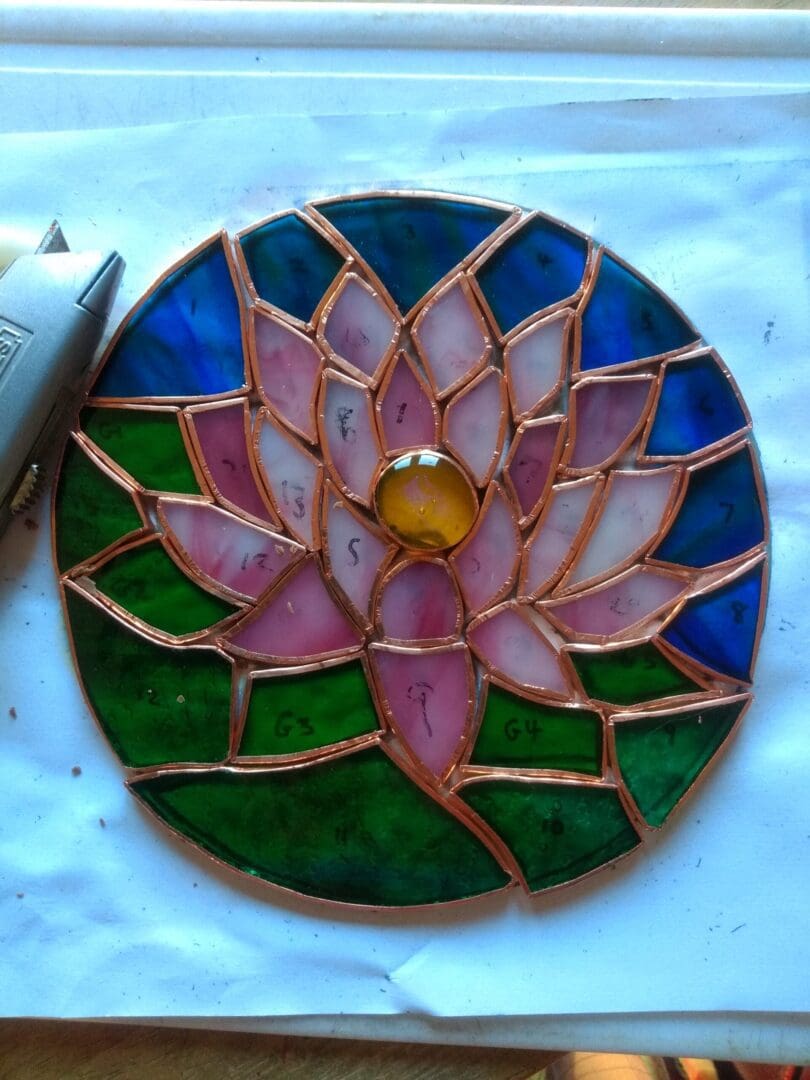
3. Here is the water lily with all the 39 pieces roughly in place. Now each piece needs to have the edges smoothed on the grinder.  To make sure the pieces fit snuggly together and the edges need to be clean and smooth if the copper foil is to adhere firmly to them. Grinding is the messiest process , glass grinders have a water reservoir and that water splashes about and is cold (and wet !). In Winter I always top up with some hot kettle water to stop my poor finger-ends freezing 


4. Sometimes I find I am having to press really hard when grinding the glass pieces which results in sore fingers until I realise that my grinding bit has worn smooth. Bob to the rescue as he has a good strong allen key in his toolbox which can change the grinding bit for me in a jiffy.
Thanks Bob xx

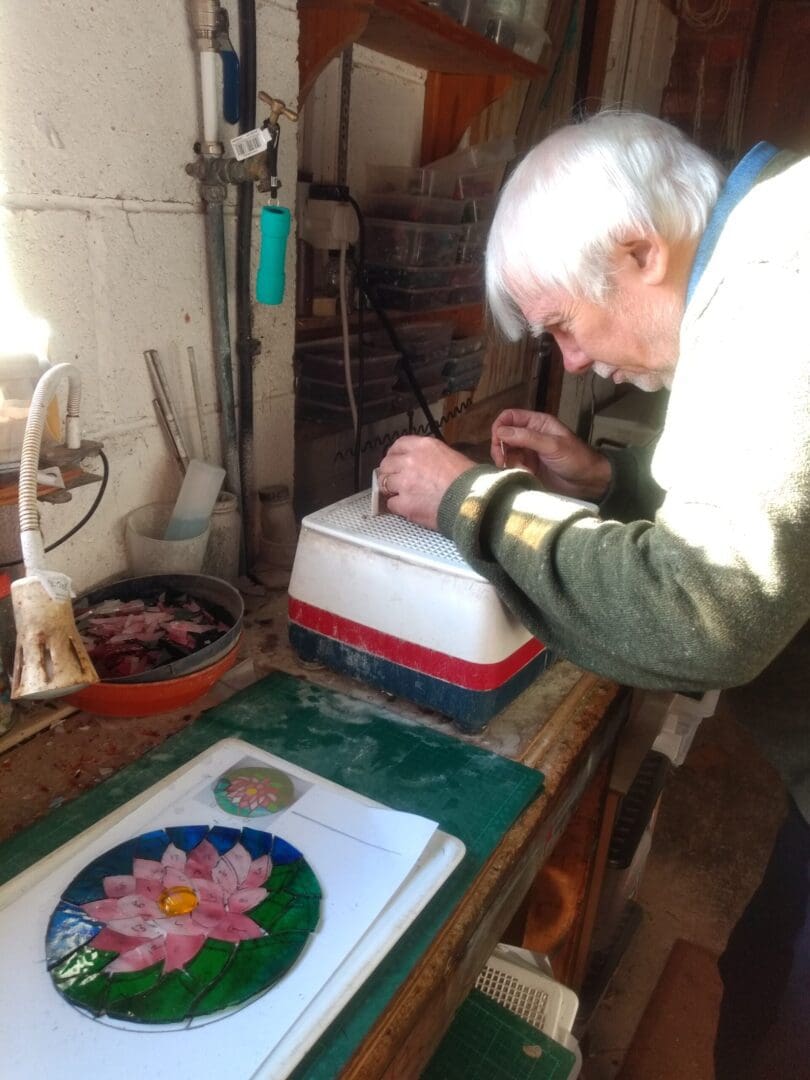
5. And so to the grind. I Always wear gloves. In fact I wear gloves whenever I handle unground glass. It takes seconds to put  my gloves on and off but if I cut my fingers it takes minutes or even hours to stop the blood enough so I can carry on !  You would be pretty amazed at how long my fingernails are considering my frequent use of a glass grinder. Fingernails also protect finger ends from damage from the grinder so a win win really.  Fortunately I usually grind with my right hnad as I’m left handed and need to use my left hand to hold the phone to take the picture !

6. Next process is done sitting down on the sofa. 
 For a pattern like this I take a photo to make sure I know where each piece goes as they can be quite similar and even if I mark the numbers with my permanent marker the numbers often wear off in the grinder water and the hot soapy water I wash them in.   First of all I have to wash all the glass pieces to remove the ‘grind’ on them as they need to be clean and dry for copper foiling.
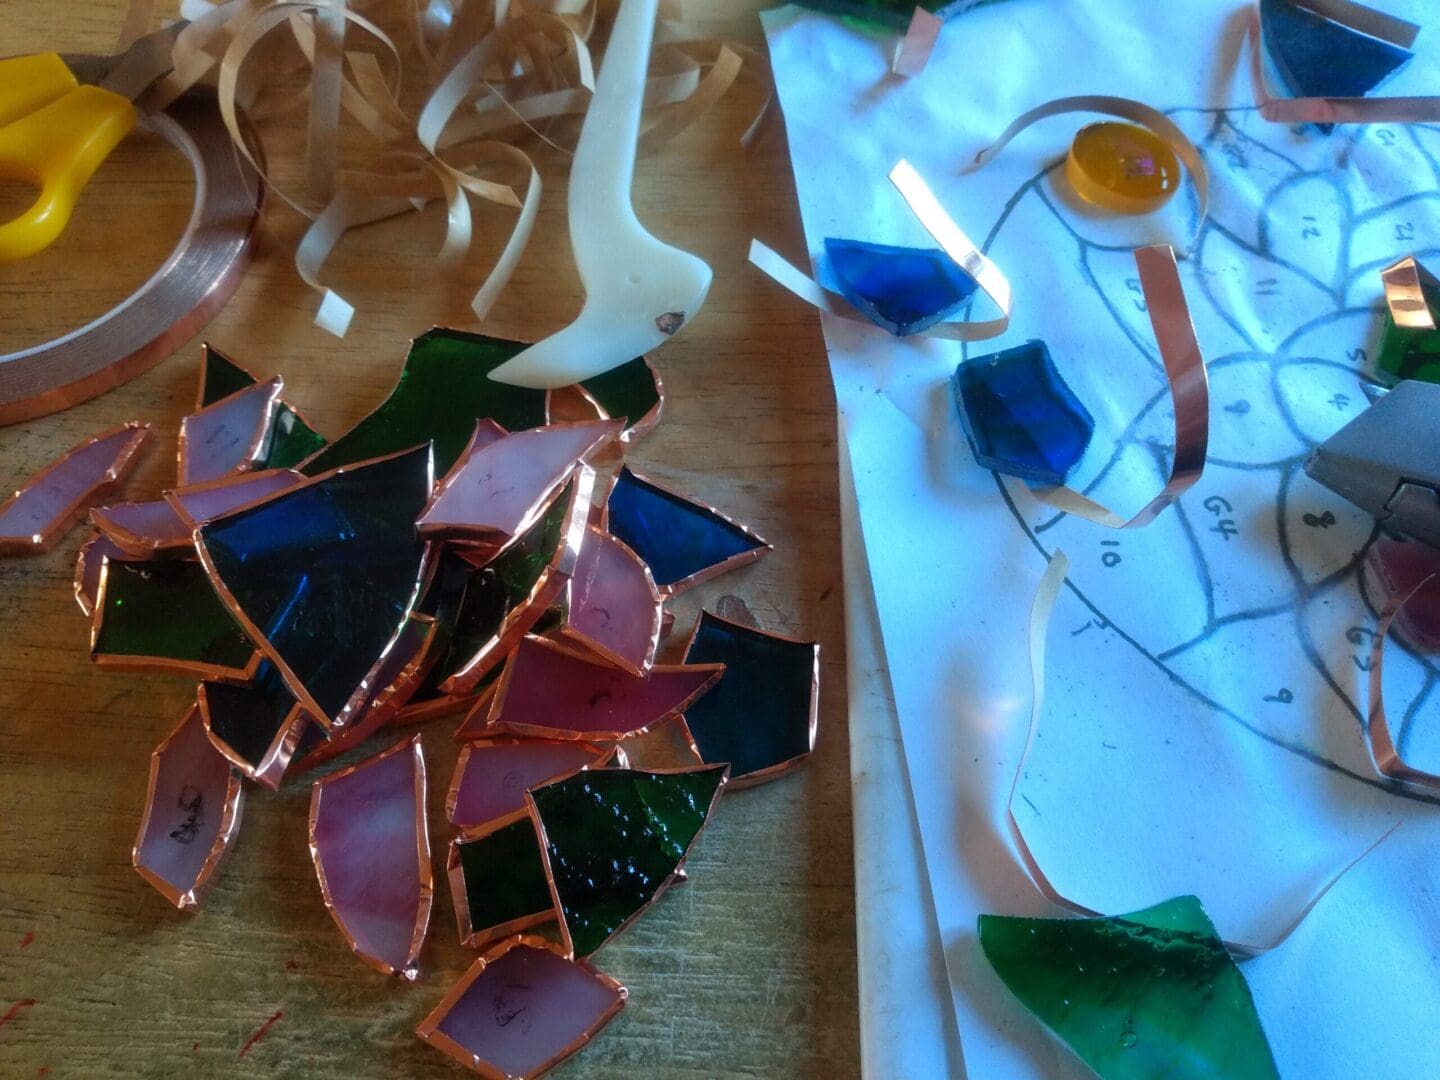
Then daytime rubbishy program on the TV for company, I sit at my little table and painstakingly cut a piece of self-adhesive 7/32 mm copper foil to fit round each piece and then I wrap them one at a time.   Once the foil is round each piece I use my allnova fid to go round each piece, the edge, back and front to burnish / seal it to the glass as tightly as possible. 


7.  Then to fit all the pieces together onto a nice clean and dry paper pattern (I always print two as the first gets wet during grinding). Hopefully they will all fit beautifully together. This little beauty did.  Sometimes I have to return to the grinder to take a little notch off here or there. I can fill a little hole with solder but I can’t solder over a notch !


8. Now to solder.  Switch the soldering iron on and while it’s heating up make sure all the pieces are very neatly together and don’t breath on them in case they move ! 
I tack solder first putting little blobs on each seam to make sure they are secured in place, then solder along each seam and round the edge. Then turn it over and repeat. Then round the outer edge. For this suncatcher I solder a piece of twisted double wire round the edge… it makes a neat edge and also gives quite a lot of strength. After soldering the wire in place I then do some lovely neat soldering along all the seams on the back and repeat on the front making sure to get as nice a rounded bead as possible and no lumps, blips or rough bits.  I finish it by soldering little wire rings on the top for hanging. 

9. All soldered.  Then a wash in warm soapy water and a dry. Add hanging chain using little split rings fitted to my wire rings. Then a polish with  Simonix car polish (contains carnauba wax) and it’s all ready for a photography session.
Easy.

THE END  xx

https://staging.thebritishcrafthouse.co.uk/product/water-lily-stained-glass-suncatcher/