I thought you might enjoy some pictures showing how I make my suncatchers so I took some photos when I was making my latest Waterlily and am sharing them here. One of these days I will get Bob my husband to video the process more fully but in the meantime I will leave you with these pictures of most of the stages the Waterlily goes through before it gets into my shop here.
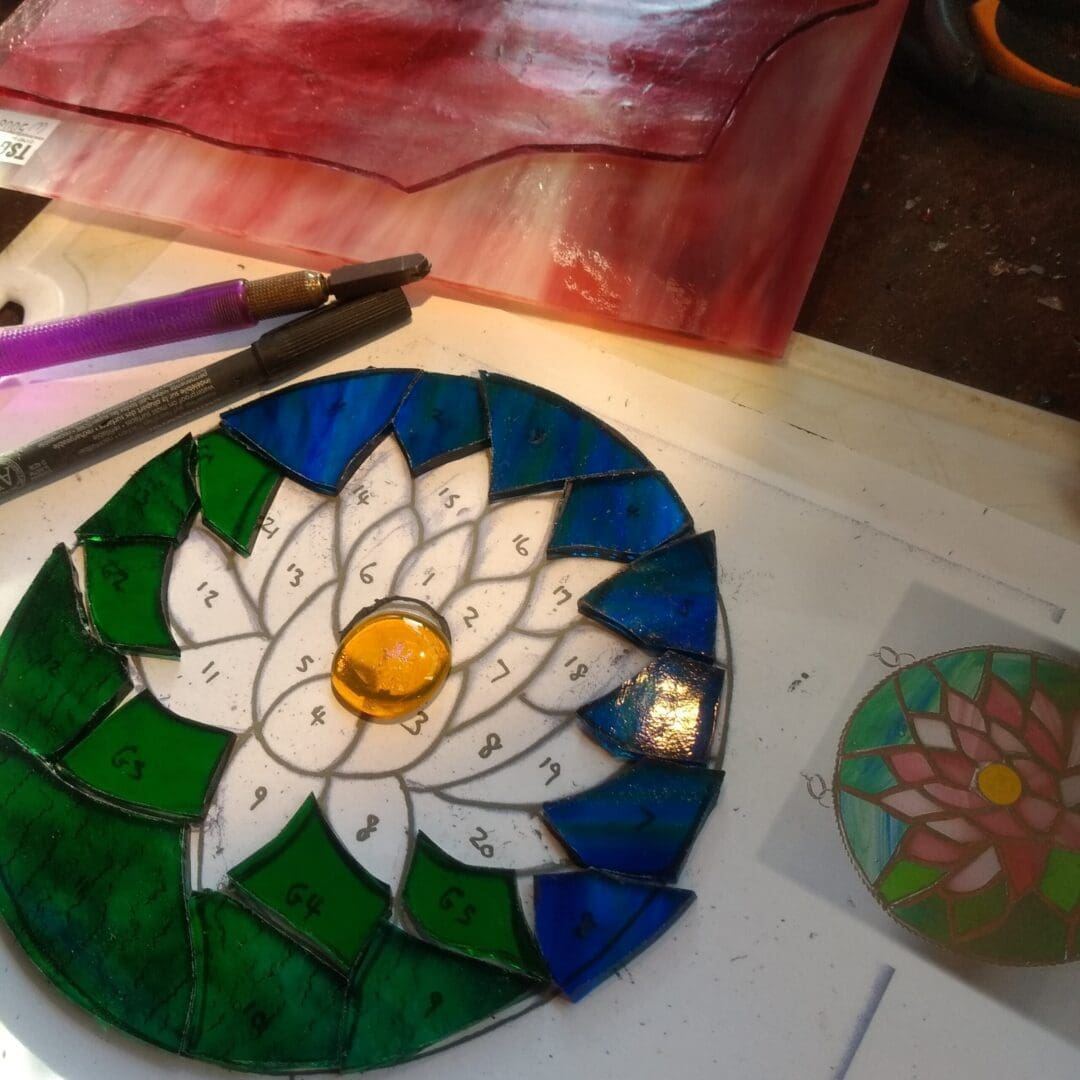
1. Cutting out the pieces. Lay the chosen piece of glass on top of the pattern and trace round each piece using a black permanent marker. Then score each piece with the spring loaded oil-filled glass cutter and snip each piece out. Sounds so easy………
This is the water lily with the leaves and water pieces cut out and waiting for the pink petals.
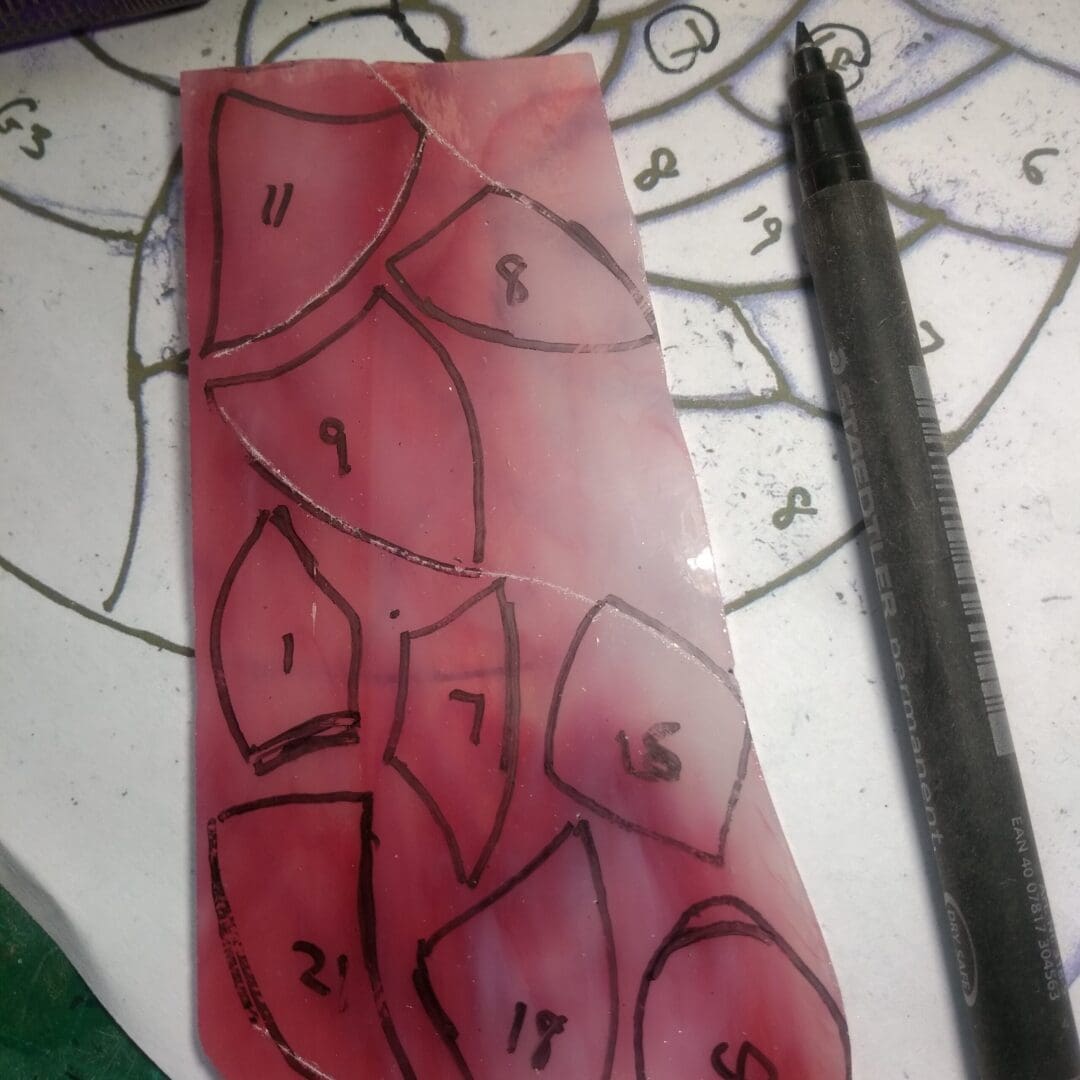
2. This is some pink glass with the petals marked ready for cutting out.
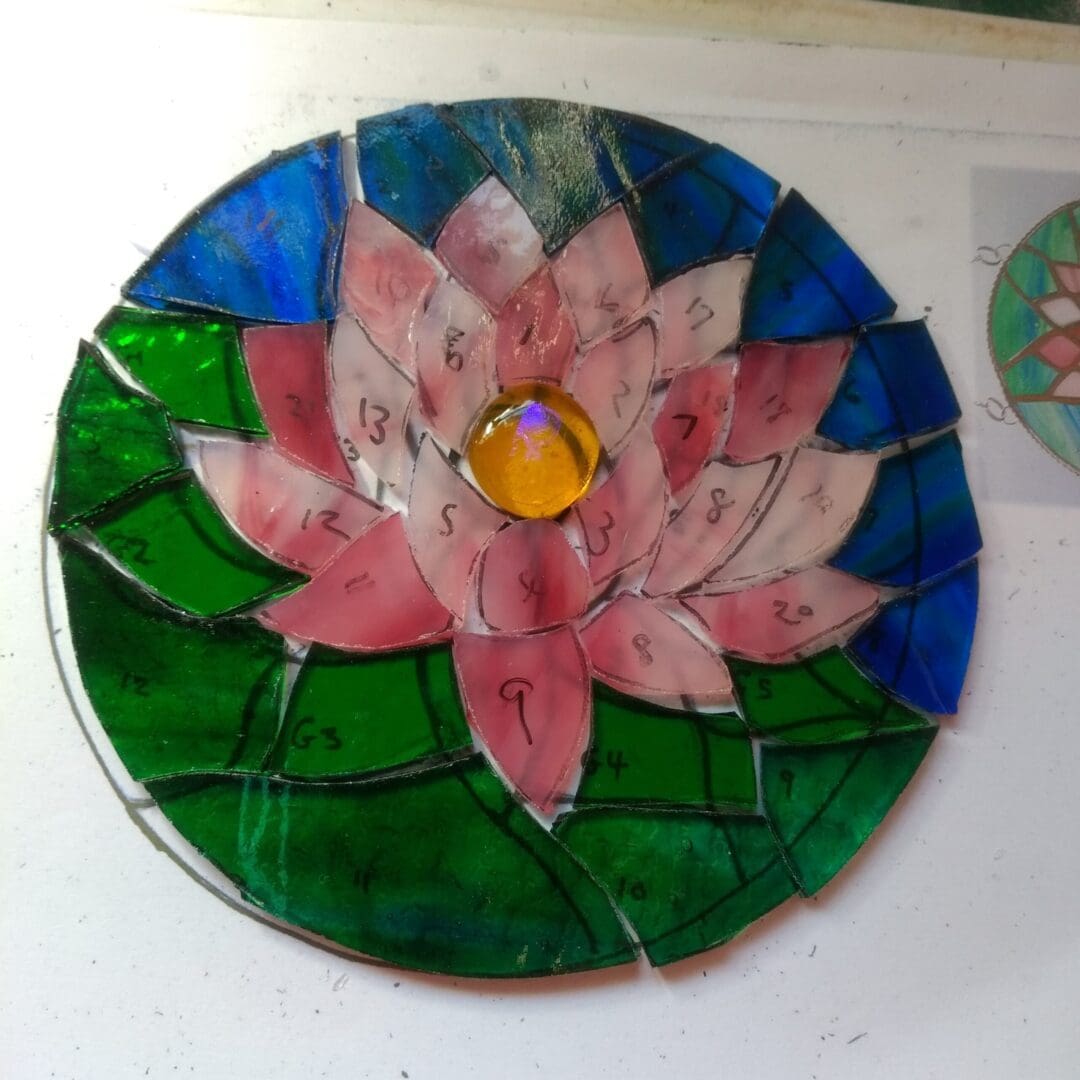
3. Here is the water lily with all the 39 pieces roughly in place. Now each piece needs to have the edges smoothed on the grinder. To make sure the pieces fit snuggly together and the edges need to be clean and smooth if the copper foil is to adhere firmly to them. Grinding is the messiest process , glass grinders have a water reservoir and that water splashes about and is cold (and wet !). In Winter I always top up with some hot kettle water to stop my poor finger-ends freezing
4. Sometimes I find I am having to press really hard when grinding the glass pieces which results in sore fingers until I realise that my grinding bit has worn smooth. Bob to the rescue as he has a good strong allen key in his toolbox which can change the grinding bit for me in a jiffy.
Thanks Bob xx
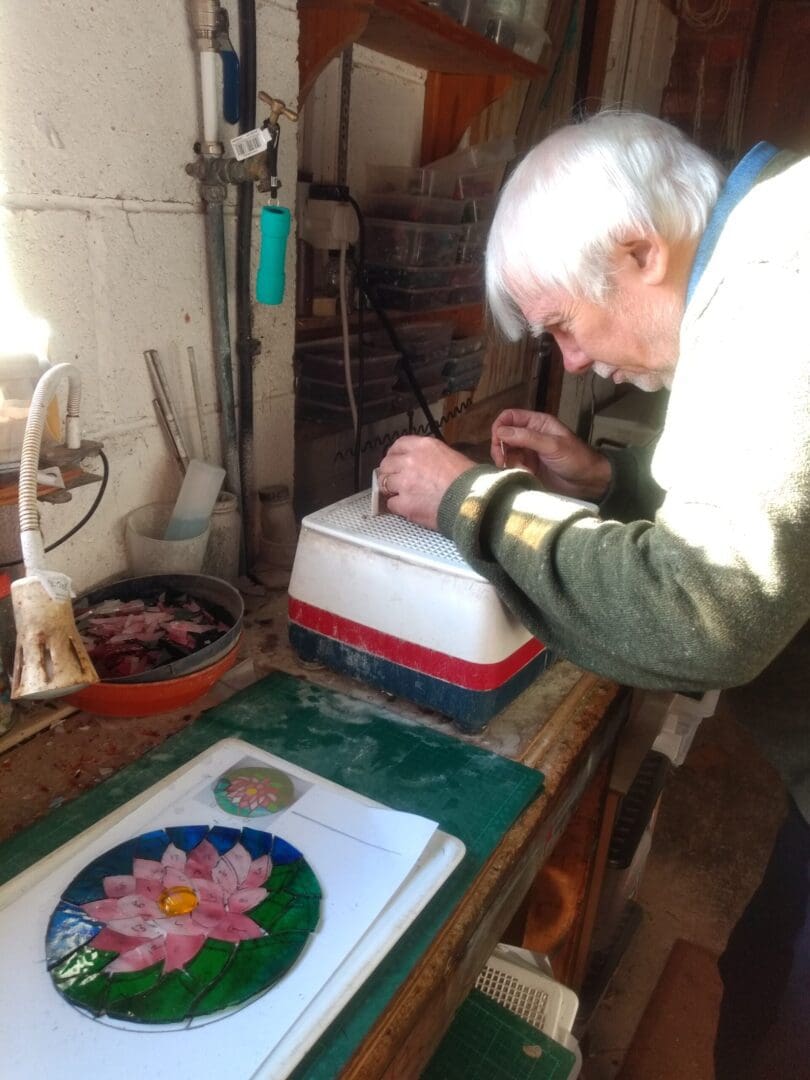
5. And so to the grind. I Always wear gloves. In fact I wear gloves whenever I handle unground glass. It takes seconds to put my gloves on and off but if I cut my fingers it takes minutes or even hours to stop the blood enough so I can carry on ! You would be pretty amazed at how long my fingernails are considering my frequent use of a glass grinder. Fingernails also protect finger ends from damage from the grinder so a win win really. Fortunately I usually grind with my right hnad as I’m left handed and need to use my left hand to hold the phone to take the picture !
6. Next process is done sitting down on the sofa.
For a pattern like this I take a photo to make sure I know where each piece goes as they can be quite similar and even if I mark the numbers with my permanent marker the numbers often wear off in the grinder water and the hot soapy water I wash them in. First of all I have to wash all the glass pieces to remove the ‘grind’ on them as they need to be clean and dry for copper foiling.
Then daytime rubbishy program on the TV for company, I sit at my little table and painstakingly cut a piece of self-adhesive 7/32 mm copper foil to fit round each piece and then I wrap them one at a time. Once the foil is round each piece I use my allnova fid to go round each piece, the edge, back and front to burnish / seal it to the glass as tightly as possible.
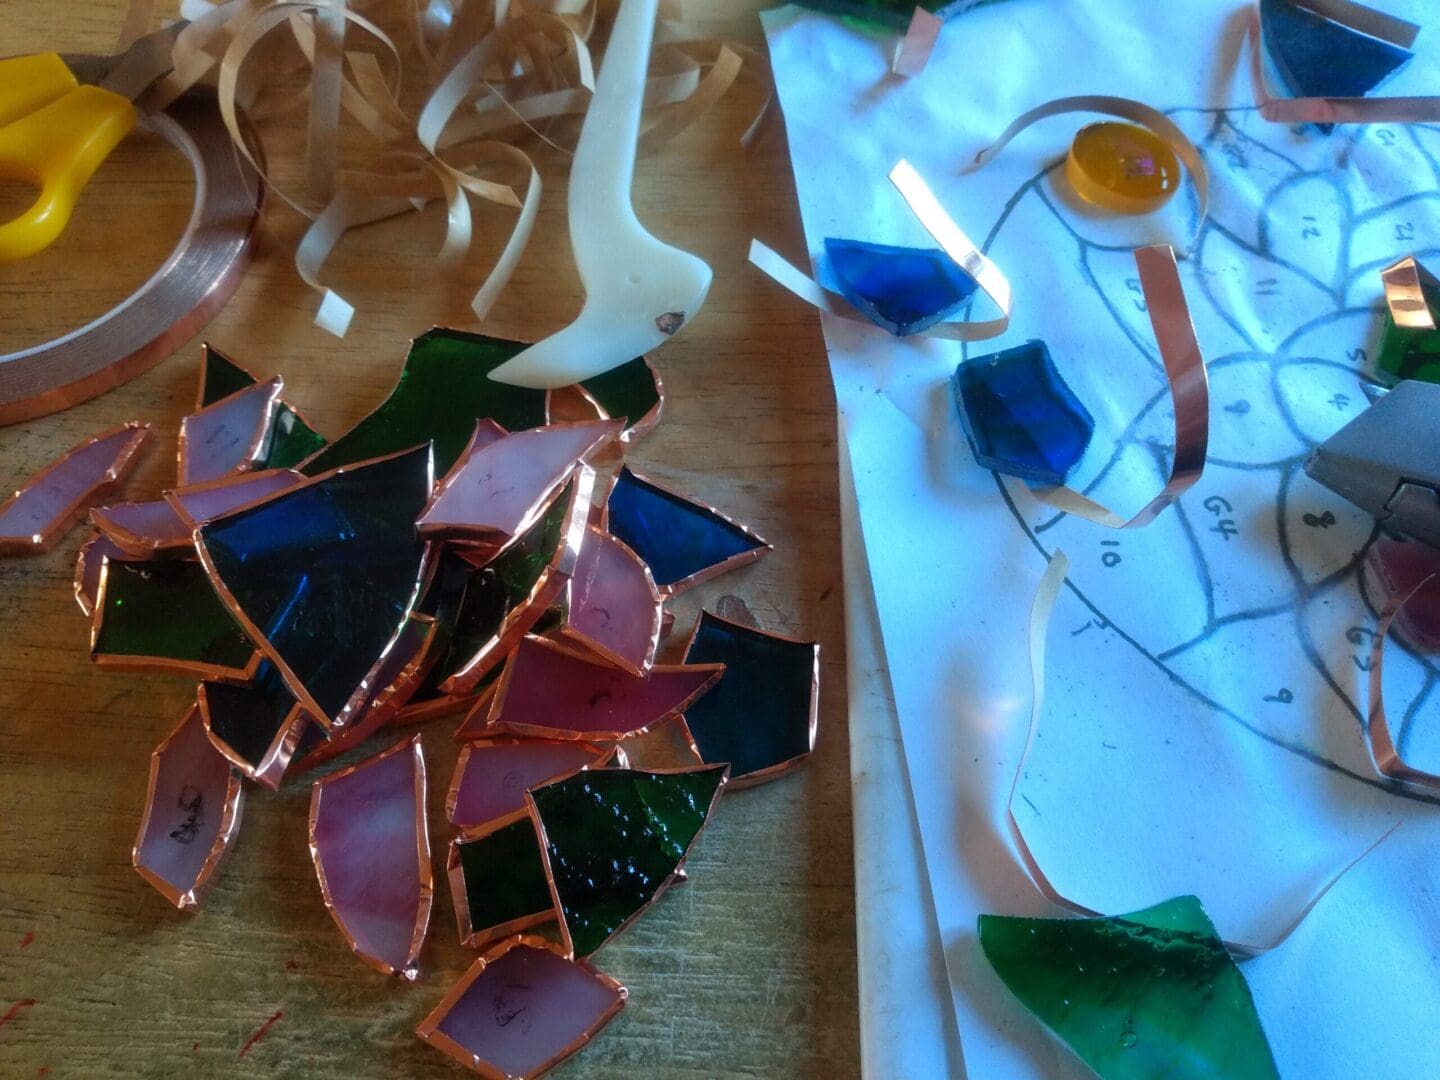
7. Then to fit all the pieces together onto a nice clean and dry paper pattern (I always print two as the first gets wet during grinding). Hopefully they will all fit beautifully together. This little beauty did. Sometimes I have to return to the grinder to take a little notch off here or there. I can fill a little hole with solder but I can’t solder over a notch !
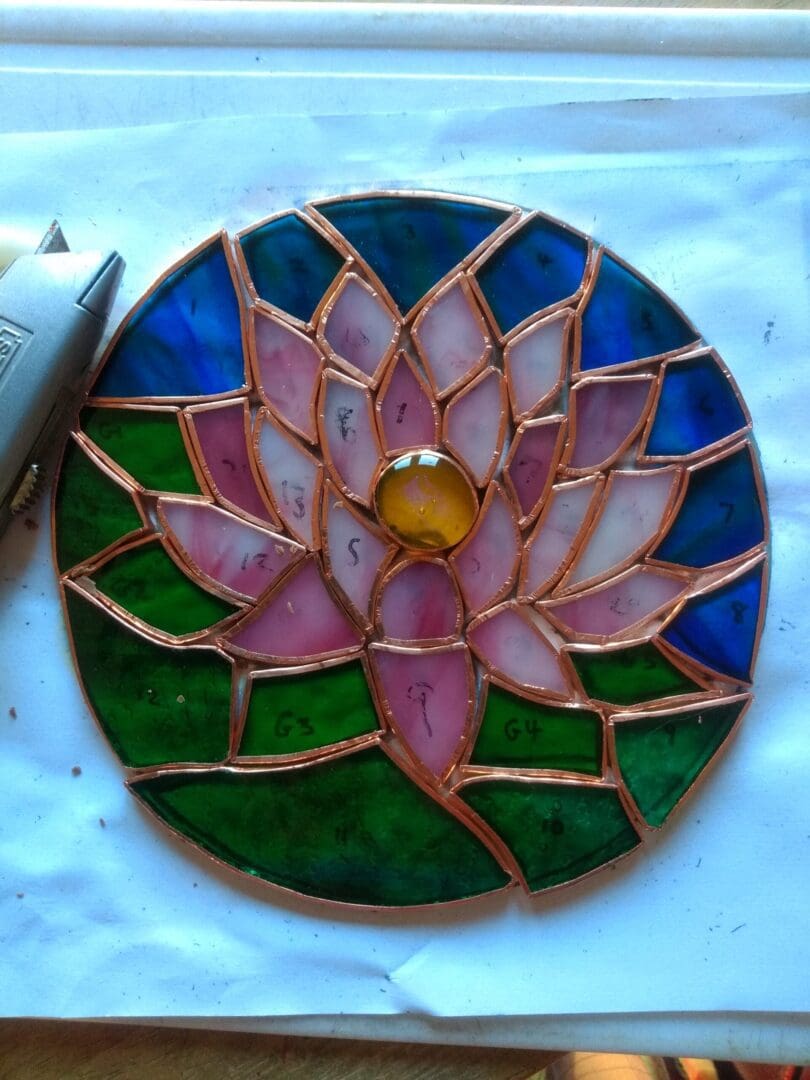
8. Now to solder. Switch the soldering iron on and while it’s heating up make sure all the pieces are very neatly together and don’t breath on them in case they move !
I tack solder first putting little blobs on each seam to make sure they are secured in place, then solder along each seam and round the edge. Then turn it over and repeat. Then round the outer edge. For this suncatcher I solder a piece of twisted double wire round the edge… it makes a neat edge and also gives quite a lot of strength. After soldering the wire in place I then do some lovely neat soldering along all the seams on the back and repeat on the front making sure to get as nice a rounded bead as possible and no lumps, blips or rough bits. I finish it by soldering little wire rings on the top for hanging.
9. All soldered. Then a wash in warm soapy water and a dry. Add hanging chain using little split rings fitted to my wire rings. Then a polish with Simonix car polish (contains carnauba wax) and it’s all ready for a photography session.
Easy.

THE END xx
https://staging.thebritishcrafthouse.co.uk/product/water-lily-stained-glass-suncatcher/