Have you ever wondered how a hat is made?
I first discovered millinery when I was given a hat making gift experience, and was transfixed by the magical process which transforms a 2-dimensional fabric into a fabulous 3D structure.
The basic techniques for creating hats have remained pretty much the same for centuries, using heat and water to soften the fibres before stretching over a block to create the desired shape. I prefer to use traditional wooden blocks, though metal and polystyrene are also commonly used. In fact, you can use pretty much anything to shape a hat – an upturned bowl, interesting vase, or just your hands to free-form a shape.
My favourite material to block is felt. I use pure wool felts as it is more economical than fur felts and is a renewable resource so more ethical too. As a side note – did you know that millinery was one of the main causes of bird populations plummeting in the late 19th and early 20th century? The feather trade nearly wiped out several species with desirable plumage, with over 5 million birds killed every year just for the sake of hats! Thankfully we are more aware of our impact these days, so I try to be mindful when selecting fabrics and trims.
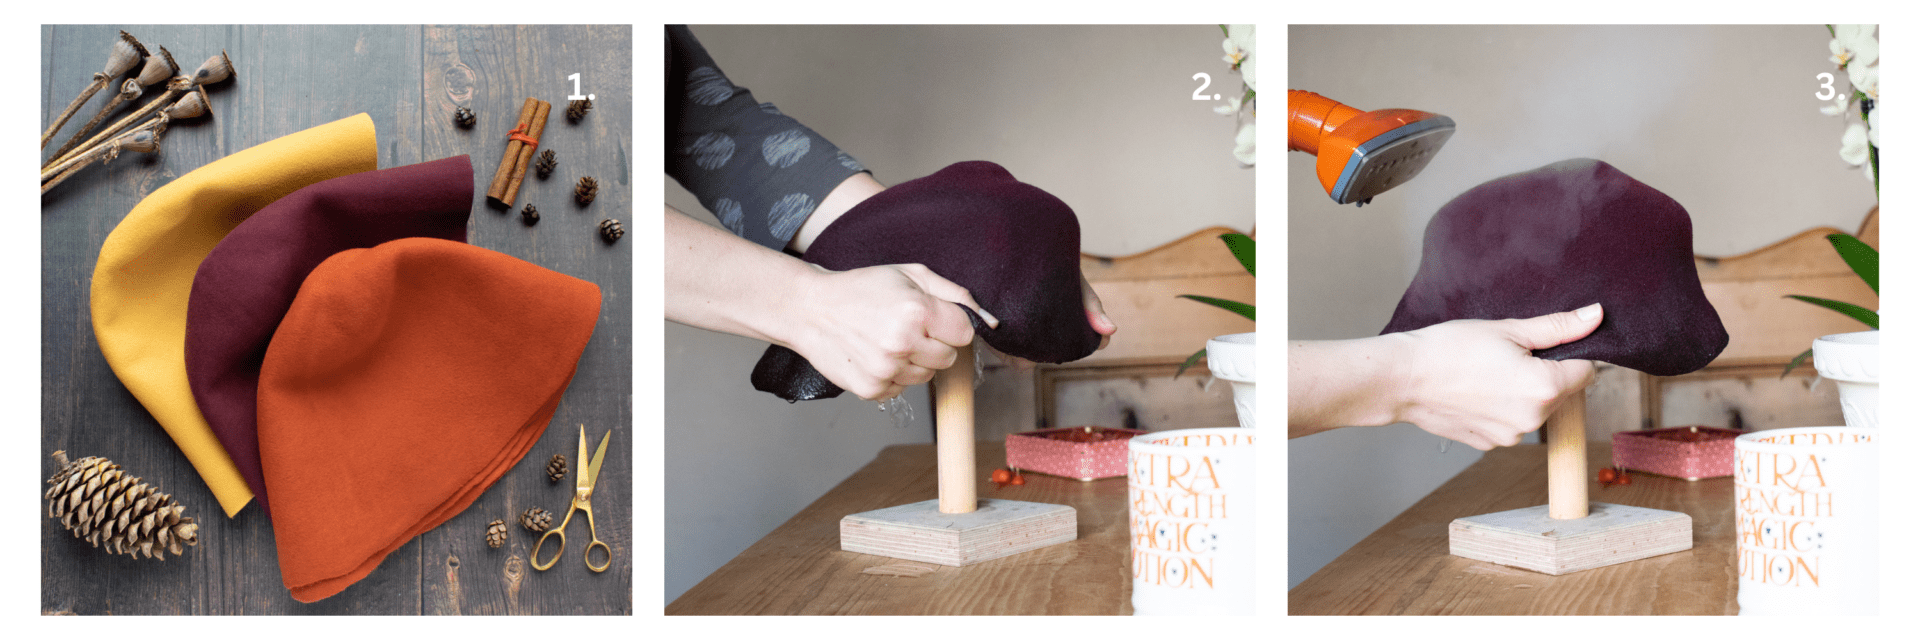
Millinery felt comes pre-shaped into either a cone, or ‘hood’, or a cone with wide brim known as a ‘capeline’. For this small percher hat, I’m using a hood (figure 1). To begin with, I dip the felt into a bowl of warm water, just to dampen the fibres. It’s important the water isn’t too hot or the felt with shrink.
Once damp, I place the felt over the wooden block and pull down on each side (figure 2), steaming the felt to further soften the fibres and make stretching easier (figure 3).
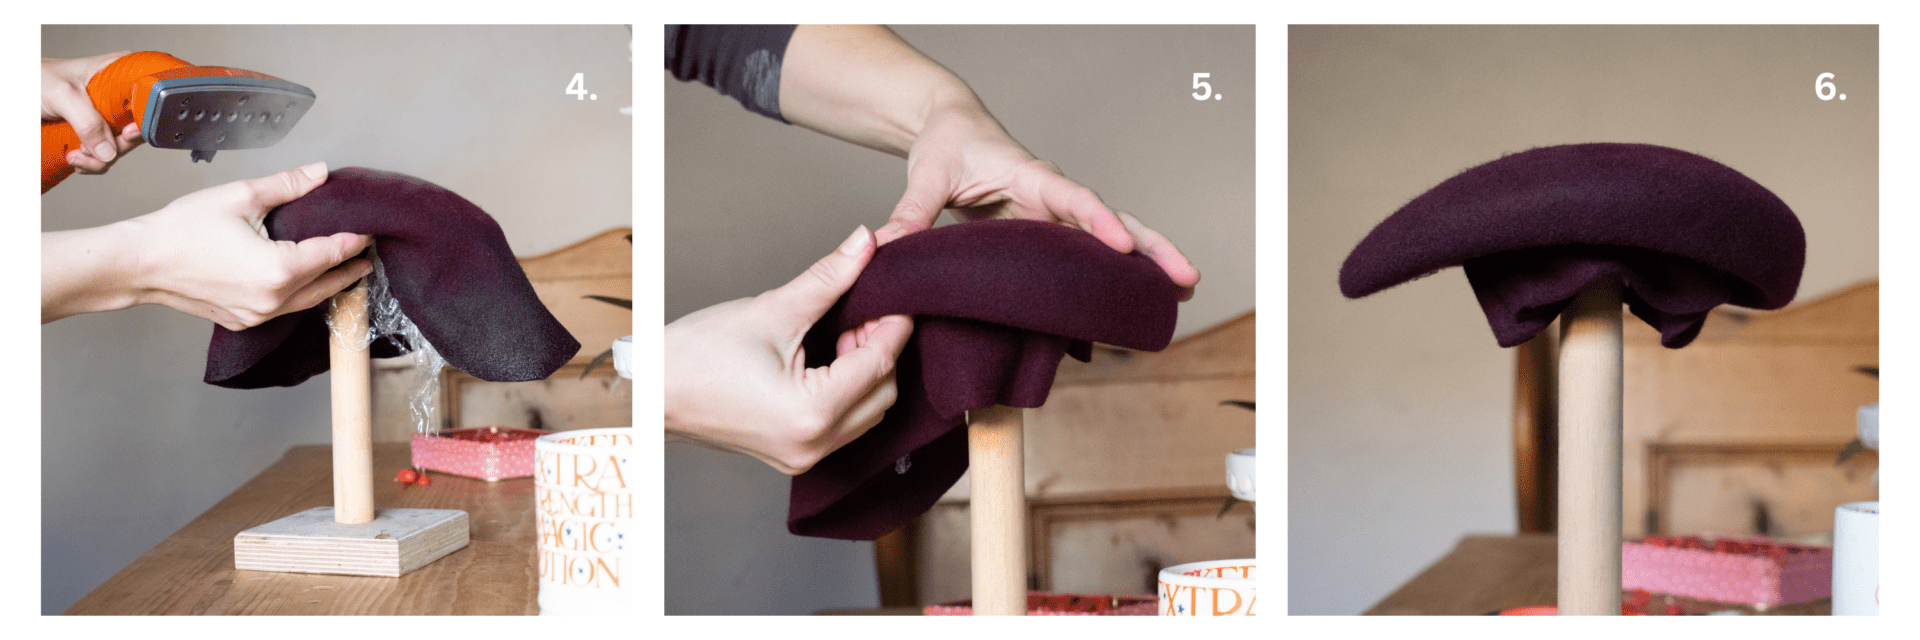
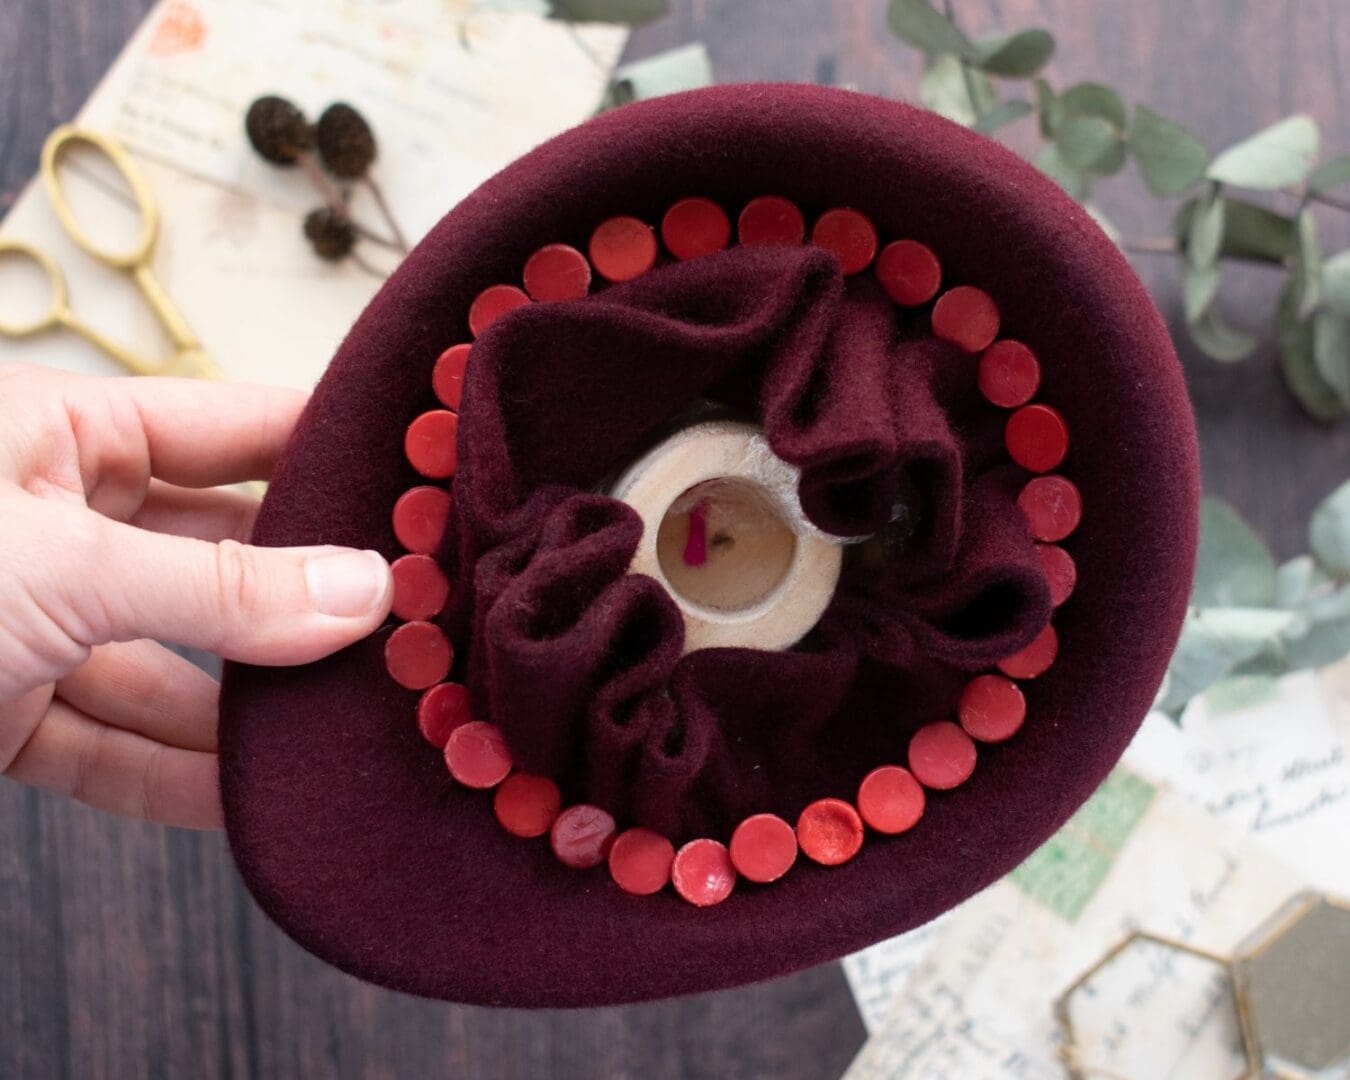
As you keep stretching and steaming the felt, it starts to take the shape of the block (figure 4). I can then begin shaping the underside and pinning to hold it in place (figure 5). It’s important to keep stretching and pinning until all the creases are gone, as once dry the felt will hold whatever shape you have created (figure 6).
Once all the creases have been pulled out and the felt pinned into place, leave it for at least 24 hours until completely dry. It’s really important not to take it off too early, as you could stretch the damp fabric and distort the shape.
And there you have it – a hat base ready to wire and add stiffener to help hold it’s shape. You are then open to the wondrous world of trimmings. Although I tend to prefer more classic, tailored designs with minimal trims, one of the reasons I love millinery as a craft is there really are no rules. You can create a hat from literally anything, and add the craziest decorations – just think of ladies day at Ascot!
A hat should exude your personality, be a fabulous reflection of your true self. If you wear a hat, it’s often the first thing people will notice about you, so have fun with it and make it speak volumes about you.
I hope you’ve enjoyed learning about millinery, and perhaps you’ll look twice at that vase on your windowsill and ponder the creative possibilites it may bring?
Isobel x