Posted on

Handmade Resin Flower Jewellery

Blooming For Beauty: Handmade Resin Flower Jewellery

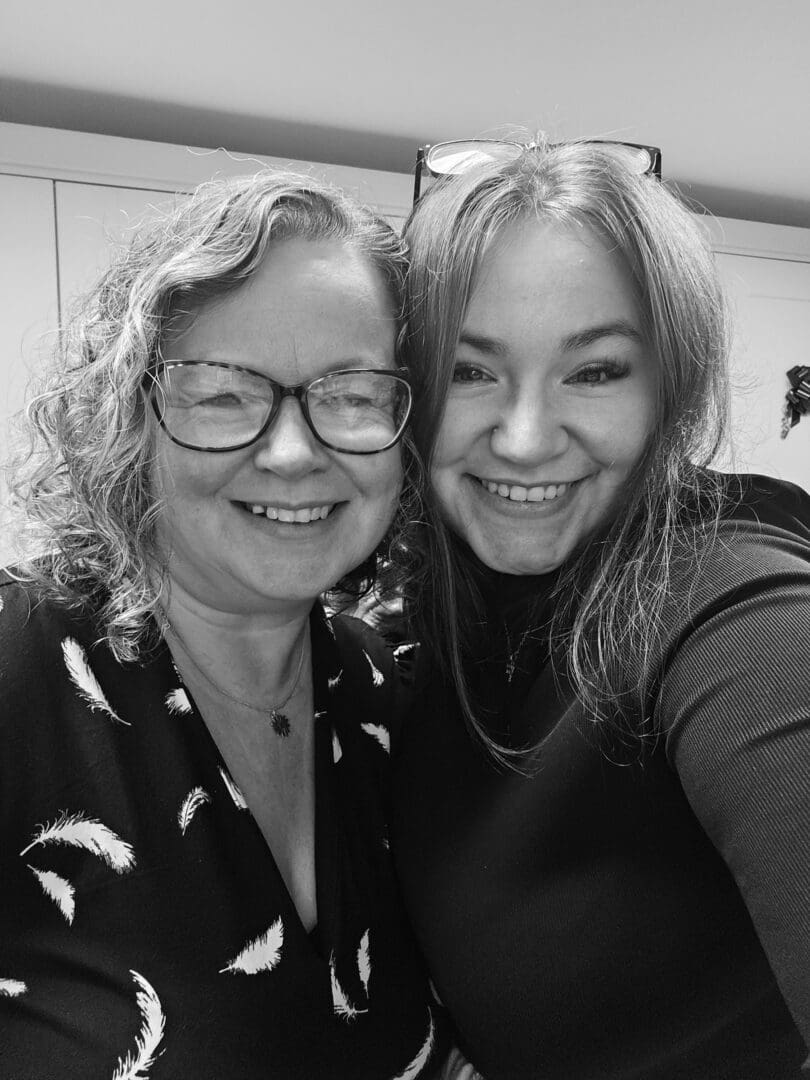
There’s something magical about capturing nature’s fleeting beauty and turning it into something you can cherish forever. That’s exactly what we do at Just Like Mildred—a mother-and-daughter team creating handmade resin jewellery that preserves real flowers in timeless pieces you can wear every day.

Real Flowers, Preserved in Resin

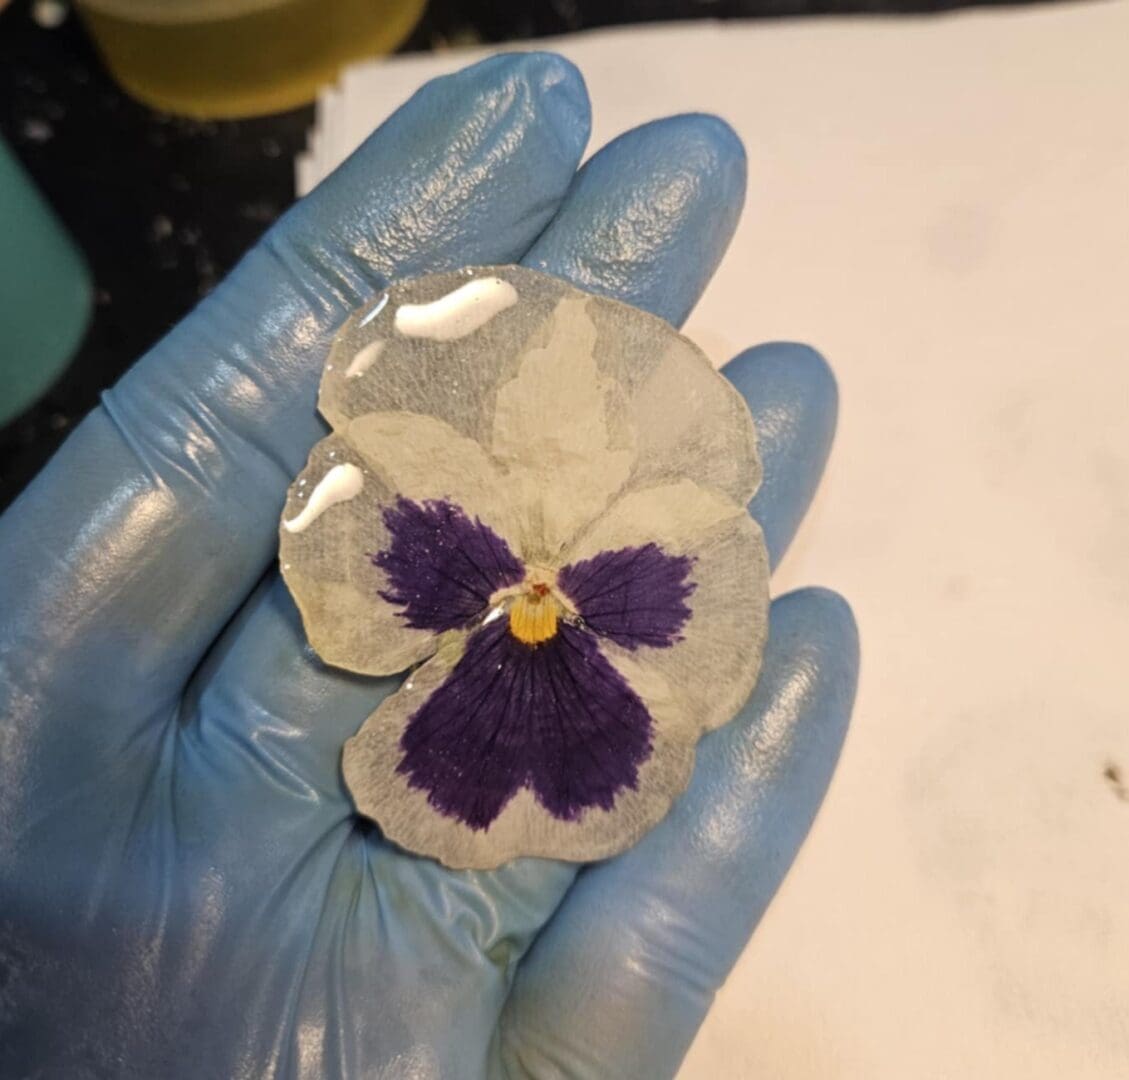
Each piece begins with carefully selected real flowers—delicate petals, tiny blossoms, and soft greenery—that we dry and prepare by hand. Using high-quality UV resin, we encapsulate these natural treasures so they stay vibrant, protected, and as beautiful as the day they were picked. No two pieces are ever alike, making each item truly one-of-a-kind

.
Designed to Last

We know jewellery should be as durable as it is beautiful. That’s why we use stainless steel components in all our creations. Stainless steel is hypoallergenic, tarnish-resistant, and strong, ensuring your jewellery stays stunning for years to come. Whether it’s a pair of earrings, a pendant, or a bracelet, you can wear our designs with confidence every day.

Handmade With Heart

Behind every piece is a story of creativity, love, and connection. As a mother and daughter duo, crafting together is our way of blending generations—combining skill, imagination, and a shared love for nature. Every design is lovingly handmade, meaning what you wear is not just jewellery, but a piece of our family’s passion and artistry.
A Gift from Nature, Made Just for You

Our handmade resin flower jewellery makes for meaningful gifts—perfect for birthdays, anniversaries, weddings, or simply treating yourself. Each design carries the charm of natural beauty, captured in a way that never fades.

🌸 Jewellery that blossoms forever. 🌸
Posted on — Leave a comment

Meet the Maker – Beverley from Bevart designs

Meet the maker blog

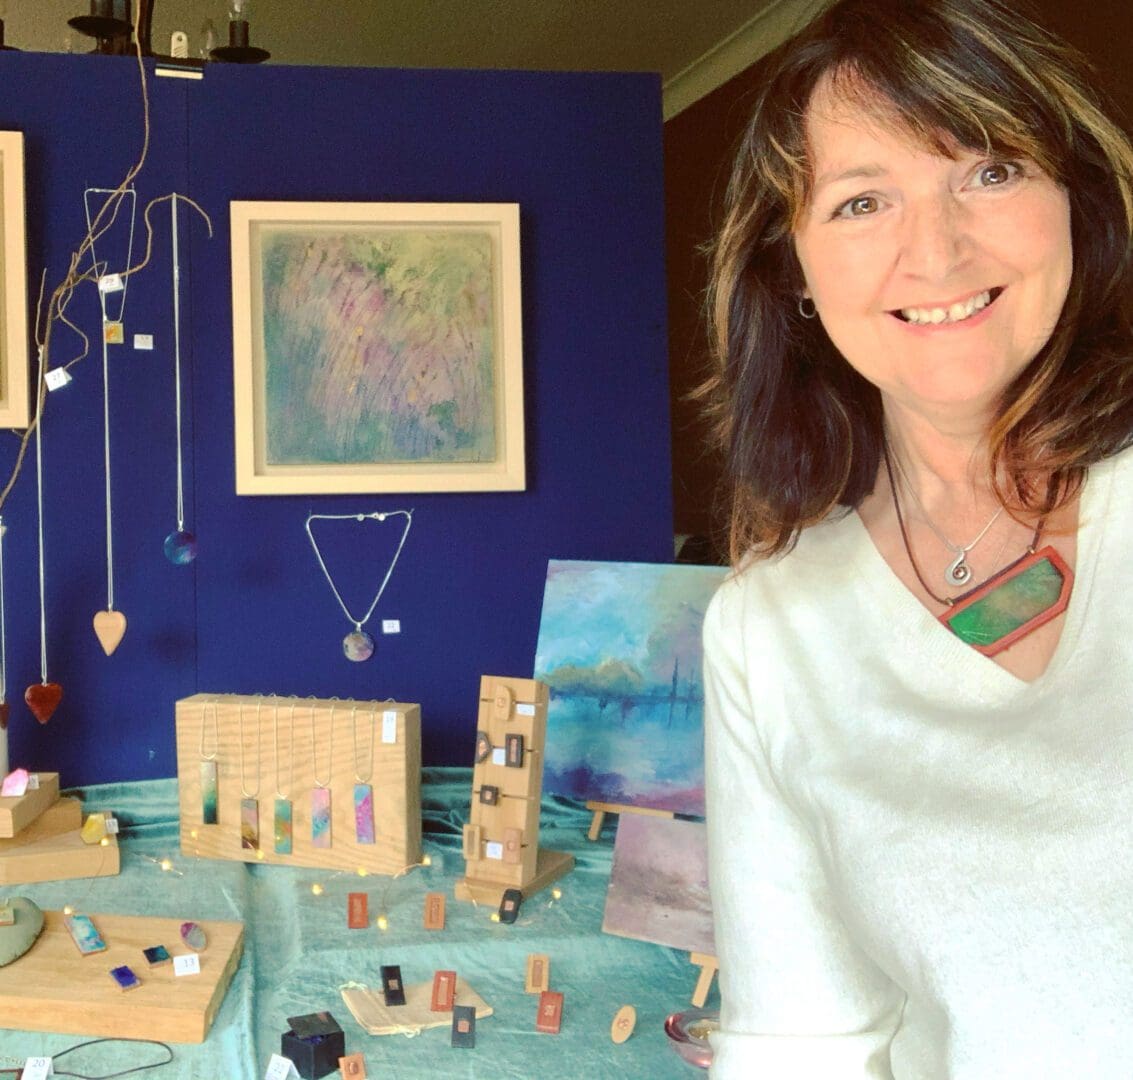
Beverley Chapelhow – Bevart designs.

I am Beverley, of ‘Bevart designs’ I live in the beautiful Ribble Valley in Lancashire. I will always be that artist that fell into making jewellery making and designing, many people have said that my artwork would make lovely jewellery pieces, this got me thinking and I started to create and work on this possibility. I made a few pieces and put them on display in my studio… to my delight I sold a few, 12 months on I was accepted for a great art and craft show called ‘Art in the Pen’. I took with me my framed artwork and my jewellery, I made more sales than I thought possible. Being encouraged by this I applied to sell on ‘The British Craft House’ and was thrilled to be accepted.

I have always taught art classes to adults sometimes with a crossover into craft making like flower arranging, printmaking, card making etc.

I am inspired to create any art work including my jewellery by nature, the Japanese way of Wabisabi, travel, and other artists, I love the work of Greyson Perry, Yayoi Kusama, there are lots more!

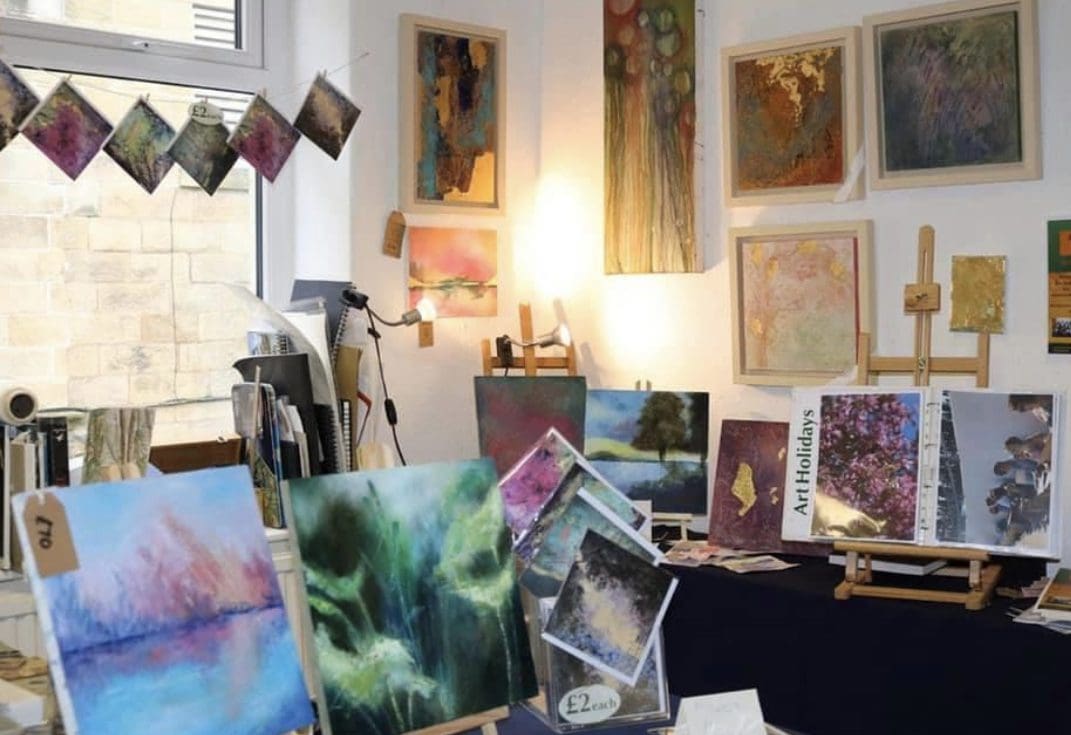
my art studio

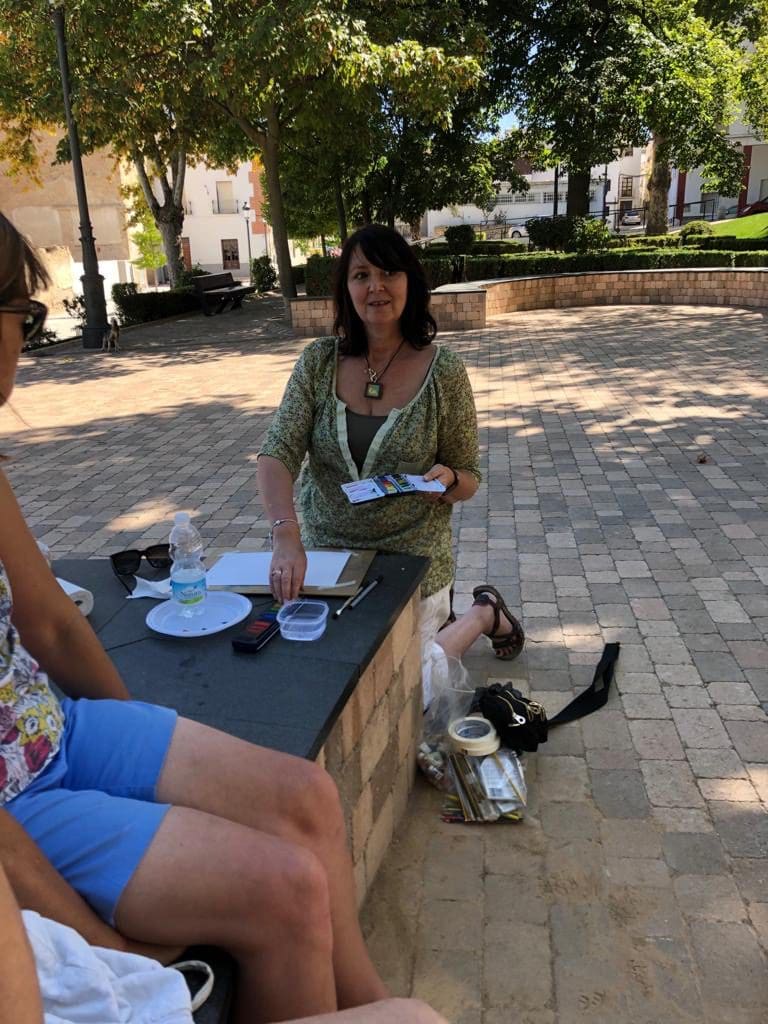
I graduated from university in 2008 with a degree in fine art, with a friend and colleague we wanted to still try and work together in a studio environment, we wanted to find a place where we could provide affordable studio space for other artists. I am currently the proud owner of ‘Atelier Arts’ an art studio collective with gallery and teaching space in Clitheroe from here I sell my paintings, I teach art classes to adults including general art and life drawing , I also teach art in Spain with partners ‘Caves of Dreams’  we provide a full all-inclusive art holiday experience in Baza, the region of Andalucia.  

Teaching in Spain

What is the dream? The dream was always to own an art studio, the other is to be selling my work more regularly, whether that’s jewellery or my paintings to build a following and to become successful.

I am currently working from home and we have a workshop in the garage, so I can keep on creating and making.

My proudest moment business wise is owning my current business and that being a success. Forever proud of our two daughters growing into confident, successful, independent women.

My creative future looks like this, over the past year I have been experimenting with ice dyeing and eco printing on fabric. I love textiles and pattern, this is something I want to add to my shop in the future in the form of scarves as I believe this would enhance my jewellery range. I am also planning some Yoga and Art retreats, I want to provide creative relaxing workshops based around self care, using our mental and physical self in a creative way using clay and paint.

To relax and have fun I love to tap dance, I regularly take part in yoga, pilates and meditation. I also love photography and to travel sketch and paint.

I also enjoy a good night out with friends in the city of Manchester drinking cocktails!

I also adore cake, what is my favourite cake ….any cake!!! But very partial to a lemon drizzle

Posted on — Leave a comment

Making a Polymer Clay Pendant

This is another of the basic Polymer Clay styles I first learned ‘back in the day’ and like the Swirlygigs I showed you last time, this one has always remained a favourite too. You never know how they are going to come out so that’s fun! I took some photo’s this time so I can talk you through the stages. This is not a tutorial, but I thought you might be interested to see the stages of work.

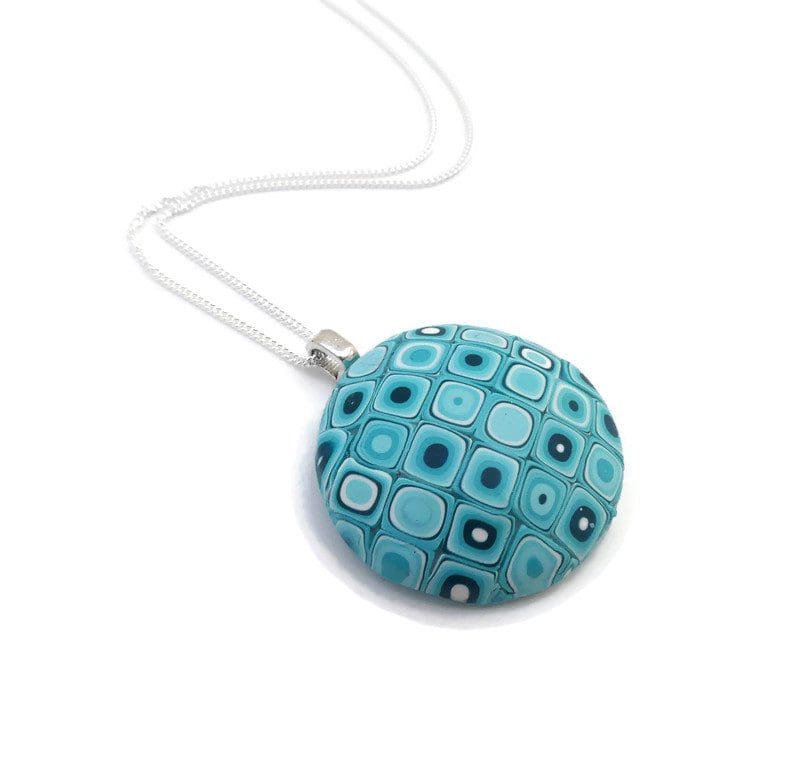
blue pendant

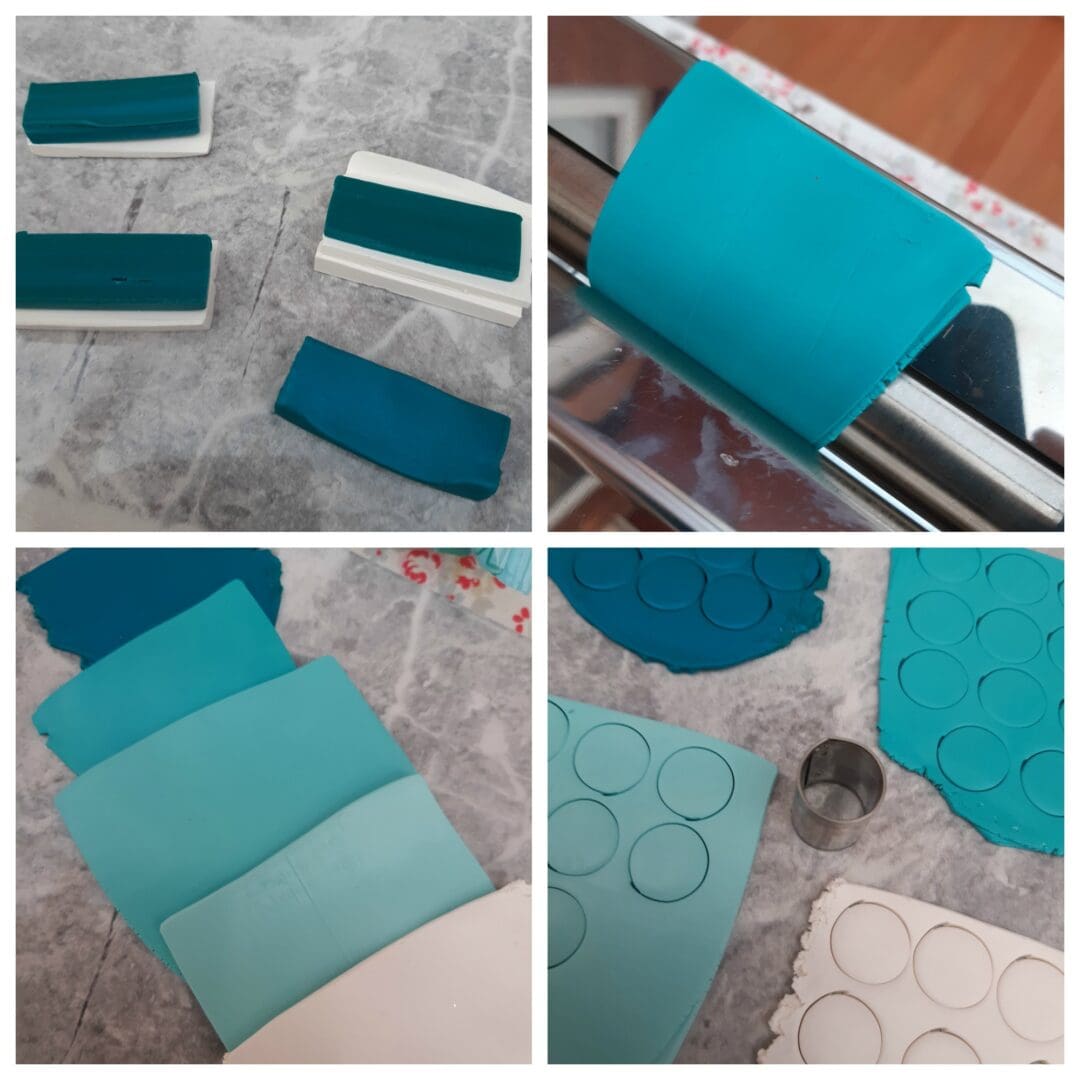
First off I chose the colours I wanted to use and conditioned the clay, that is made it pliable to use. I use a pasta roller for this but you can kneed and roll the clay too if you prefer. I roll a piece of each colour to about 2mm thick.

Next step is to cut little rounds of each colour, the size is to slot into the end of the clay extruder, (like a sort of syringe for clay).

Making a polymer clay necklace

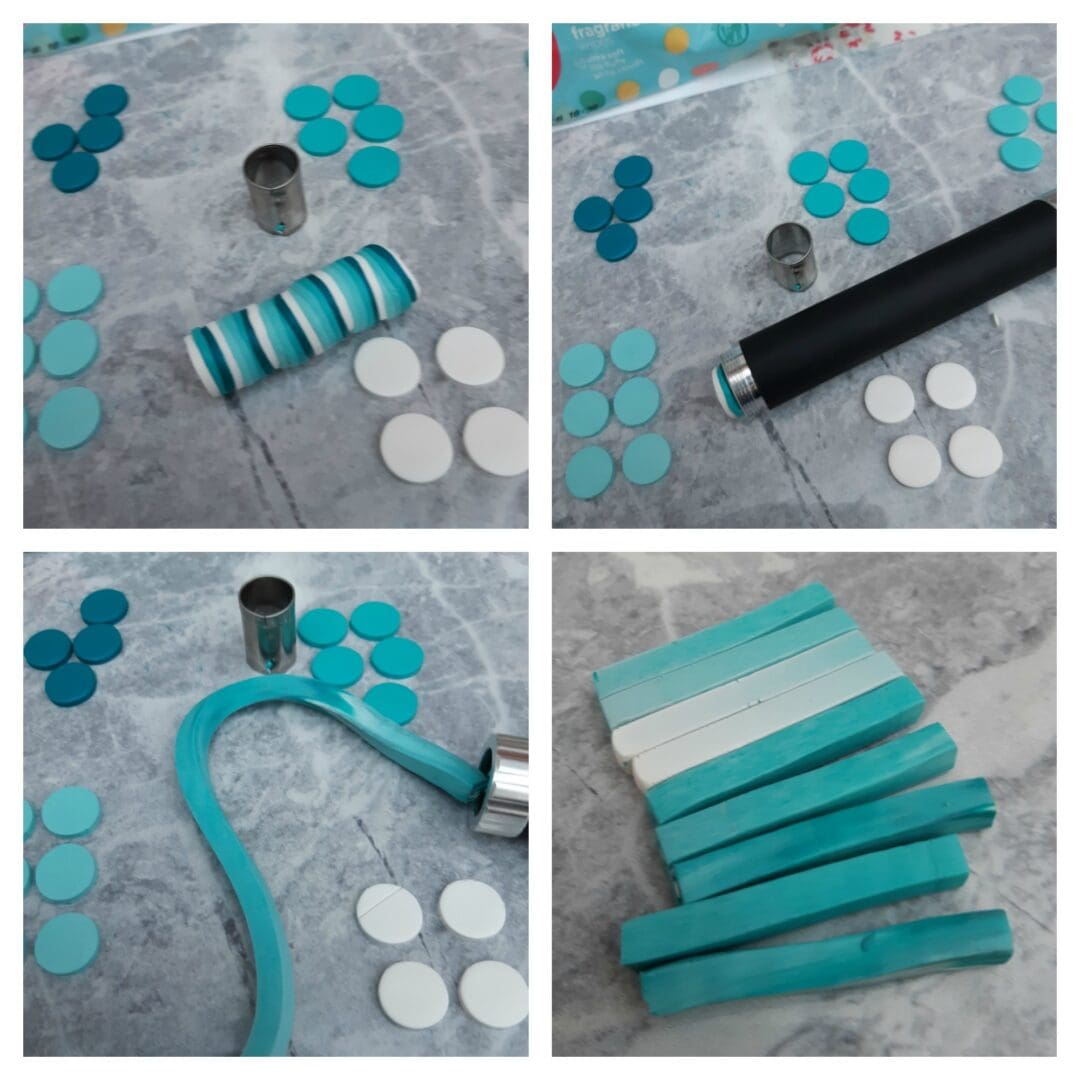
Once I have an even number of each colour I stack them to make a long
sausage shape that will slide into the barrel of the extruder. The clay is then ‘extruded’ and comes out in a long square shaped piece. See pics below

polymer clay jewellery making

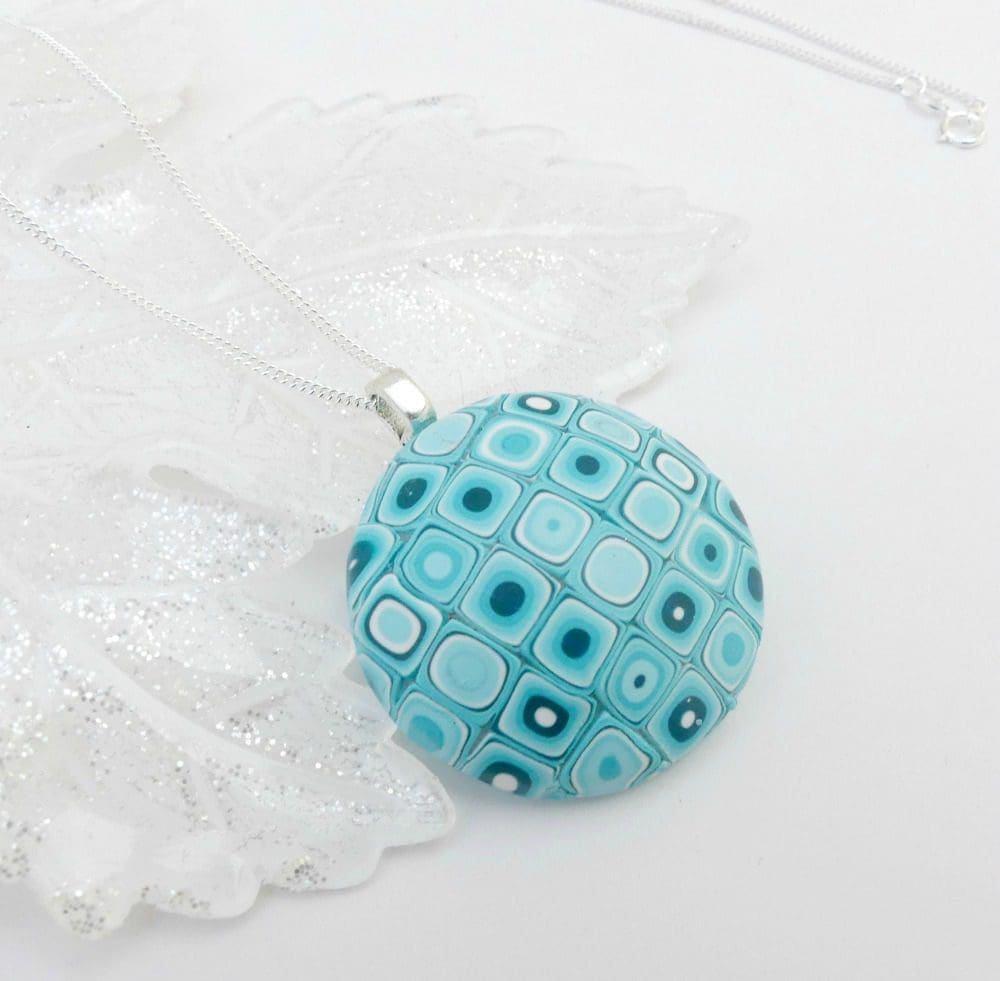
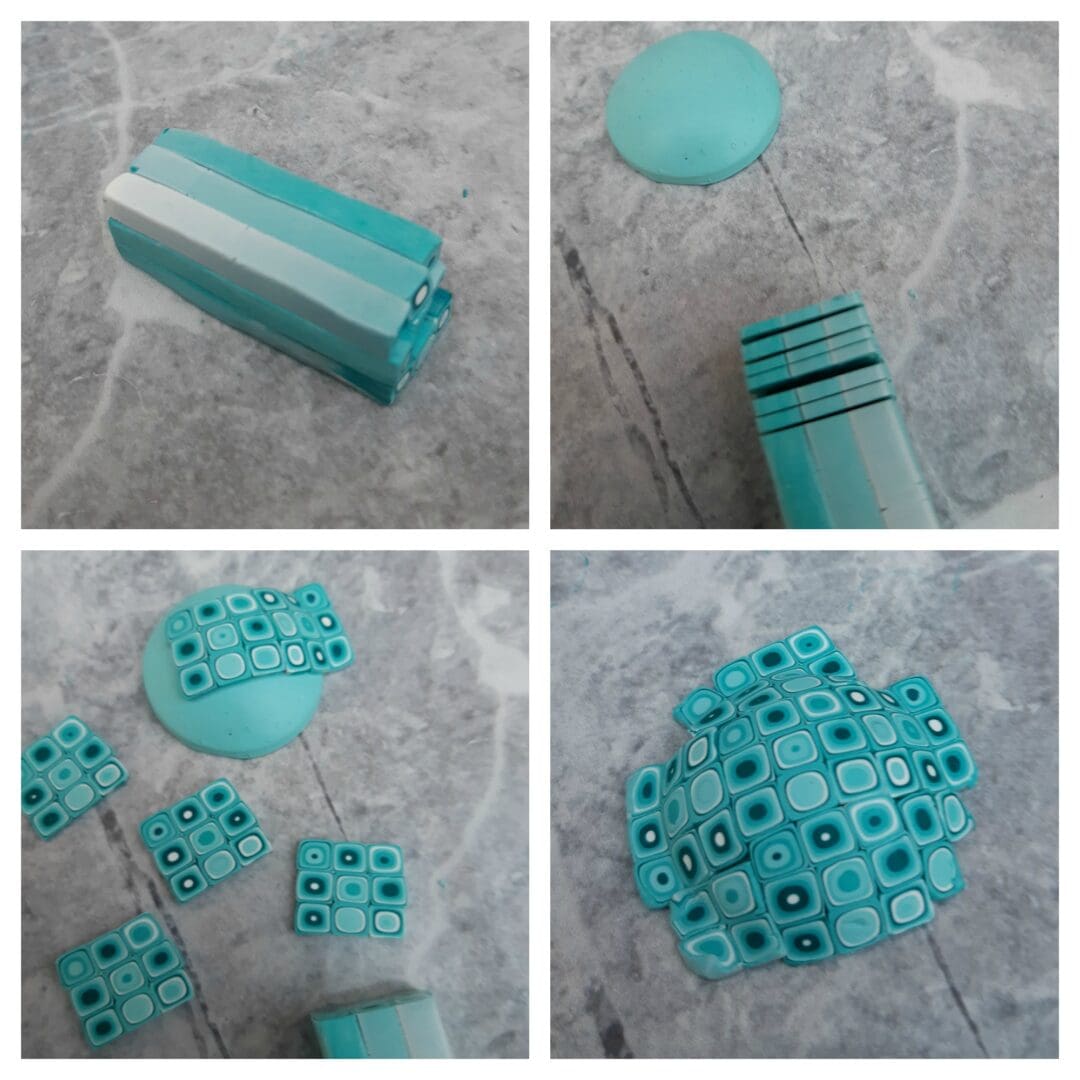
This long piece I then cut into pieces approx 2 inches long, you can see there is a colour variation along the clay. The next step is to stack these little sticks together to make a clay cane. I use 3 across and up to make a square. Then I slice very thin slices from the cane. This is where the magic happens and all the colours pop out in tiny squares, isn’t that fun! I moulded a plain piece of clay into a pendant shape ready for covering with the slices and carefully piece them together across the top to cover it completely.

Retro style Clay Necklace

Then using a large circle cutter I trimmed away the edges to make it neat and tidy.

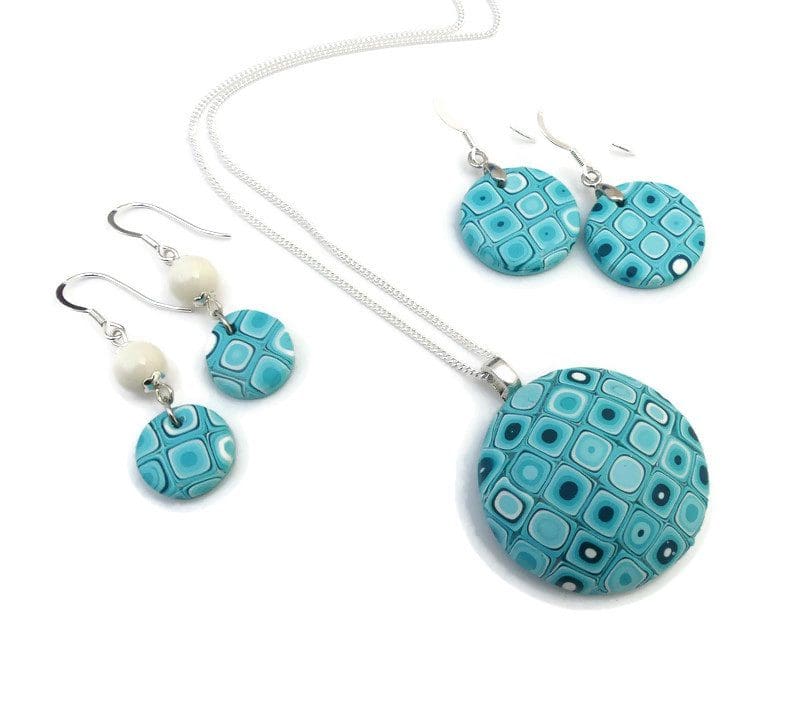
Once it has been baked, it is carefully sanded and given several coats of matt varnish to give it a smooth finish all over. I made some fun earrings at the same time, these pieces are all now available in my British Craft House shop and I will be adding other colours very soon.

turquoise clay set

Thank you for reading! See you next time, Di x

https://staging.thebritishcrafthouse.co.uk/shop/adien-crafts/