Posted on — Leave a comment

All About myself and HRJ!

Welcome!  Let me start by telling you a little bit about myself!


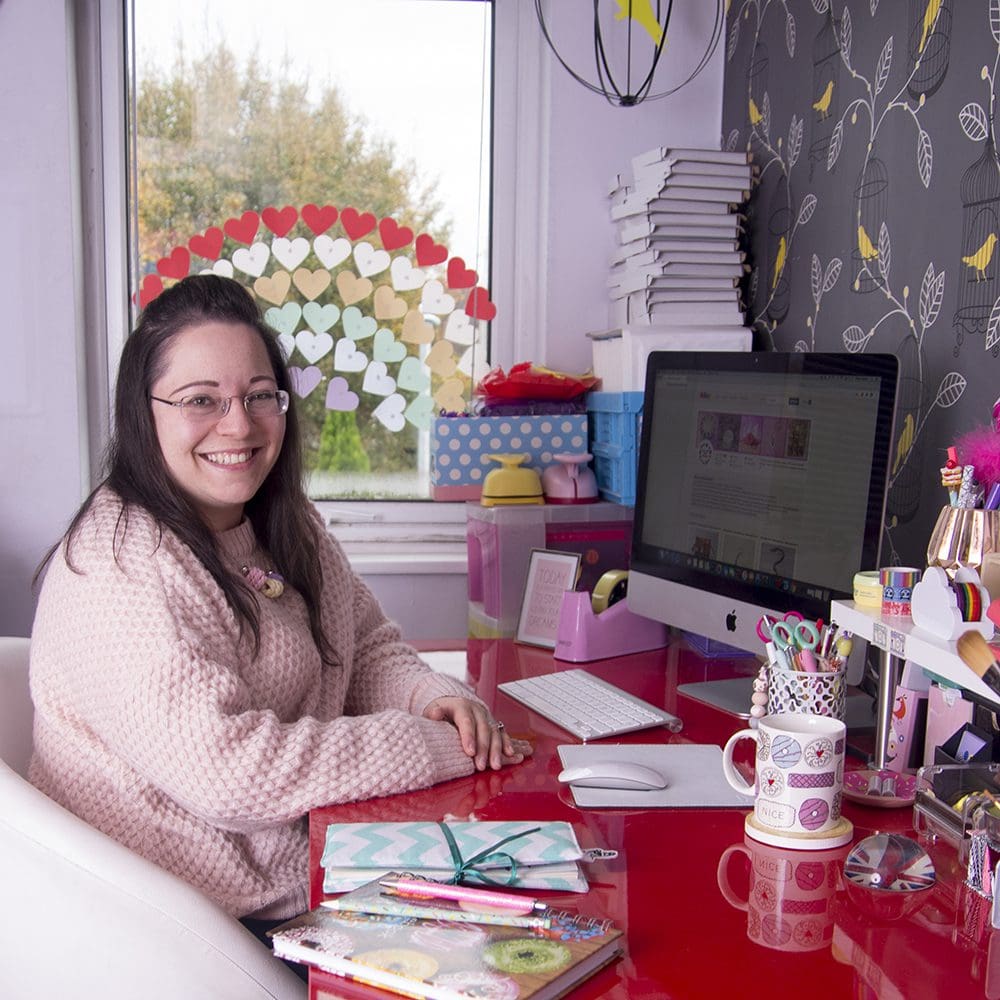
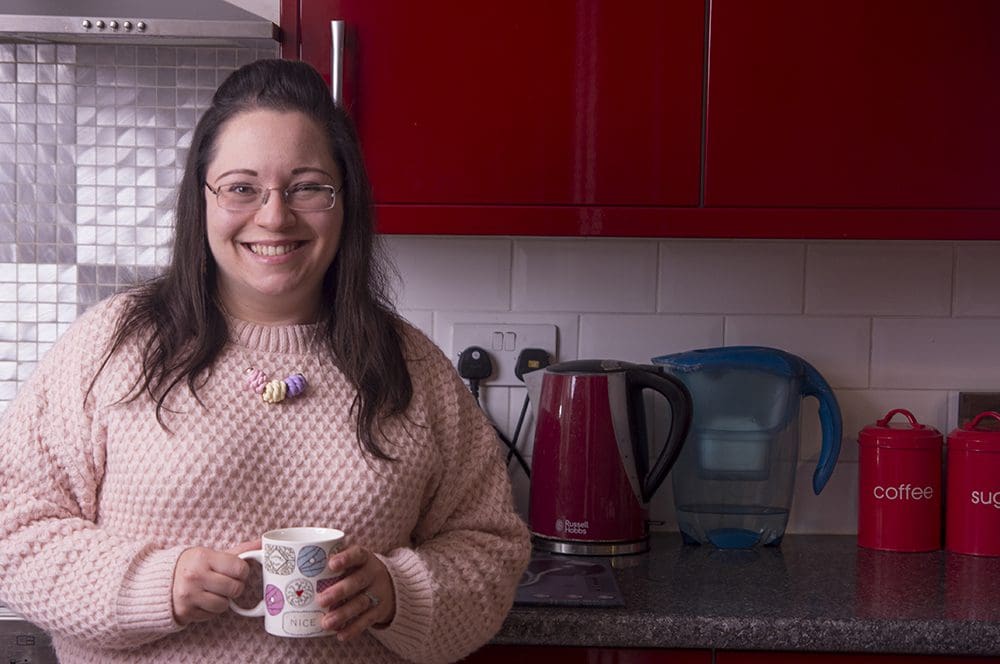
I’m Fallon, a thirty-something year old, living in Hertfordshire with my husband and daughter.  I’m an avid crafter, have been all my life, trying my hand at many different activities for fun and making numerous things for my daughter and as gifts.   I also love home baking and drinking copious cups of tea!  I have a degree in photography and shoot freelance baby and children photography (when global pandemics don’t get in the way!)
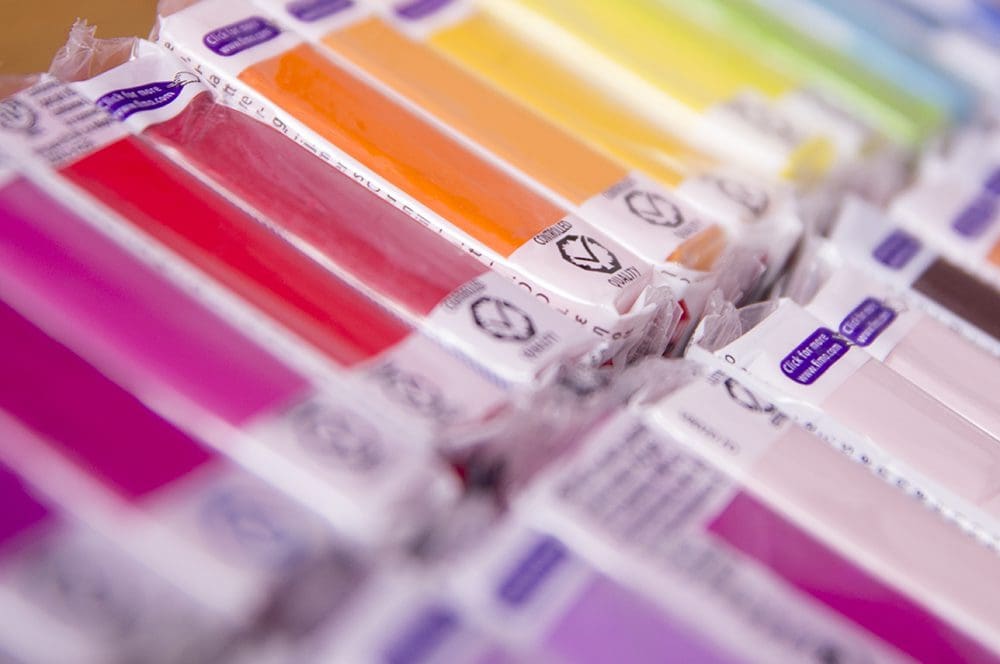
 

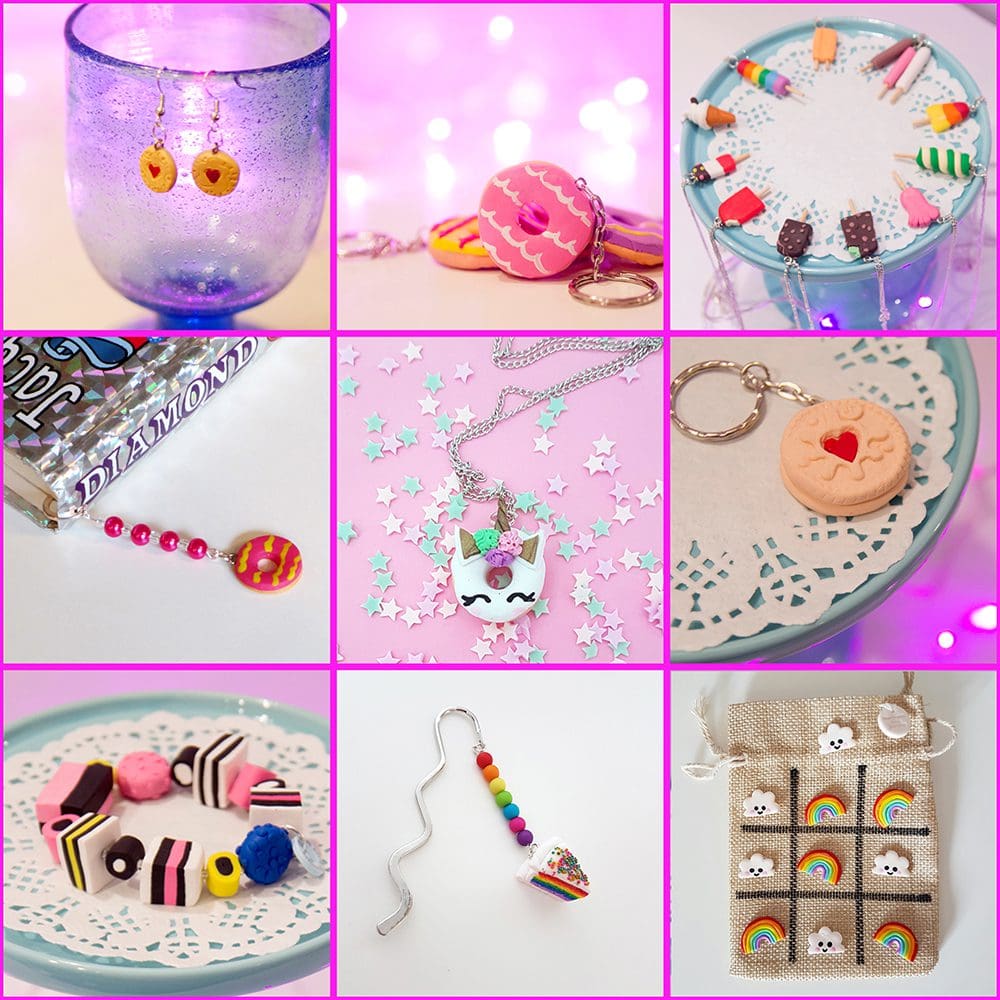
I’ve been using polymer clay since I was a child, initially making teeny tiny food for my dolls house.  My husband bought me a food themed polymer clay book many years ago, and after experimenting with cakes and sweets, decided to start selling the increasing number of makes I produced, mainly to clear some space!!  The rest is history, HRJ was born in May 2011!
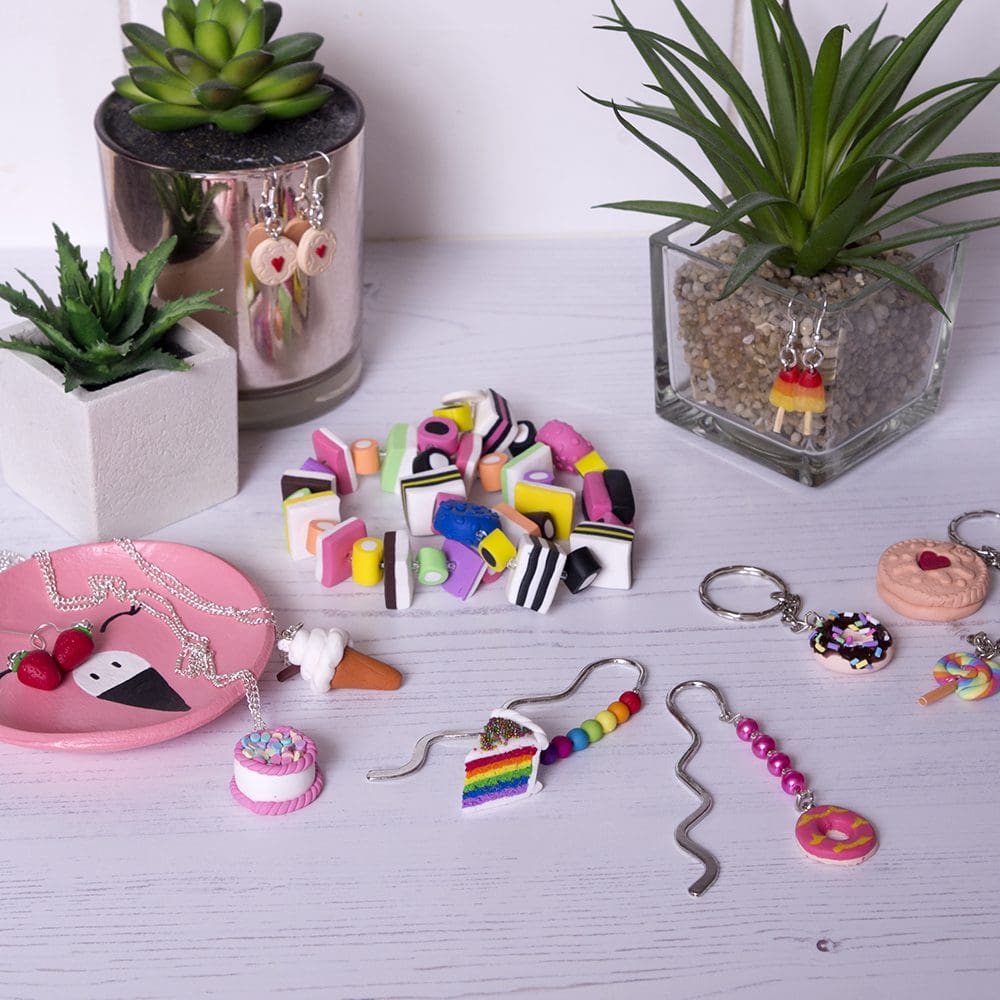


I chose to continue the foodie theme as I love all things quirky and retro – I’m an eighties child, so the retro food you find at old school birthday parties is an absolute favourite at mine – plates of iced ring biscuits, fondant fancies, etc – whenever we have a birthday at home, we always have that kind of tea party to celebrate!  I think the theme brings a sense of nostalgia to childhood/good memories from the past (my allsorts sweetie bracelet was one of my very first makes, and is still so popular today, with the young and old!). I’ve now also started to branch out into homeware and decorations…but more on that in my next blog post!


Inspiration strikes me at any time – I generally get distracted by anything cute and quirky, especially colourful eye catching things.  I love kawaii styles, and have incorporated it into some of my pieces.  Current trends inspire me, as well as actual foods; being a keen baker, I follow lots of baking accounts on social media, and sometimes try to recreate something edible into clay form!  I also have had many commissions and special requests over the years, and some I have felt would be really popular, so have then made these into pieces for my shop too.

I joined TBCH in early 2020 and love the unique community of makers here, they are all so helpful and friendly, with each and every one making beautiful high quality handcrafted items.

Oh and if you’re wondering…my favourite biscuit to dunk in my cup of tea is….a chocolate bourbon or Lotus Biscoff!
Posted on — Leave a comment

Making a Polymer Clay Pendant

This is another of the basic Polymer Clay styles I first learned ‘back in the day’ and like the Swirlygigs I showed you last time, this one has always remained a favourite too. You never know how they are going to come out so that’s fun! I took some photo’s this time so I can talk you through the stages. This is not a tutorial, but I thought you might be interested to see the stages of work.

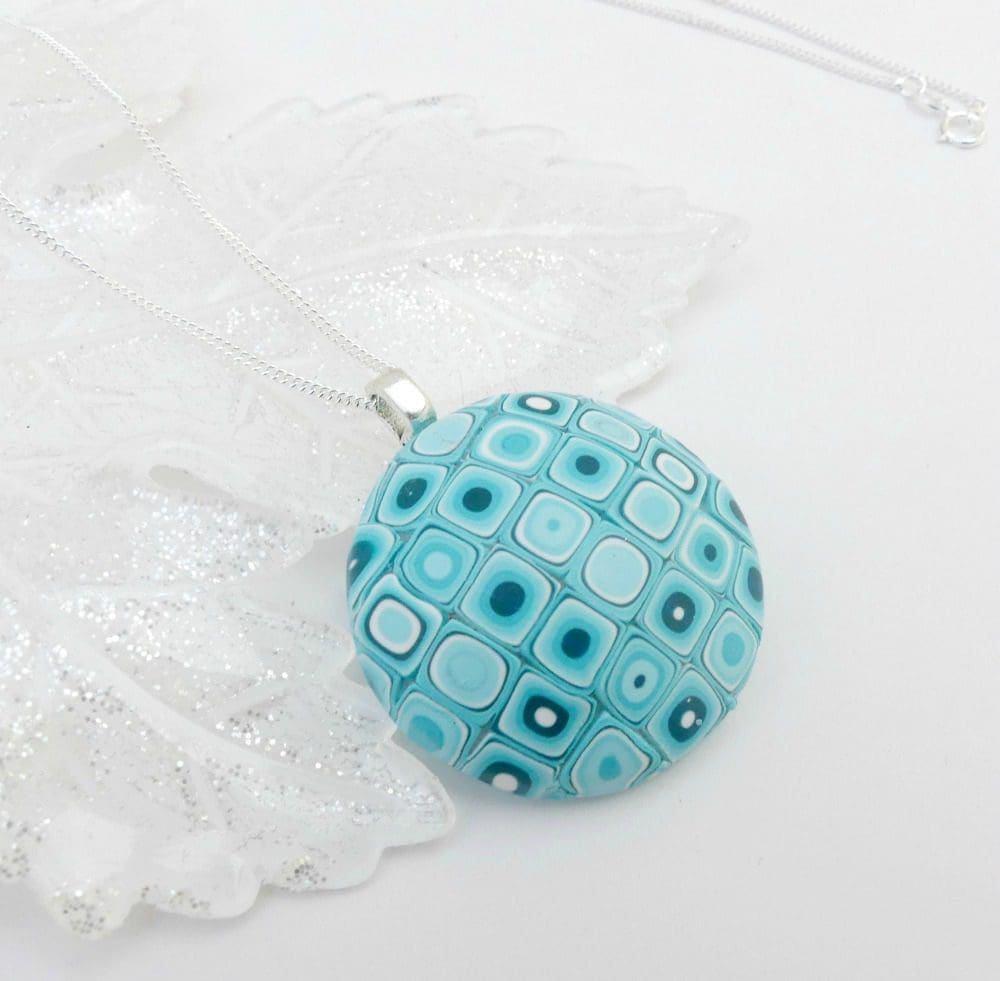
blue pendant

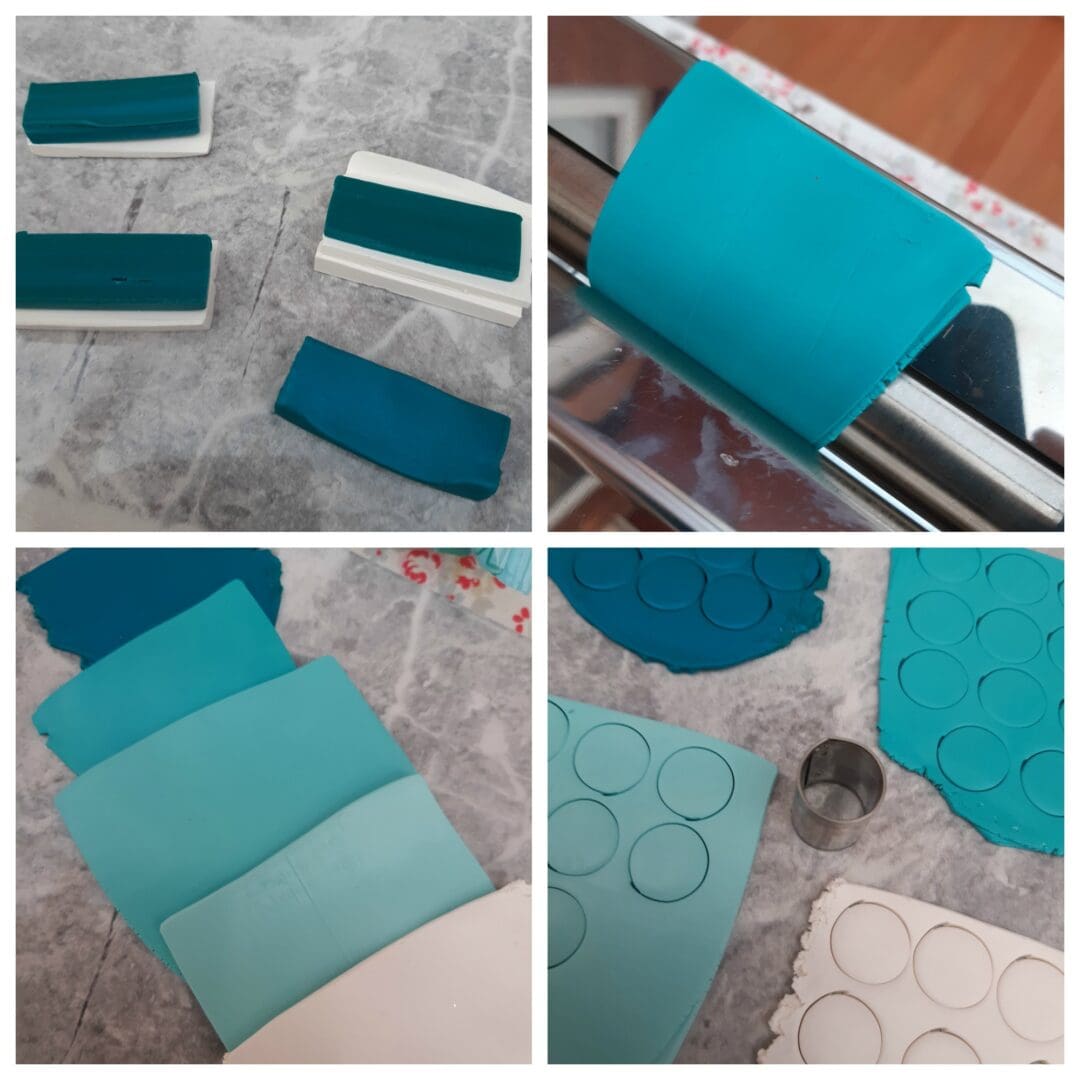
First off I chose the colours I wanted to use and conditioned the clay, that is made it pliable to use. I use a pasta roller for this but you can kneed and roll the clay too if you prefer. I roll a piece of each colour to about 2mm thick.

Next step is to cut little rounds of each colour, the size is to slot into the end of the clay extruder, (like a sort of syringe for clay).

Making a polymer clay necklace

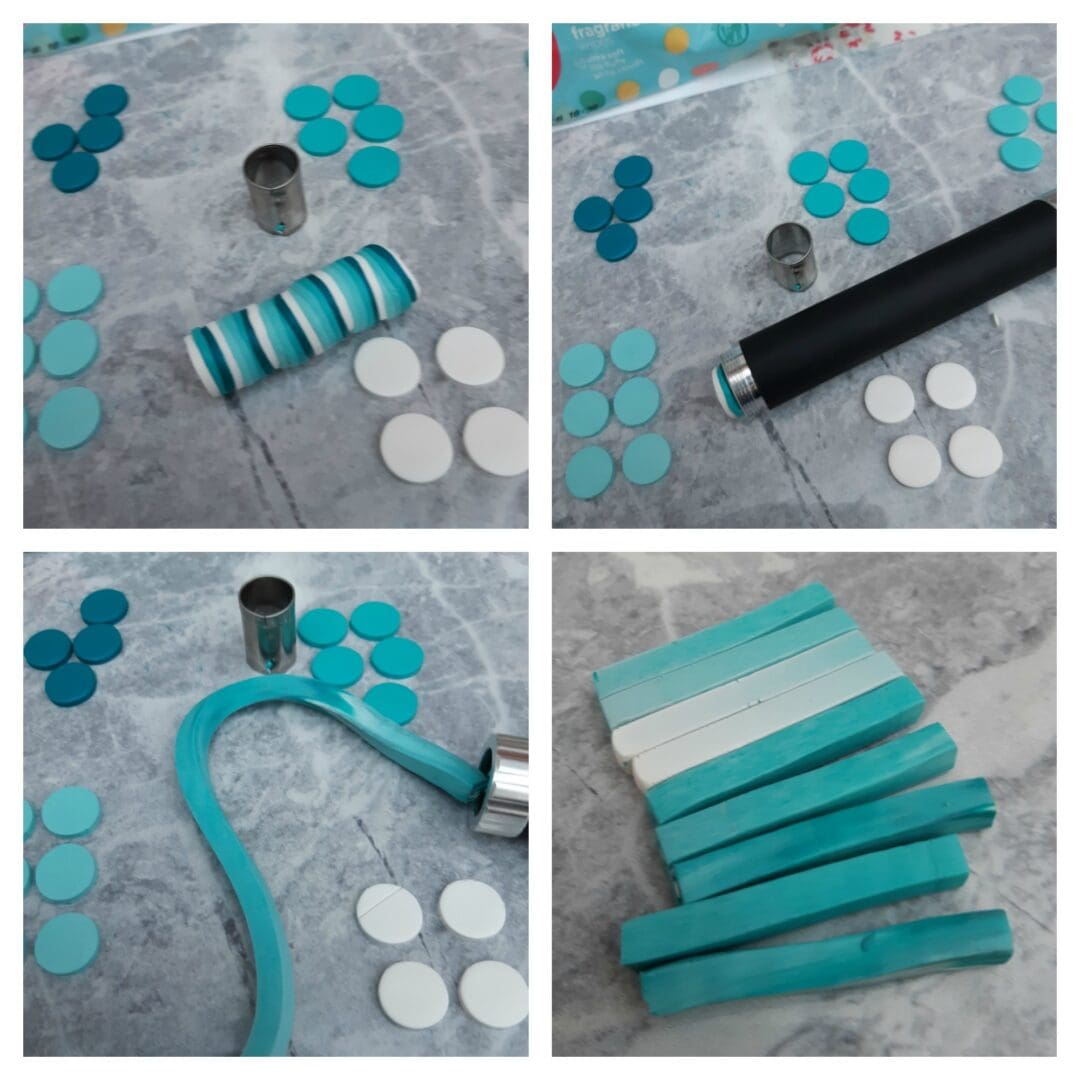
Once I have an even number of each colour I stack them to make a long
sausage shape that will slide into the barrel of the extruder. The clay is then ‘extruded’ and comes out in a long square shaped piece. See pics below

polymer clay jewellery making

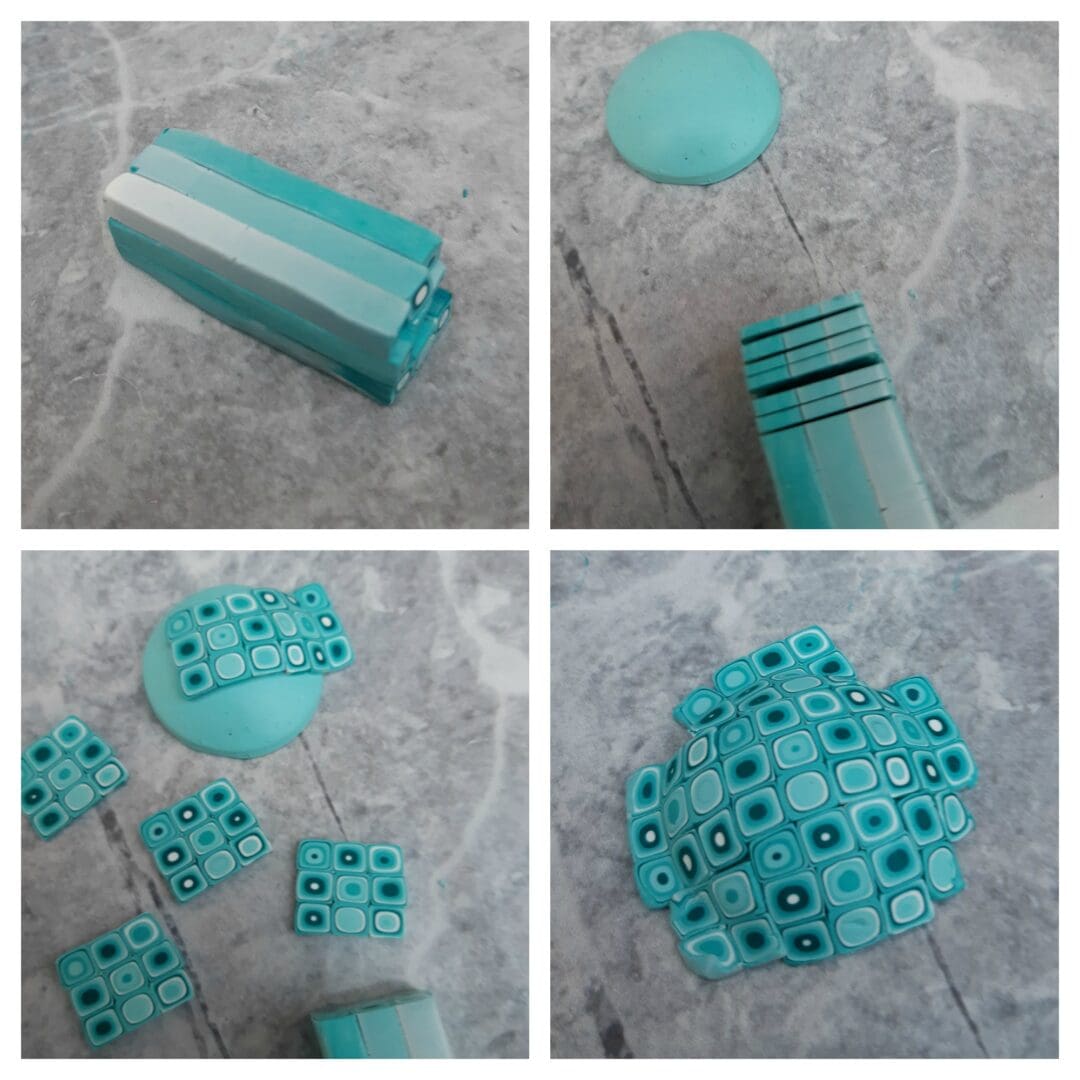
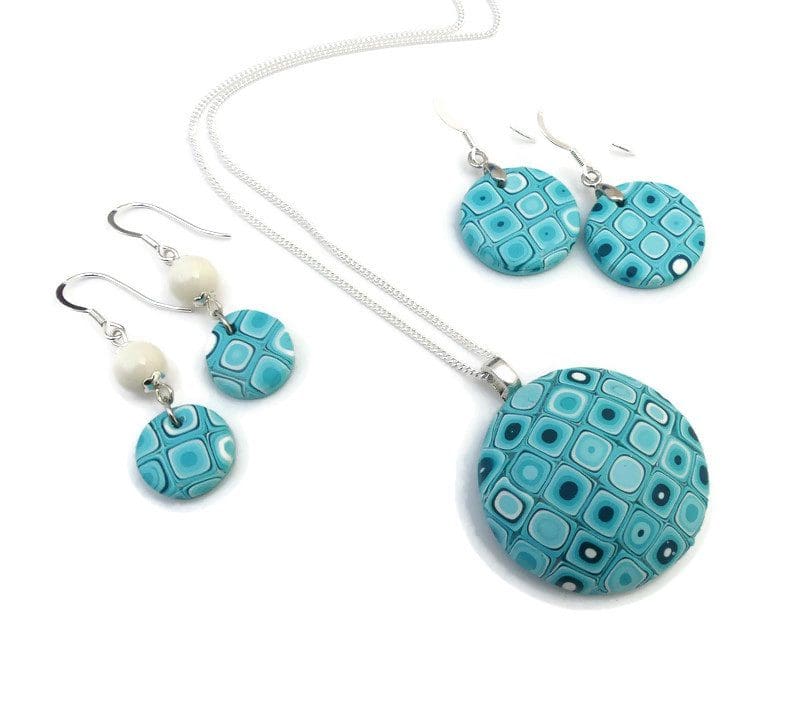
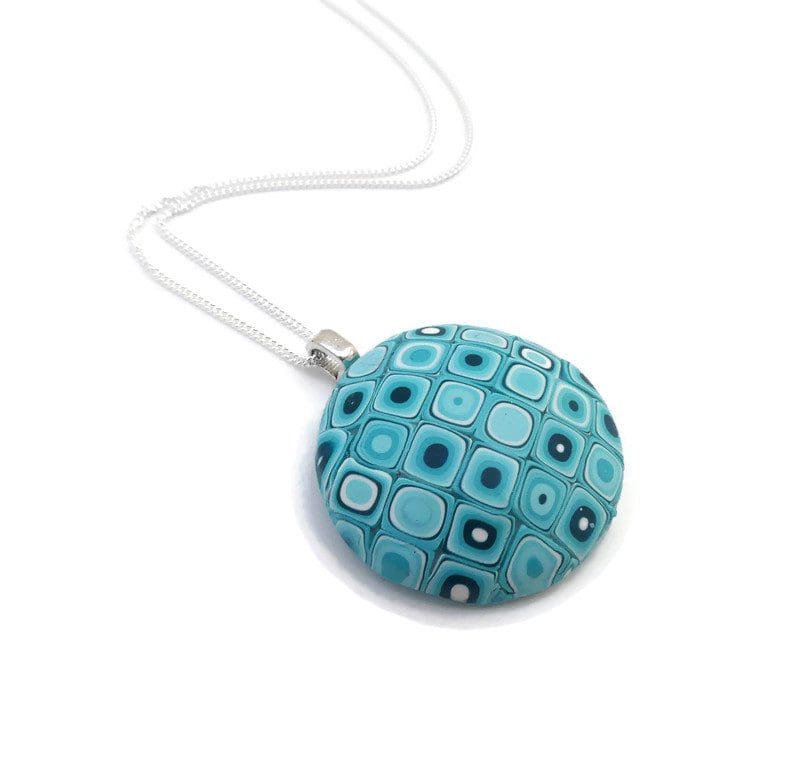
This long piece I then cut into pieces approx 2 inches long, you can see there is a colour variation along the clay. The next step is to stack these little sticks together to make a clay cane. I use 3 across and up to make a square. Then I slice very thin slices from the cane. This is where the magic happens and all the colours pop out in tiny squares, isn’t that fun! I moulded a plain piece of clay into a pendant shape ready for covering with the slices and carefully piece them together across the top to cover it completely.

Retro style Clay Necklace

Then using a large circle cutter I trimmed away the edges to make it neat and tidy.

Once it has been baked, it is carefully sanded and given several coats of matt varnish to give it a smooth finish all over. I made some fun earrings at the same time, these pieces are all now available in my British Craft House shop and I will be adding other colours very soon.

turquoise clay set

Thank you for reading! See you next time, Di x

https://staging.thebritishcrafthouse.co.uk/shop/adien-crafts/

Posted on — Leave a comment

Happy Sunday and Making Swirlygigs

Morning Everyone and Happy Sunday, a month before the Big Day and the
Adien Grotto is in full swing! Today I thought I’d tell you about one of
this weeks makes, polymer clay pendants which are an old favourite of
mine but which I have never tired of making over the years.

Polymer clay is such a versatile medium to work with and these days is available in so many colours, I am like a kiddy in a sweet shop when buying any new.

I decided to make some of my Swirlygig (as I call them affectionately) pendants with a little addded sparkle for the Festive season.

I am sure that every clay user has their own techniques so mine may differ but I have found the way that suits me best, as many Makers do through trial and error I am sure.

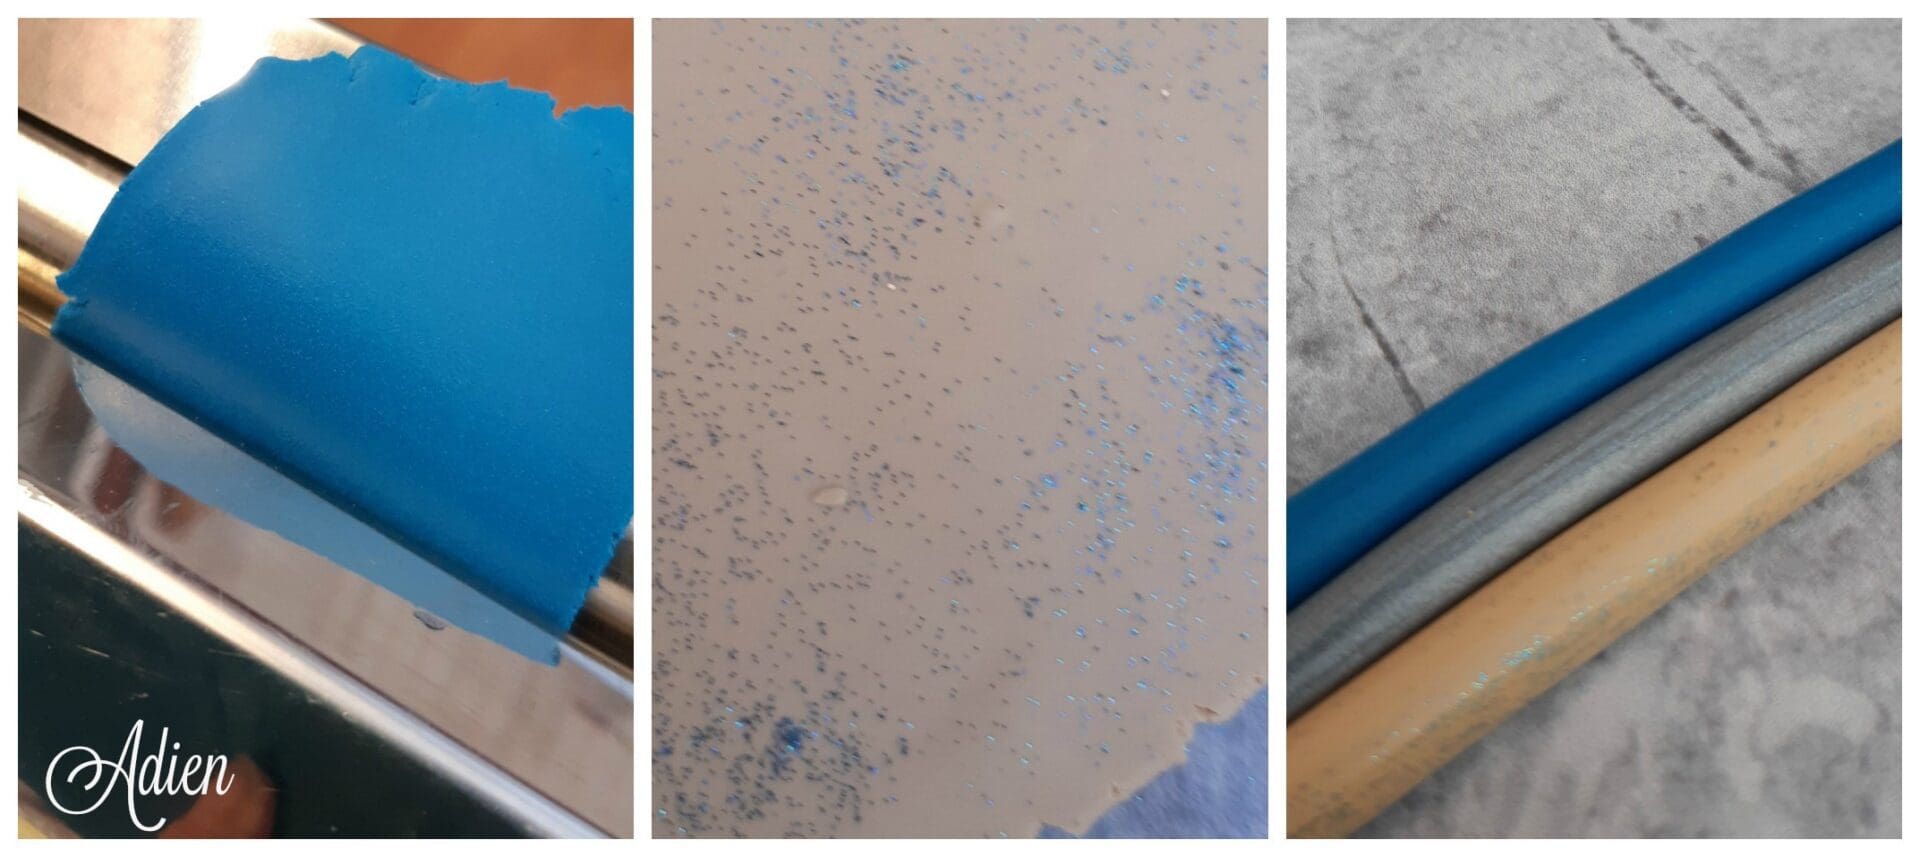
First off I selected the colours to use for the pendant which in this case was a lovely turquoise, a silver and a light creamy shade. Before using it the clay has to be conditioned to make it pliable and easier to use, so I use a pasta roller to do this, sometimes if the clay has become a little old I add some clay softener and work it into the clay as there is nothing worse than getting half way through your creation and the clay starts cracking. After rolling and kneading each colour is rolled into a long sausage, I added a little sparkly glitter powder onto the cream before doing this.

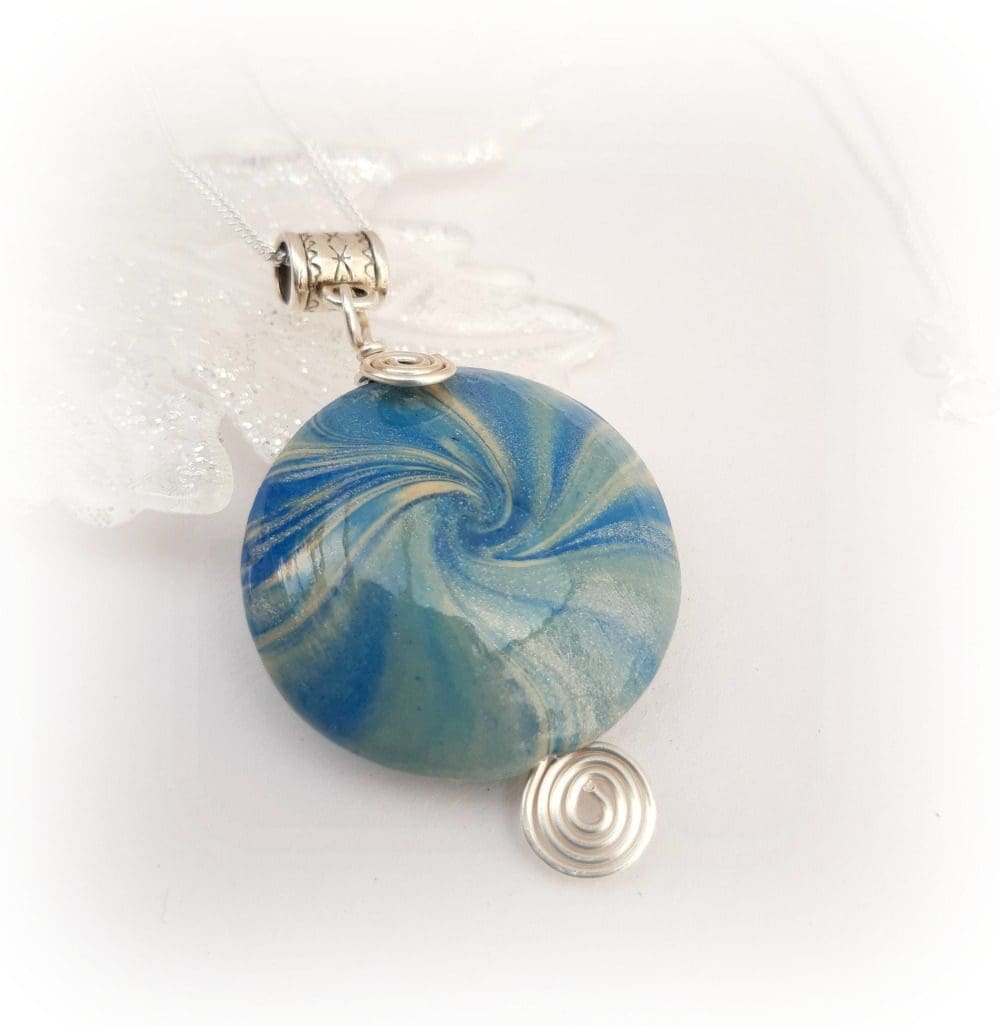
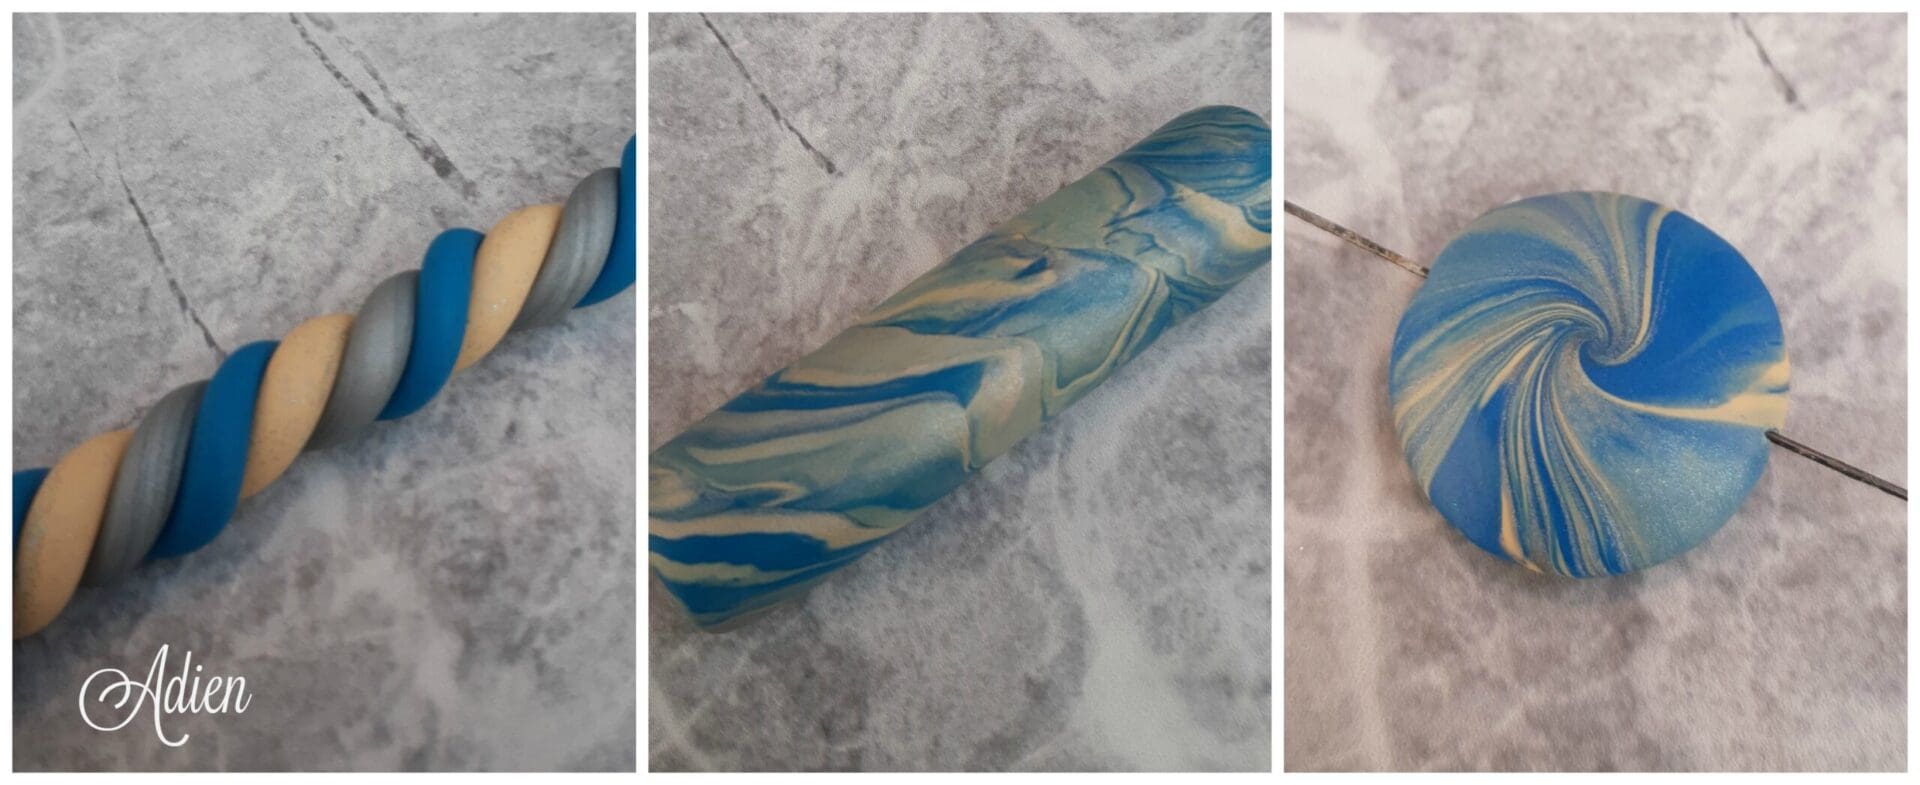
I use a large piece of marble tile to work on, I find it smooth and cool and easy to clean. The next step is to twist all the colours together into a long coil, this is when you will know you have conditioned the clay properly as if it starts cracking you know you haven’t, and it’s back to square 1. Then it is a case of rolling the clay into a long sausage, twisting and rolling again until you get a pretty marbled effect. The number of times you do this varies, you can go too far and the colours will have blended too much, or not enough so the marbling isn’t clear, it’s just a case of judging by eye. I then shape the clay into a fatter piece about 3 inches long. This piece I then cut into 3 and roll round and round, up too 100 times, to shape the pendant, again it is knowing where to stop when you think it looks pretty.

Onto the final stages now and the beads are ready to go into my little oven, I have a mini oven on my work table which is used solely for clay so into there they pop and bake for about half an hour. After cooling they are given a few coats of protective varnish which also adds to the shine, add some wire for hanging and a sterling silver chain and they are ready for my shop. I also made some I called Christmas Toffee and Sparkle Berry, I called this one I have showed you Blue Christmas.

Well, that’s all from me, and that is probably enough! I hope you have enjoyed seeing a little of what goes into making, this is my first blog of this type so I hope I haven’t gone into too much, or too little detail. Hope you all have a wonderful day, if you felt like leaving a little comment you would see me doing a happy jig knowing I am not talking to myself. Di xx

Blue Christmas Pendant can be found here