Posted on

About Jewellery handcrafted by Pauline

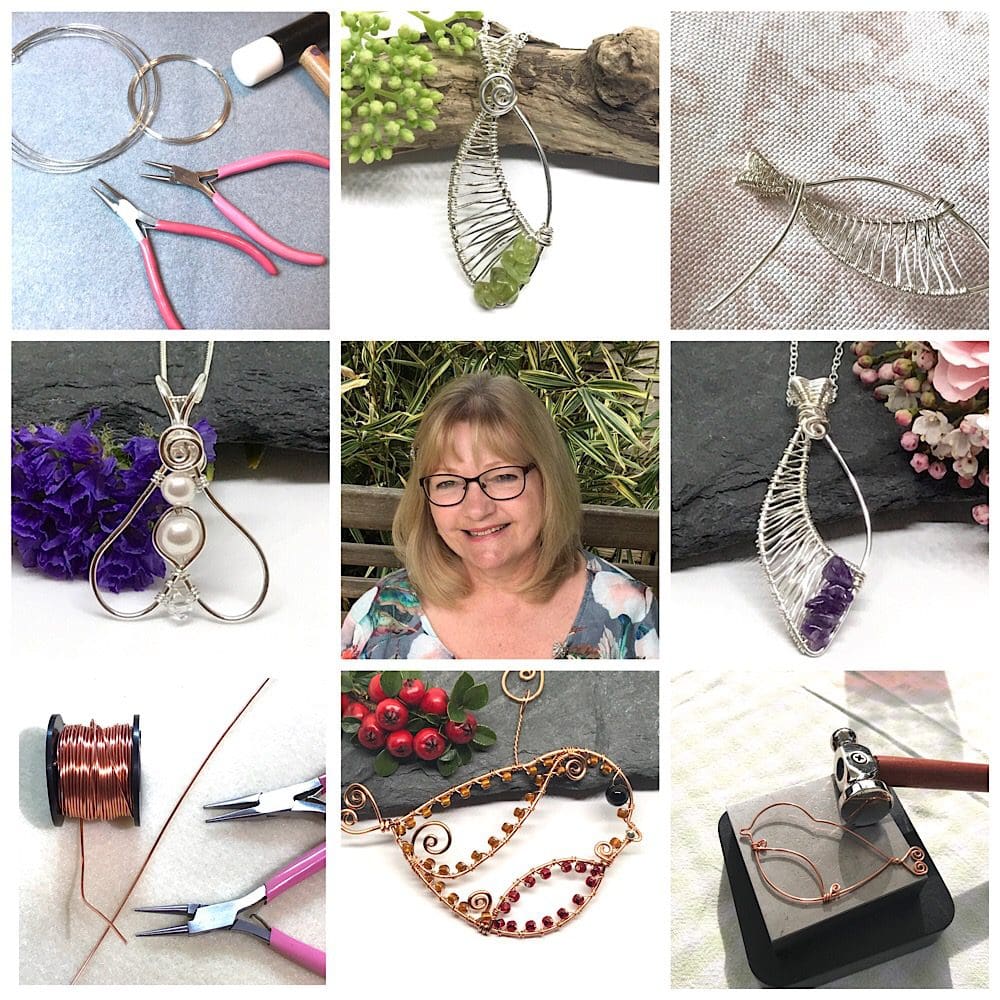
Hi, I’m Pauline, I love to make jewellery and creating new designs. All my jewellery is designed and handcrafted by me from my home in Cheltenham using intricate wire-wrapping and weaving techniques. 

Wire wrapping is one of the oldest techniques for making jewellery.

I have always loved jewellery and a few years ago I attended wire jewellery making courses at my local college. I absolutely loved the courses and became totally hooked.

I was amazed how beautiful and intricate jewellery could be made using wire and beads and a few jewellery making tools. There is no soldering or heating of  metal in this method of jewellery making.

My jewellery and decorations are individually created  using wire wrapping and wire weaving techniques. I use a variety of materials including sterling silver wire, silver filled wire,  copper wire, silver plated fixings and a variety of beautiful beads. 

My designs are often inspired by nature, I find the shapes in nature amazing. Among my pieces you will find leaf shapes, flowers, dragonflies, bees, and birds. I also love to make hearts.

When I have a design in mind I will sometimes but not always make a very rough sketch. I take a length of wire either .8mm or 1mm wire and begin to shape the wire using jewellery making tools and mandrels. Once I am happy with shape I will gently hammer with a chasing hammer on a steel block to harden and strengthen the wire shape. I use .4mm wire to create wire weaving designs or to add beads.  The wire is finished with a burr tool to smooth and a wrapped loop to secure. The completed piece is gently polished with a polishing cloth.

I hope you enjoy browsing in my shop and if you have any questions please contact me.
 

Posted on — Leave a comment

About Hygge and Hearth

Hygge and Hearth 

About Us 

Luxury botanical candles, reed diffusers and unique homeware gifts.

Inspired by nature, our candles and reed diffusers aim to bring ambience and atmosphere to your surroundings. Handcrafted and poured in small batches our candles and reed diffusers are sustainable, vegan friendly and are cruelty free. 


Ethos

We believe you can surround yourself with beautiful home fragrance and decor without compromising quality or the environment, which we consider very hygge! Products are designed to be reused, recycled or repurposed. The finest quality ingredients are used and come from sustainable sources; vegan, environmentally friendly and not tested on animals. All our products are handcrafted in Castlefield, Manchester. Additionally the majority of the ingredients and botanicals used in our products are from the UK and where applicable from sustainable sources.

Inspired by nature our handmade ranges include flowers, fruit and shells. As natural materials are used, there may be small variations in the product due to harvest or source. This means that every one of our products are indeed unique!


What’s in a name?

Hygge (hyooguh)

A concept native to Denmark and is deeply ingrained in the Danish psyche (incidentally often said to be the happiest country in the world) and can be described as a way to live well. Actual definitions can be harder to pinpoint, just like the pronunciation! as hygge can mean different things to different people. Hygge can be described as ‘cosiness of the soul’, a ‘feeling of home’ and being ‘mindful to take pleasure from the small  or simple comforts in life’ (Wiking 2016). Hygge can include the elements and environments – hearing a storm while you are safe indoors,  perfect crisp blue winter skies or lazy, endless summer afternoons. Essentially, hygge is about surrounding yourself with the things that make life good.


Hearth

Historically the hearth or fireplace was seen as the heart of the home, often the main provider of heat, light and comfort. As ambient lighting is an integral part of the hygge concept, a fireplace or hearth is very hygge. Due to modern living the open fireplace has become rarer, but creating an ambient atmosphere with our botanical candles and homeware ensures giving your home the hygge feeling couldn’t be easier! 

Wiking.,M. (2016) The Little Book of Hygge. Penguin Life.


Posted on — Leave a comment

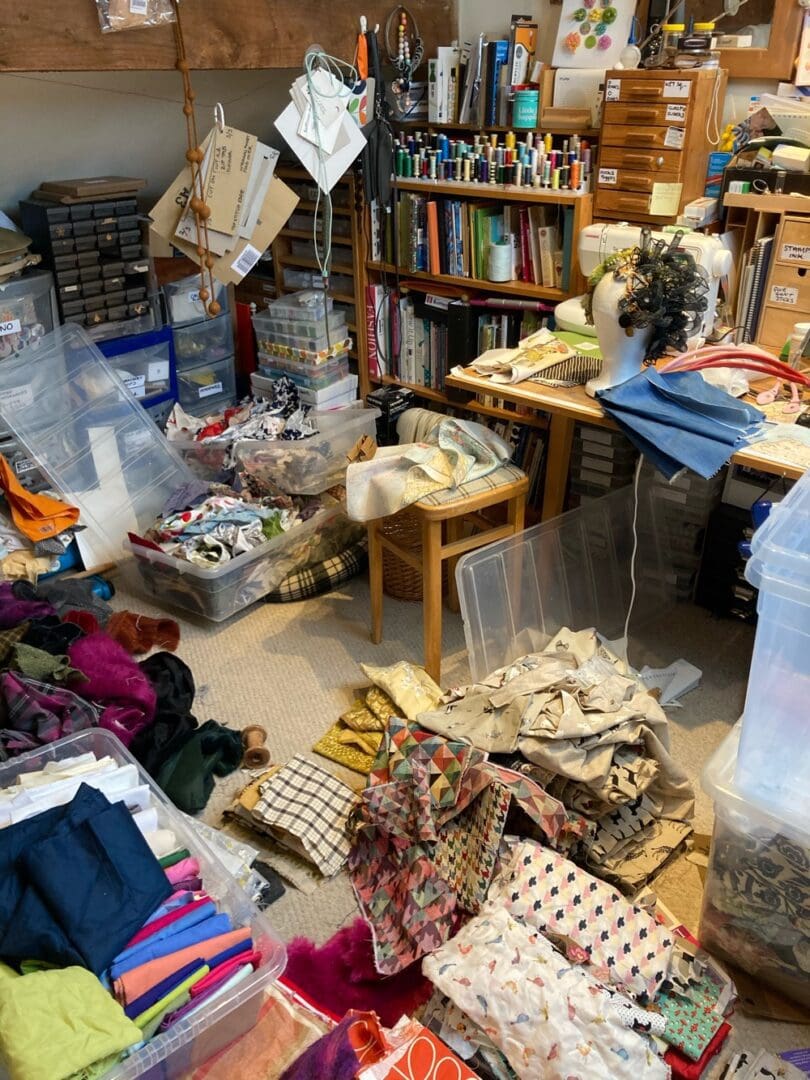
Recovery and organisation April 2021

I do like a Spring clean, I am quite a messy worker, I get carried away and there’s NO time to put things away as I go !! So after I finish a project I have a big clear out .
This clear out I concentrate on my fabrics, I have amassed a lot over the years, there are some fabrics that I have held onto for so long and still have not used, there will be ‘that’ perfect project for it, one day. 

I always feel so much better when the workroom is clean and tidy. I think it is a therapeutic way to clear my head before the next project.

There has not been much making done at the moment as I had Carpal Tunnel surgery done on my left wrist. The operation went well , its still a bit sore and nowhere near back to normal but definitely getting there. I think it is one of the  hazards of being a Sewist!

Posted on — Leave a comment

All About myself and HRJ!

Welcome!  Let me start by telling you a little bit about myself!


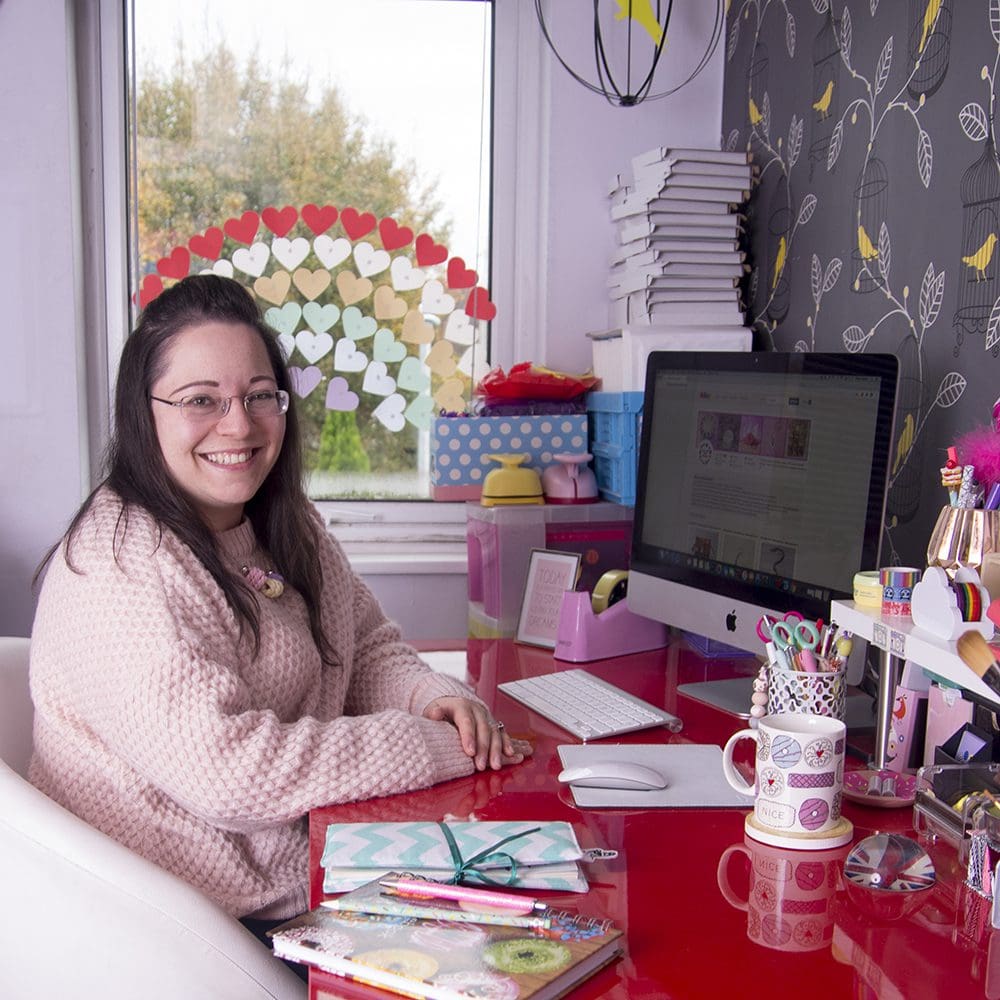
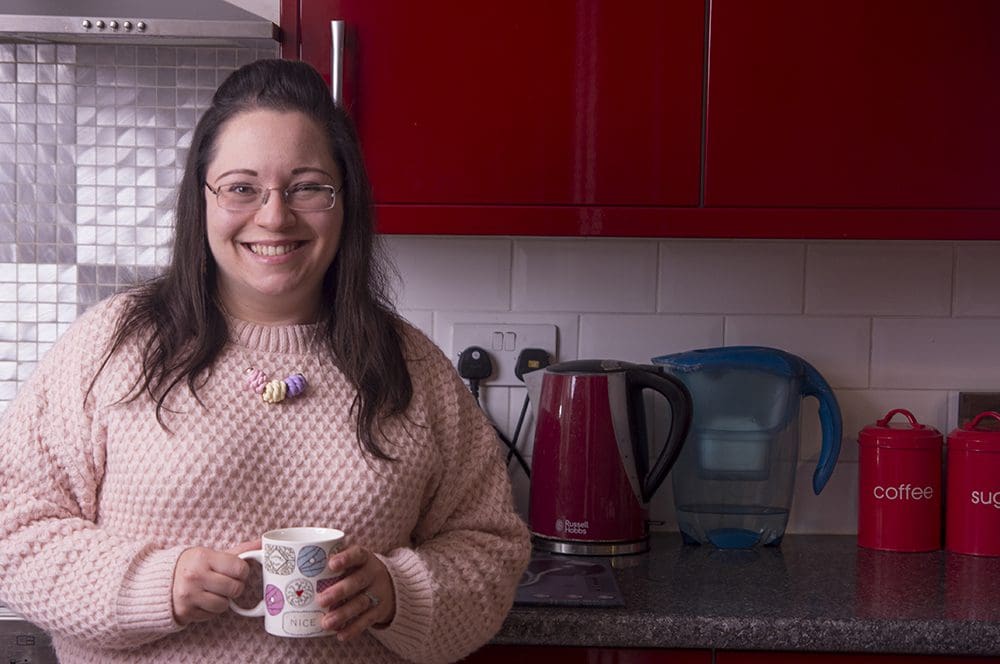
I’m Fallon, a thirty-something year old, living in Hertfordshire with my husband and daughter.  I’m an avid crafter, have been all my life, trying my hand at many different activities for fun and making numerous things for my daughter and as gifts.   I also love home baking and drinking copious cups of tea!  I have a degree in photography and shoot freelance baby and children photography (when global pandemics don’t get in the way!)


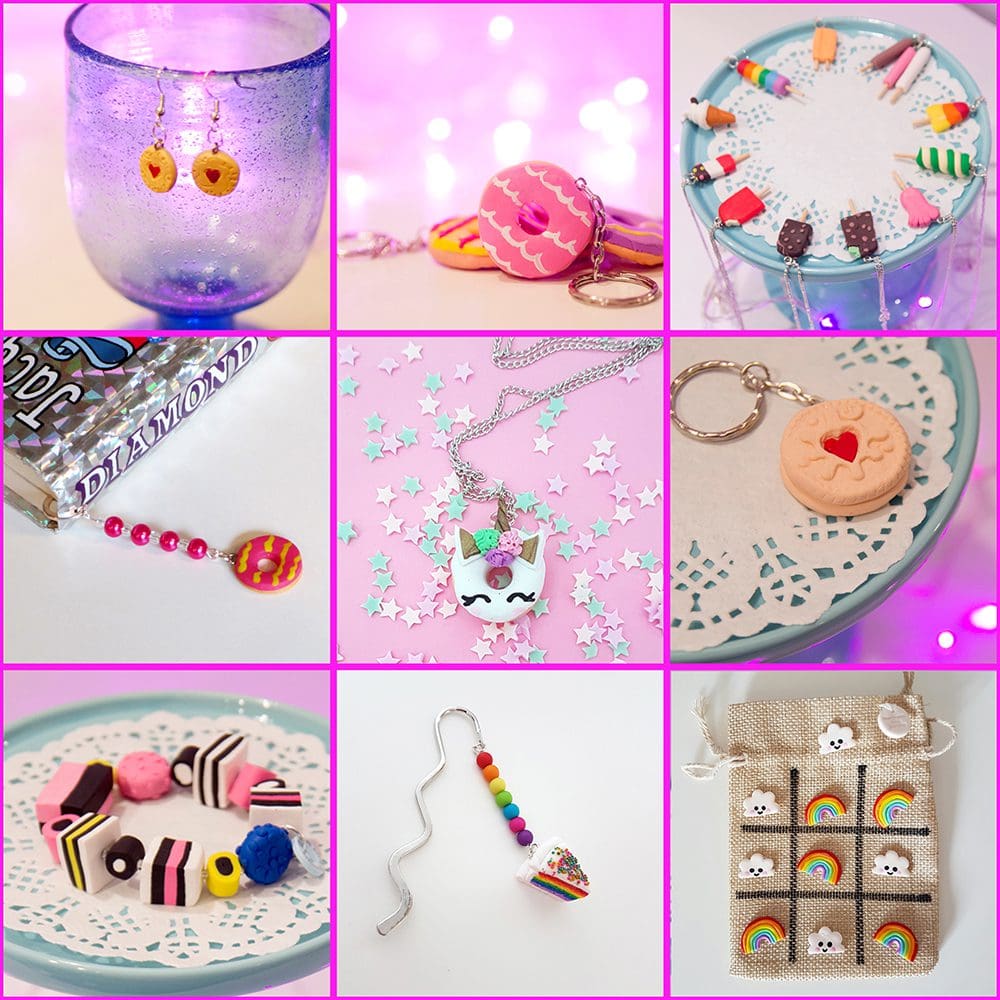
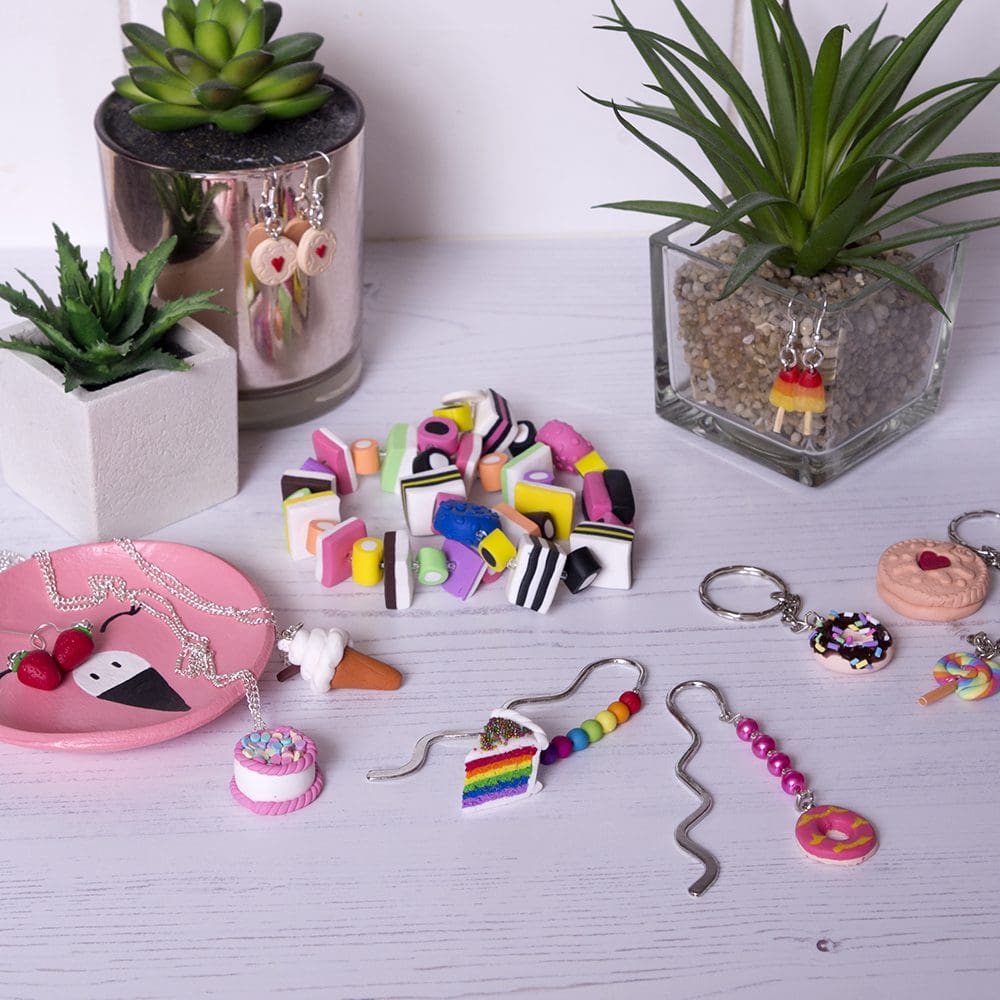
I’ve been using polymer clay since I was a child, initially making teeny tiny food for my dolls house.  My husband bought me a food themed polymer clay book many years ago, and after experimenting with cakes and sweets, decided to start selling the increasing number of makes I produced, mainly to clear some space!!  The rest is history, HRJ was born in May 2011!


I chose to continue the foodie theme as I love all things quirky and retro – I’m an eighties child, so the retro food you find at old school birthday parties is an absolute favourite at mine – plates of iced ring biscuits, fondant fancies, etc – whenever we have a birthday at home, we always have that kind of tea party to celebrate!  I think the theme brings a sense of nostalgia to childhood/good memories from the past (my allsorts sweetie bracelet was one of my very first makes, and is still so popular today, with the young and old!). I’ve now also started to branch out into homeware and decorations…but more on that in my next blog post!


Inspiration strikes me at any time – I generally get distracted by anything cute and quirky, especially colourful eye catching things.  I love kawaii styles, and have incorporated it into some of my pieces.  Current trends inspire me, as well as actual foods; being a keen baker, I follow lots of baking accounts on social media, and sometimes try to recreate something edible into clay form!  I also have had many commissions and special requests over the years, and some I have felt would be really popular, so have then made these into pieces for my shop too.

I joined TBCH in early 2020 and love the unique community of makers here, they are all so helpful and friendly, with each and every one making beautiful high quality handcrafted items.

Oh and if you’re wondering…my favourite biscuit to dunk in my cup of tea is….a chocolate bourbon or Lotus Biscoff!

Posted on — Leave a comment

More Squashed Glass!

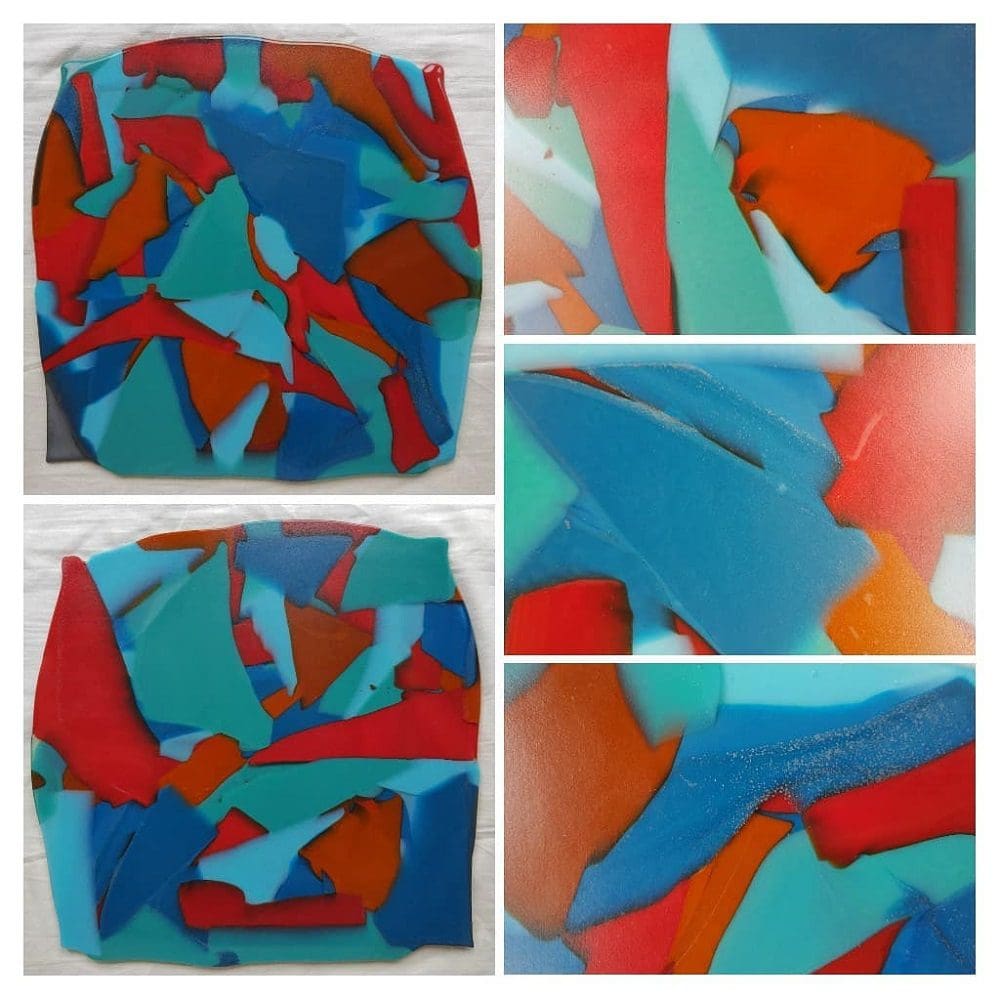
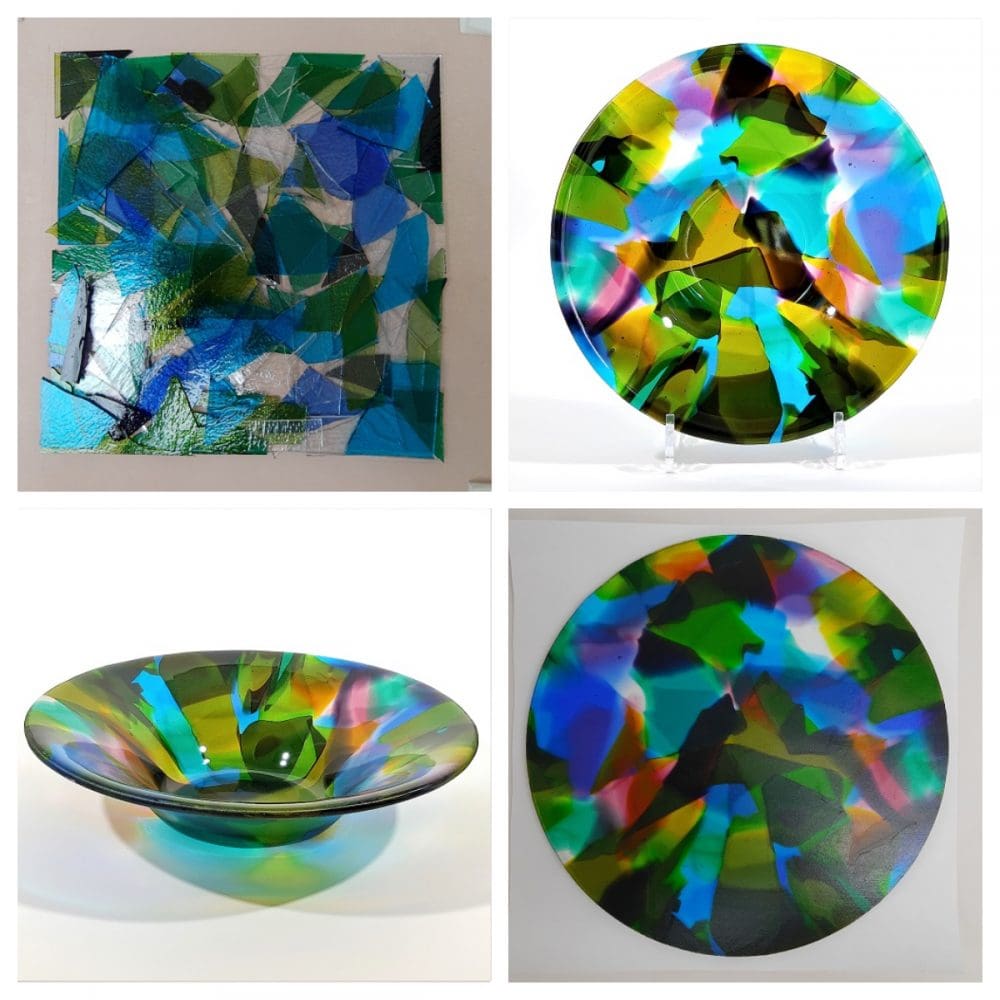
I’ve had another go at the squashed glass technique and this time I used opalescent glass which reflects light as opposed to transparent glass that transmits light.

I love the effect that has been produced where the various coloured pieces have met and merged. There has been some reaction where some different coloured pieces have overlapped and merged caused by the chemical make up of the glass colours I have used in this piece. Various colours have Lead, Copper or Sulphur in them and when they meet you can get some special effects ranging from subtle to dramatic. 

This piece has some subtle reactions where the sulphur bearing red has overlapped the copper bearing greens and blues.

In addition a particular colour called Steel Blue has a tendency to dramatically change to a matt steel colour on the surface exposed to the air in the heat of the kiln. This hasn’t happened to a great degree because it was covered by the kiln shelf except for some subtle areas on the edges of the Steel Blue bits in the piece.

I shall square off the edges and slump this in a gently curved mould to make a lovely platter to be listed in my shop.

Posted on — Leave a comment

Hearts aren’t just for Valentines!

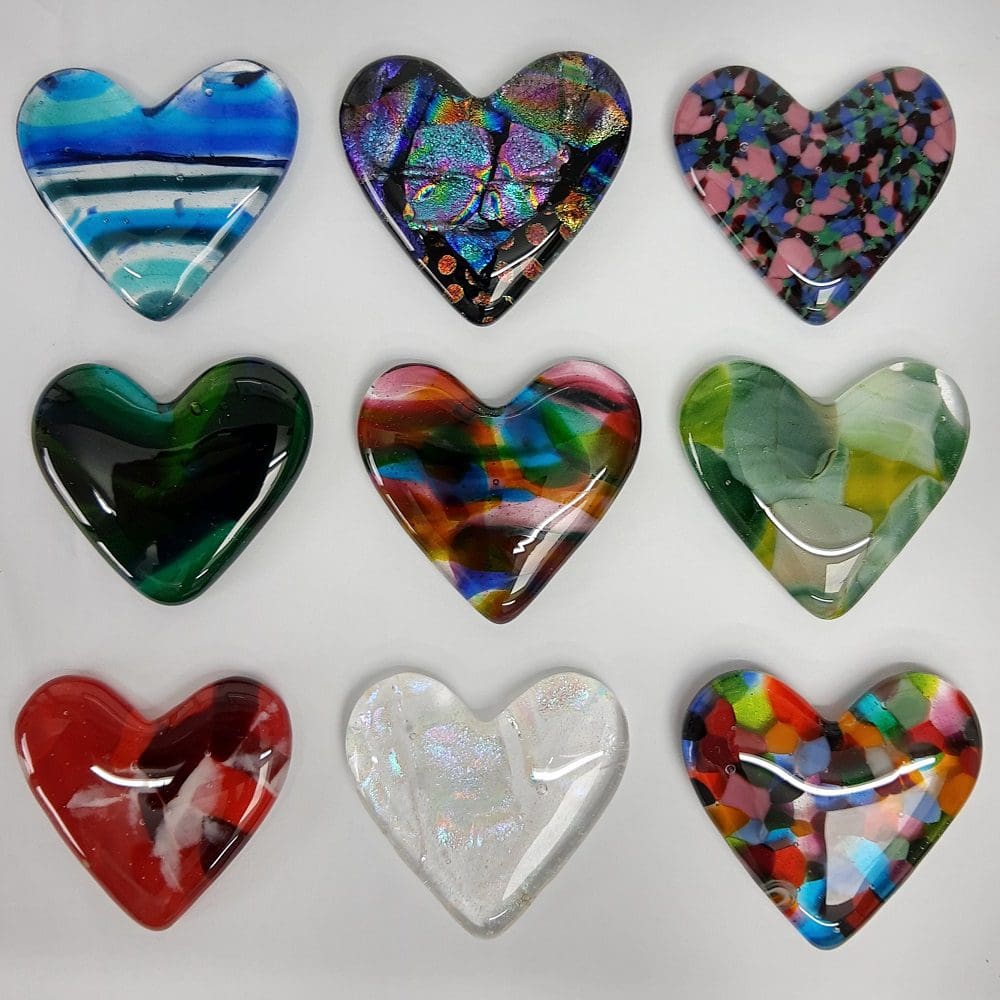
I have had a lovely time over the Christmas lock down period making fused glass hearts in a cast iron pan. Thanks to an excellent tutorial from glasshoppa.com me and my daughter whiled away the time, when we couldn’t see the rest of the family, coming up with various combinations of glass to pile up in the mold ready for a hot fuse.

Once out and cooled down they needed a bit of grinding and cleaning before going back in the kiln for a nice fire polish.

Now I’m waiting for some little box frames to be delivered so I can mount them and then put on sale in my shop. Should make a lovely little letter box gift to send to those we love.

Posted on — Leave a comment

Squashed Glass?

So what is squashed glass? This is a fused glass/kiln forming technique that I’ve been having a go at. As described it is glass put in the kiln to fuse but you have to weigh it down with a second shelf to ‘squash’ it as it fuses.

Glass is viscous at high temperature and up to a certain heat it conforms to the glass fusers mantra “the 6 mm rule”. This basically means that however many layers of glass you put on top of each other the finished fused piece will always end up 6 mm thick, unless you dam it, but that’s another technique! 

Squashed glass is multiple layers of glass weighed down with another kiln shelf on top (and any other bits of kiln furniture you might have to hand) so that the pressure of all that weight will go down on the piece and the glass will flow and merge together. The finished glass piece is nice and level and will have a smooth texture from the kiln shelf.

After that you can cut up your sheet of squashed glass and cold work the edges to smooth them out and slump in a mould to get the shape you want for your finished pieces.

Posted on — Leave a comment

Fused Glass Pebbles of Swirling Colour

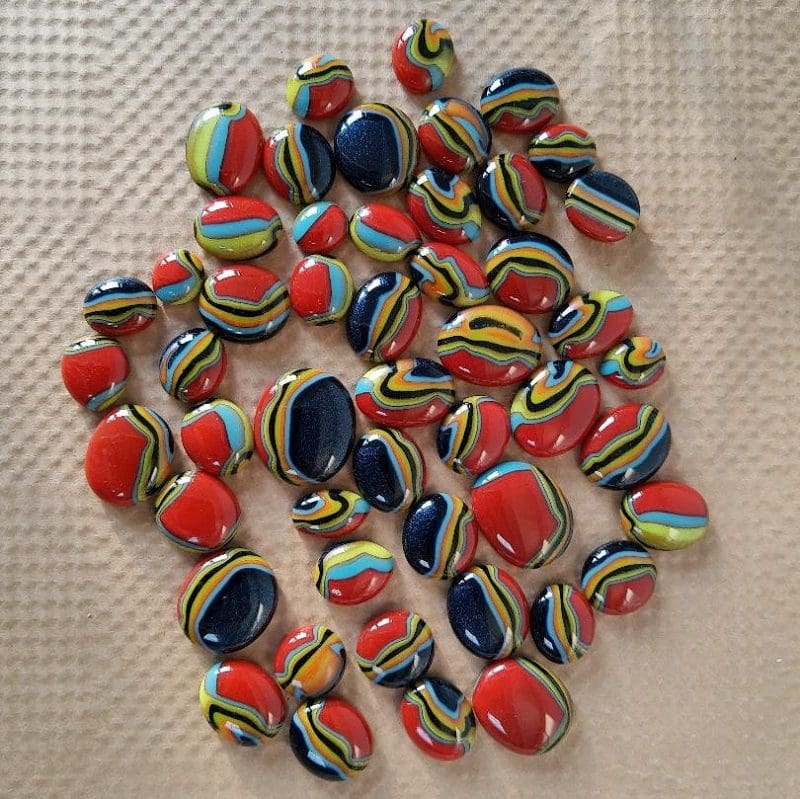
I’ve recently been making glass ‘pebbles’ in my studio to try and get my creative juices flowing again. The Covid 19 lock down has left me strangely stumped at times, almost as if having so much unplanned time on my hands has slowed me down. I would wander into my studio and fiddle around tidying my sheets of glass, ordering them by colour and size but couldn’t get stuck in to anything constructive.

So I decided to make some puddles. This is a fun technique where you place a stack of different coloured equally sized glass pieces together and fuse them. The layers fuse together into a solid lump. Then the fun starts! Using a hammer and tile cutters you break the piece into smaller bits, exposing the striped layers of colour. These smaller chunks are then fused again with the layers upright. 

The result is lovely rounded pebbles of swirling colours, I love just running them through my fingers!

I’m now thinking of what to do with them. Some will be pendents and some I will incorporate into other projects.

Thank goodness, I’ve got my mojo back!

Posted on — Leave a comment

How Photofinish Jewellery began.

My Story
​

Serendipity – finding something good/beautiful without looking for it – has played a major role in this venture.

​

Fascinated as I have always been with the myriad forms, shapes and colours of the natural world, it has been a delight to discover a way in which I can combine this love of nature with my love of design and artistry, to produce a unique range of jewellery.

Photography has also been a life-long passion with me and it has brought so much satisfaction to have developed a process that has allowed me to be able to transpose images on to aluminium, creating individual items that are both beautiful and easy to wear.

​

How Photofinish began

​

Although basically a very practical and logical person, I also have a very strong creative streak and this has been apparent in so many ways throughout my life. It could also be said that there is something of the “butterfly” about me, with a restlessness of spirit that provides the drive towards the next idea and challenge.

​

Growing up, I was always drawn to construction in one form or another; be it model making or designing and building an adventure playground in the garden for a pet rabbit. At work, my role for a number of years was to design and produce equipment to be used in conservation projects. Eventually the post became more project management based and I missed having a practical outlet for my creativity.

“The great outdoors” has always held an attraction for me: from a walk in the local park to a journey to see the spectacular wild places of the world. Any location, from the simple to the exotic, always finds me with a camera in readiness. In fact, most snaps of me – other than at my own wedding – show me with a camera, usually in the act of taking a picture.

​

A change in circumstances and serendipity led me to sign up for a couple of workshops as part of the Surrey Artists’ Open Studios. Jewellery was not something that I had previously considered, but I booked in for Aileen Hamilton‘s workshop where I made a silver pendant. It was, however, the aluminium jewellery on display that caught my eye and I duly returned for another course to learn the techniques needed for the dye process.

​

Over the next year, I developed a procedure that allows me to “print” my photographs on to recycled aluminium, so creating jewellery with a unique finish and appearance. Photofinish was born, celebrating nature at its best!


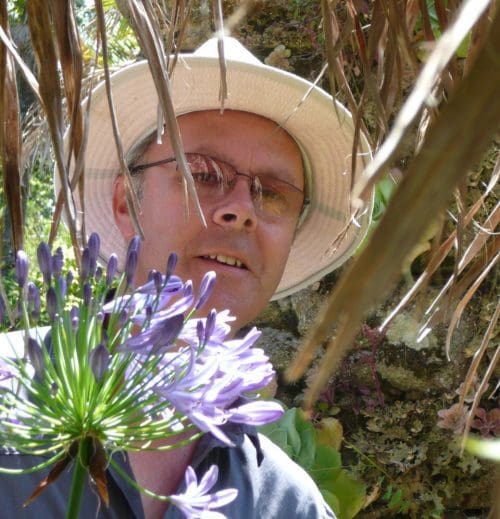
David Hitchcock