Posted on — Leave a comment

More Squashed Glass!

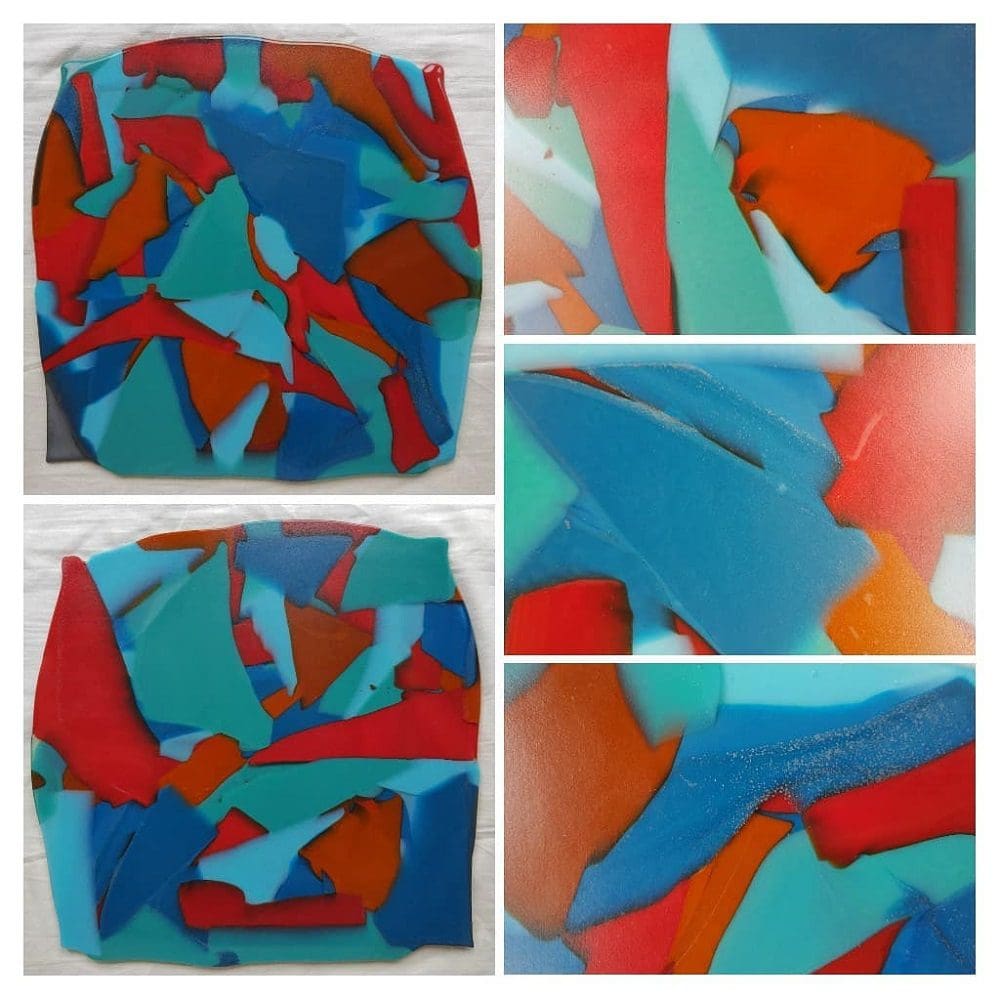
I’ve had another go at the squashed glass technique and this time I used opalescent glass which reflects light as opposed to transparent glass that transmits light.

I love the effect that has been produced where the various coloured pieces have met and merged. There has been some reaction where some different coloured pieces have overlapped and merged caused by the chemical make up of the glass colours I have used in this piece. Various colours have Lead, Copper or Sulphur in them and when they meet you can get some special effects ranging from subtle to dramatic. 

This piece has some subtle reactions where the sulphur bearing red has overlapped the copper bearing greens and blues.

In addition a particular colour called Steel Blue has a tendency to dramatically change to a matt steel colour on the surface exposed to the air in the heat of the kiln. This hasn’t happened to a great degree because it was covered by the kiln shelf except for some subtle areas on the edges of the Steel Blue bits in the piece.

I shall square off the edges and slump this in a gently curved mould to make a lovely platter to be listed in my shop.

Posted on — Leave a comment

Hearts aren’t just for Valentines!

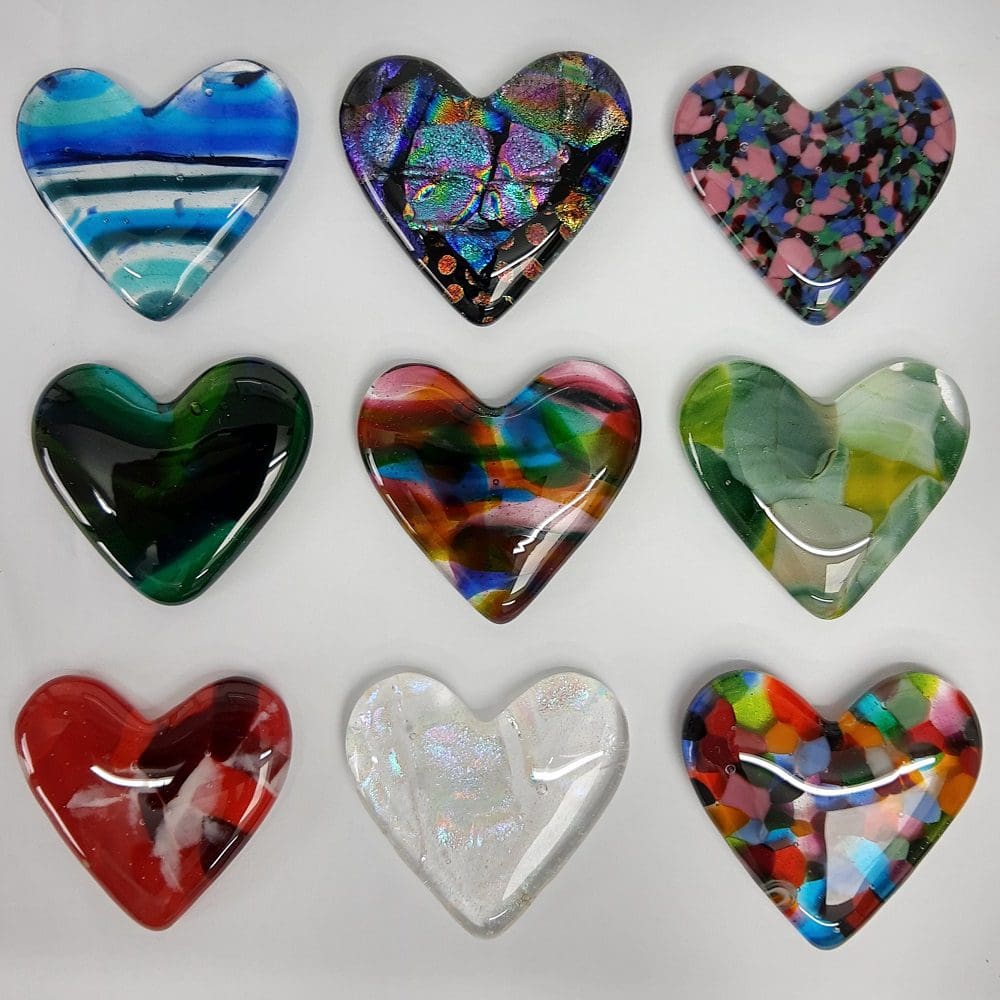
I have had a lovely time over the Christmas lock down period making fused glass hearts in a cast iron pan. Thanks to an excellent tutorial from glasshoppa.com me and my daughter whiled away the time, when we couldn’t see the rest of the family, coming up with various combinations of glass to pile up in the mold ready for a hot fuse.

Once out and cooled down they needed a bit of grinding and cleaning before going back in the kiln for a nice fire polish.

Now I’m waiting for some little box frames to be delivered so I can mount them and then put on sale in my shop. Should make a lovely little letter box gift to send to those we love.

Posted on — Leave a comment

Squashed Glass?

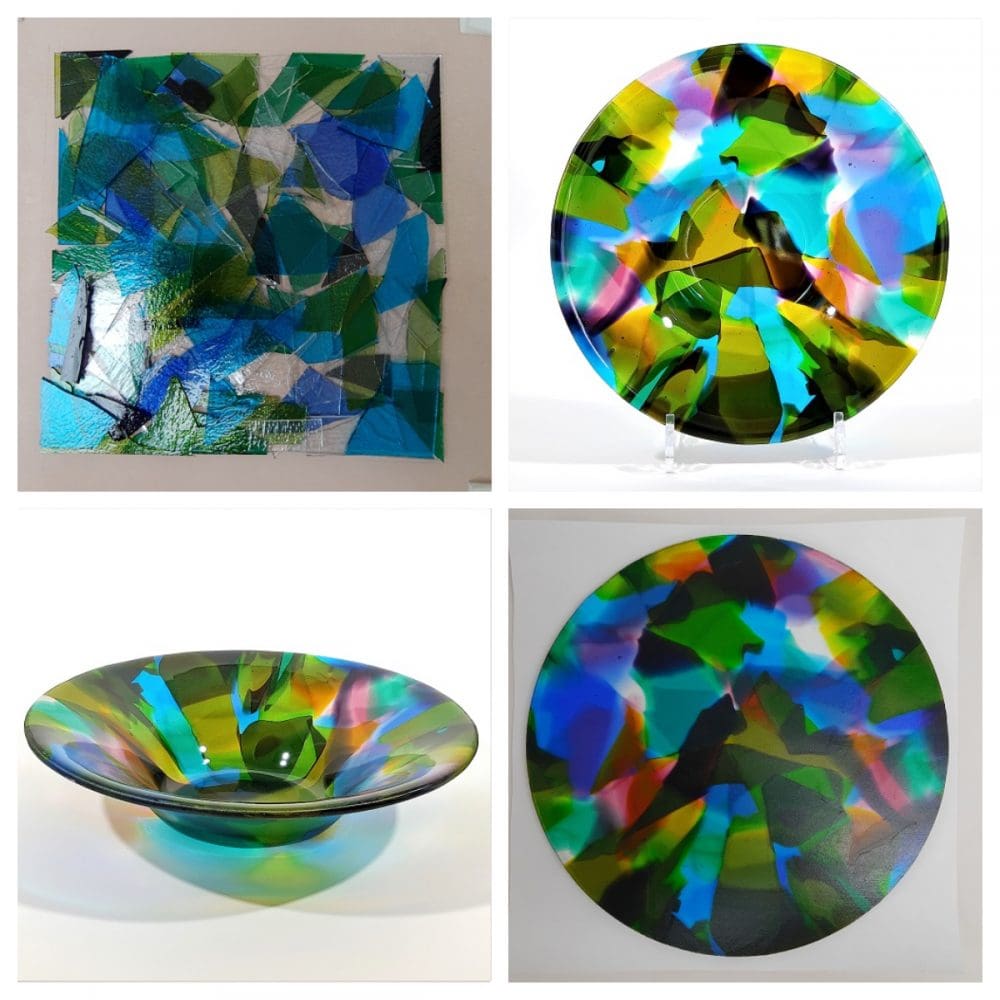
So what is squashed glass? This is a fused glass/kiln forming technique that I’ve been having a go at. As described it is glass put in the kiln to fuse but you have to weigh it down with a second shelf to ‘squash’ it as it fuses.

Glass is viscous at high temperature and up to a certain heat it conforms to the glass fusers mantra “the 6 mm rule”. This basically means that however many layers of glass you put on top of each other the finished fused piece will always end up 6 mm thick, unless you dam it, but that’s another technique! 

Squashed glass is multiple layers of glass weighed down with another kiln shelf on top (and any other bits of kiln furniture you might have to hand) so that the pressure of all that weight will go down on the piece and the glass will flow and merge together. The finished glass piece is nice and level and will have a smooth texture from the kiln shelf.

After that you can cut up your sheet of squashed glass and cold work the edges to smooth them out and slump in a mould to get the shape you want for your finished pieces.

Posted on — Leave a comment

Fused Glass Pebbles of Swirling Colour

I’ve recently been making glass ‘pebbles’ in my studio to try and get my creative juices flowing again. The Covid 19 lock down has left me strangely stumped at times, almost as if having so much unplanned time on my hands has slowed me down. I would wander into my studio and fiddle around tidying my sheets of glass, ordering them by colour and size but couldn’t get stuck in to anything constructive.

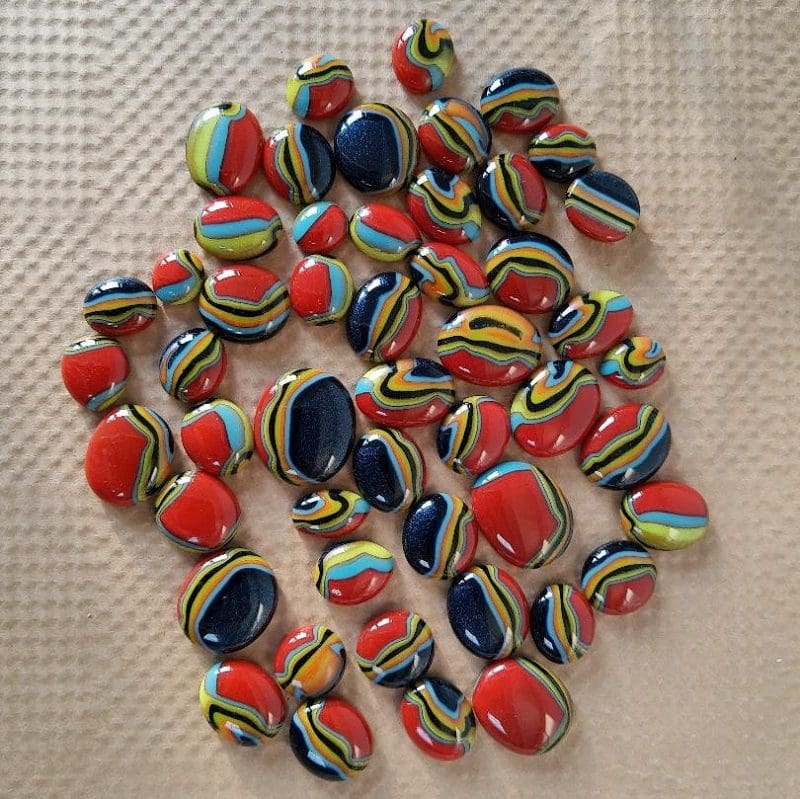
So I decided to make some puddles. This is a fun technique where you place a stack of different coloured equally sized glass pieces together and fuse them. The layers fuse together into a solid lump. Then the fun starts! Using a hammer and tile cutters you break the piece into smaller bits, exposing the striped layers of colour. These smaller chunks are then fused again with the layers upright. 

The result is lovely rounded pebbles of swirling colours, I love just running them through my fingers!

I’m now thinking of what to do with them. Some will be pendents and some I will incorporate into other projects.

Thank goodness, I’ve got my mojo back!

Posted on — Leave a comment

Meet the Sellers x 3!


Team TBCH South East Cornwall Meetup – meet Halyey, Buffy & Chris


Written by Buffy…who is The Twisted Felter

So earlier today I met up for brunch with the lovely Hayley aka The Northern Smuggler and Chris The Chris Artist. Chris paints beautiful artwork from the surrounding areas and Hayley creates fabulous Resin artwork and jewellery inspired by the local Cornish Coast. Luckily Chris had chosen the best café (award winning @olivecocafe thankyou…delish!) and so I turned up to meet 2 complete strangers thinking I should have worn a rose in my lapel?! Sadly I was lapel-less so I took a chance and sidled up to a random man sitting on his own who fortunately turned out to be Chris and Hayley joined us soon after.

My brain is a busy one so I had brought along a list of things I wanted to ask (I feel like a bit of a duffer with the whole online selling and social media stuff as I’m new to the game) and was pleasantly surprised that they too had the same questions and doubts. As Hayley put it ‘Fake it ’til you Make it’. Although Hayley was not giving herself credit as she had lots of  great media tips and advice and has her own professional branding which looks fab. Chris is already self employed so gave me good advice around tax returns, a boring but necessary part of it all. It was sound advice…pay an accountant!!

We chatted about The British Craft House website and how we were finding navigating our way around. We wondered when Dottie (our Illustrious Leader, advice giver, encouragement officer and all round good egg) EVER SLEEPS?!? She seems to be sending encouraging posts in the middle of the night!

We talked about how isolating working alone and from home can be sometimes and how fab it was to meet up with the real people behind our sellers names. We shared contacts for work in the local area, craft initiatives,the best Apps, training days, ideas for display and presentation, photography and we laughed at ourselves a fair bit. We talked about the insecurities of seeing the imperfections in our work and whether they are good enough to sell, the vulnerability of putting your work out there in front of people, the difficulty of feeling comfortable promoting (non-stop!) yourself online. And we arranged to meet again of course.

So this is my first blog. I’ve no idea whether it’s good. Or not. But I’m venturing right out of my comfort zone writing it AND putting a photo of myself online. That’s how rock and roll I am today. I’m a blogger. Boom!

Posted on — Leave a comment

How Photofinish Jewellery began.

My Story
​

Serendipity – finding something good/beautiful without looking for it – has played a major role in this venture.

​

Fascinated as I have always been with the myriad forms, shapes and colours of the natural world, it has been a delight to discover a way in which I can combine this love of nature with my love of design and artistry, to produce a unique range of jewellery.

Photography has also been a life-long passion with me and it has brought so much satisfaction to have developed a process that has allowed me to be able to transpose images on to aluminium, creating individual items that are both beautiful and easy to wear.

​

How Photofinish began

​

Although basically a very practical and logical person, I also have a very strong creative streak and this has been apparent in so many ways throughout my life. It could also be said that there is something of the “butterfly” about me, with a restlessness of spirit that provides the drive towards the next idea and challenge.

​

Growing up, I was always drawn to construction in one form or another; be it model making or designing and building an adventure playground in the garden for a pet rabbit. At work, my role for a number of years was to design and produce equipment to be used in conservation projects. Eventually the post became more project management based and I missed having a practical outlet for my creativity.

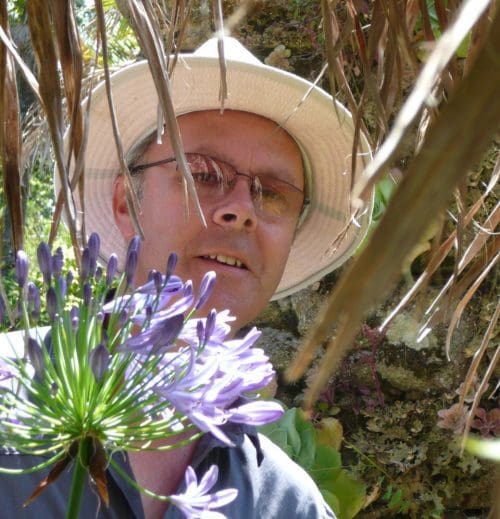
“The great outdoors” has always held an attraction for me: from a walk in the local park to a journey to see the spectacular wild places of the world. Any location, from the simple to the exotic, always finds me with a camera in readiness. In fact, most snaps of me – other than at my own wedding – show me with a camera, usually in the act of taking a picture.

​

A change in circumstances and serendipity led me to sign up for a couple of workshops as part of the Surrey Artists’ Open Studios. Jewellery was not something that I had previously considered, but I booked in for Aileen Hamilton‘s workshop where I made a silver pendant. It was, however, the aluminium jewellery on display that caught my eye and I duly returned for another course to learn the techniques needed for the dye process.

​

Over the next year, I developed a procedure that allows me to “print” my photographs on to recycled aluminium, so creating jewellery with a unique finish and appearance. Photofinish was born, celebrating nature at its best!


David Hitchcock