Posted on

In the beginning……. Bumblebee Glass

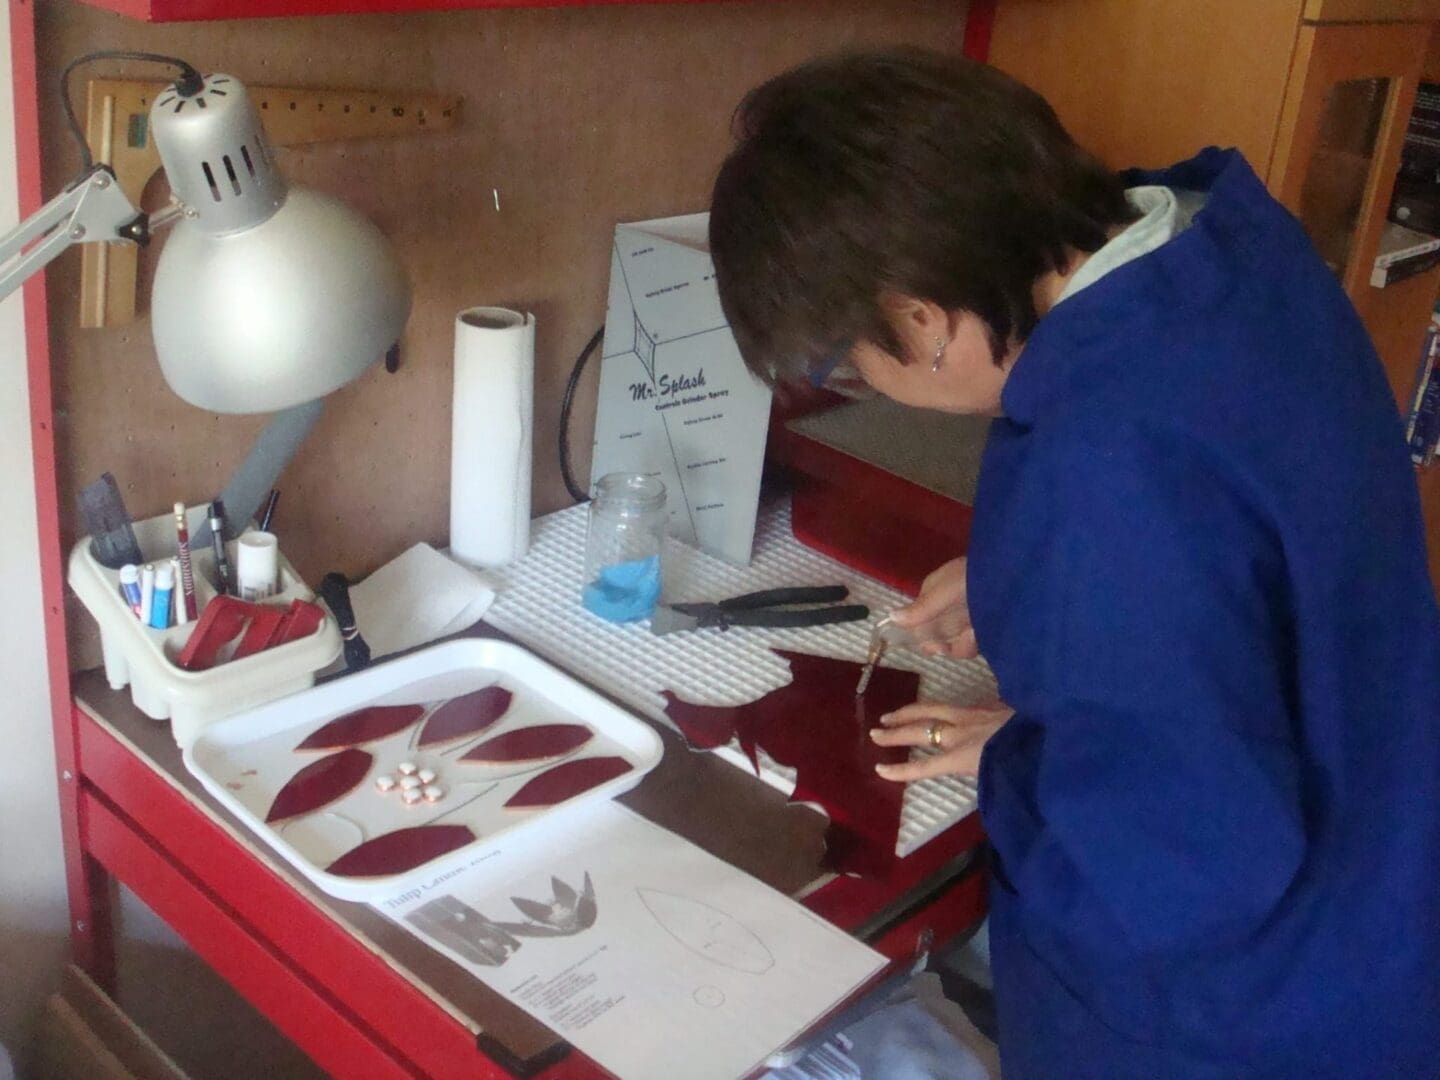
A question I’m often asked in workshops is how I got into glass. Like many creative journeys it’s been a long road with much learning and many mistakes along the way.

I’d always wanted to try stained glass, but work and other training qualifications seemed to get in the way until I was bought a stained glass experience for my birthday and that was it, hooked!

I started making sun catchers at home until my skills improved and I loved trying to create animals and little Christmas decorations. Eventually I was tempted to try a microwave kiln, just to create small holly berries and eyes for my animals. Once that had grown into fused glass jewellery and Christmas decorations I knew it was time to save up for a kiln (and get some essential training on how to use it safely)!


The rest, as they say, is history. Bumblebee Glass was born from small beginnings at craft fairs and shows, to bricks and mortar shops and eventually online. Designing and hand creating both stained and fused glass gifts and eventually running workshops so others can enjoy glass too.

But then Covid hit and while I could still enjoy glass myself, I couldn’t host any workshops and so the make at home fused glass kits were born and still going strong. No kiln needed and great fun. Now families, friends and anyone who fancies trying fused glass can do so safely at home following simple instructions. This year I’m looking to add to the choices with some smaller mini kits to make fusing affordable for everyone. Fancy trying one?


Happy fusing everyone!

Sarah
Posted on — Leave a comment

More Squashed Glass!

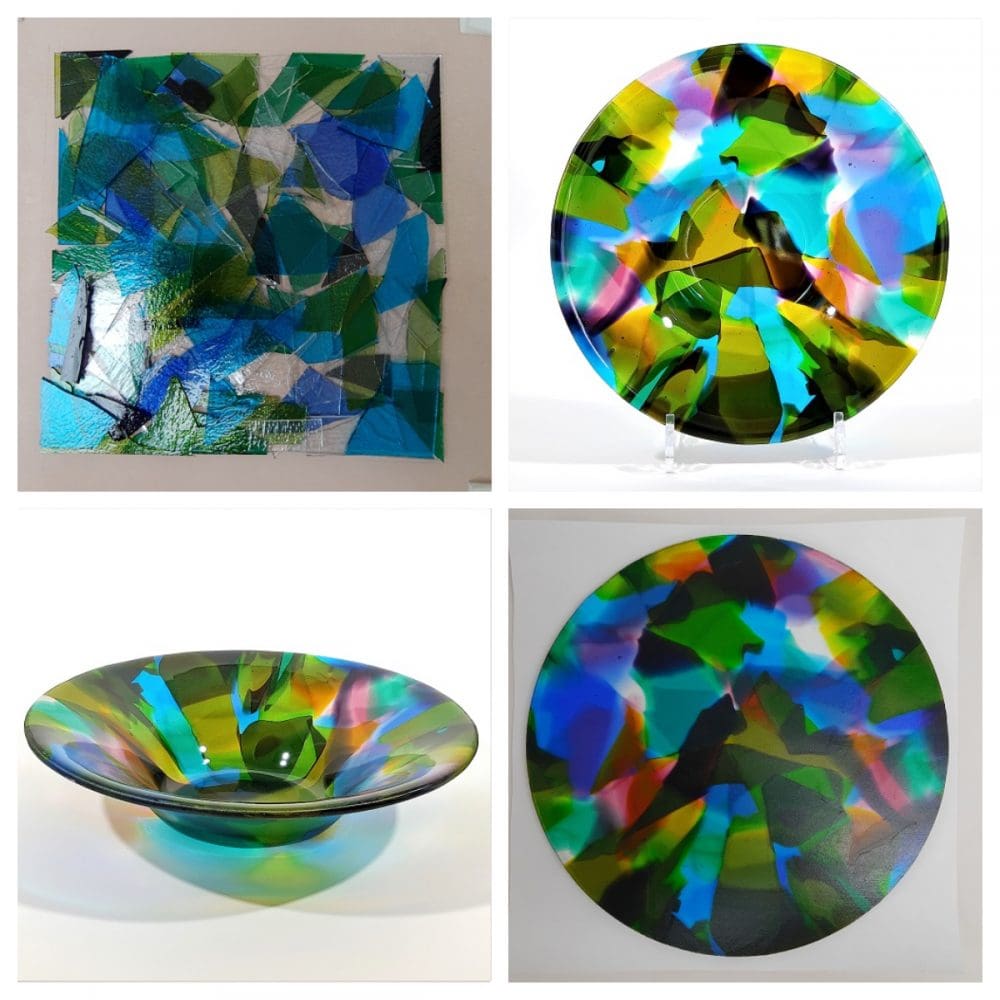
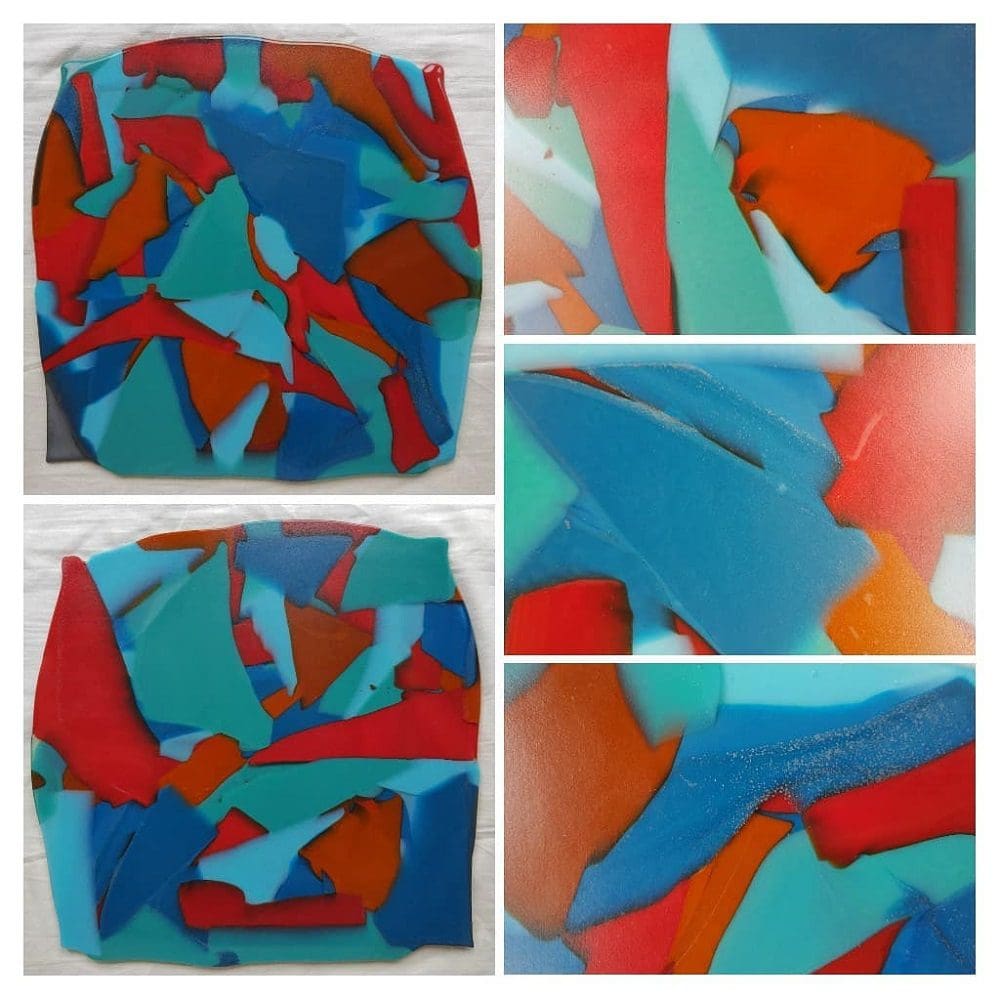
I’ve had another go at the squashed glass technique and this time I used opalescent glass which reflects light as opposed to transparent glass that transmits light.

I love the effect that has been produced where the various coloured pieces have met and merged. There has been some reaction where some different coloured pieces have overlapped and merged caused by the chemical make up of the glass colours I have used in this piece. Various colours have Lead, Copper or Sulphur in them and when they meet you can get some special effects ranging from subtle to dramatic. 

This piece has some subtle reactions where the sulphur bearing red has overlapped the copper bearing greens and blues.

In addition a particular colour called Steel Blue has a tendency to dramatically change to a matt steel colour on the surface exposed to the air in the heat of the kiln. This hasn’t happened to a great degree because it was covered by the kiln shelf except for some subtle areas on the edges of the Steel Blue bits in the piece.

I shall square off the edges and slump this in a gently curved mould to make a lovely platter to be listed in my shop.

Posted on — Leave a comment

How to photograph fused glass?

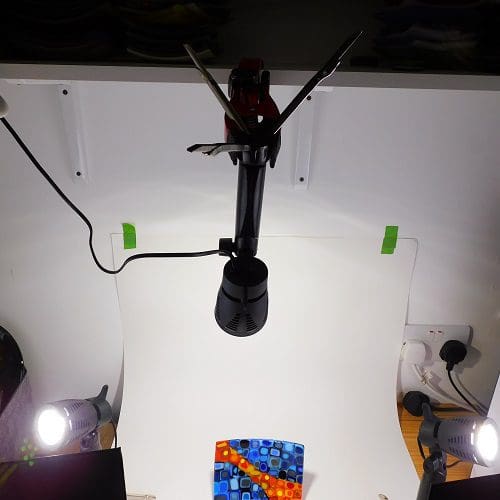
Ever since I started selling online I have struggled with photographing my fused glass pieces to show them at their best. As you can imagine the main issue is light reflection on the glass. I have tried reflecting the lights off white card, black card and silver backed card. Pointing the lights at the backdrop, directly at the glass, and at the reflective card. All have produced mixed results and I seem to try a different set up every time I have a new piece to photograph.

My most recent set up is featured in the picture above and involved using two clamps to attach the light that is hanging down to a handy shelf above my ‘photo studio’ corner. I got a nice new camera for my recent birthday which has lots of handy features which have made a big difference and I shall probably be retaking pictures over the next few weeks.

Wish me luck!

Posted on — Leave a comment

Hearts aren’t just for Valentines!

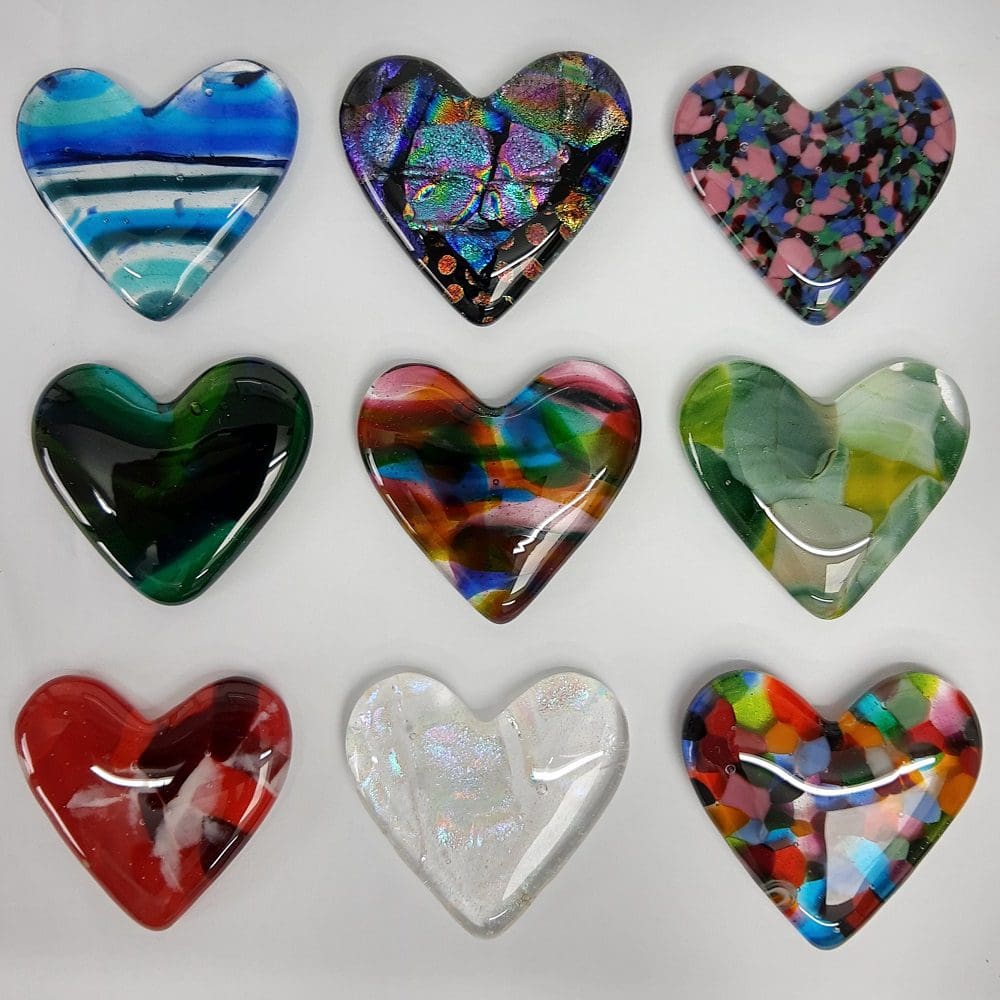
I have had a lovely time over the Christmas lock down period making fused glass hearts in a cast iron pan. Thanks to an excellent tutorial from glasshoppa.com me and my daughter whiled away the time, when we couldn’t see the rest of the family, coming up with various combinations of glass to pile up in the mold ready for a hot fuse.

Once out and cooled down they needed a bit of grinding and cleaning before going back in the kiln for a nice fire polish.

Now I’m waiting for some little box frames to be delivered so I can mount them and then put on sale in my shop. Should make a lovely little letter box gift to send to those we love.

Posted on — Leave a comment

Squashed Glass?

So what is squashed glass? This is a fused glass/kiln forming technique that I’ve been having a go at. As described it is glass put in the kiln to fuse but you have to weigh it down with a second shelf to ‘squash’ it as it fuses.

Glass is viscous at high temperature and up to a certain heat it conforms to the glass fusers mantra “the 6 mm rule”. This basically means that however many layers of glass you put on top of each other the finished fused piece will always end up 6 mm thick, unless you dam it, but that’s another technique! 

Squashed glass is multiple layers of glass weighed down with another kiln shelf on top (and any other bits of kiln furniture you might have to hand) so that the pressure of all that weight will go down on the piece and the glass will flow and merge together. The finished glass piece is nice and level and will have a smooth texture from the kiln shelf.

After that you can cut up your sheet of squashed glass and cold work the edges to smooth them out and slump in a mould to get the shape you want for your finished pieces.

Posted on — Leave a comment

Fused Glass Pebbles of Swirling Colour

I’ve recently been making glass ‘pebbles’ in my studio to try and get my creative juices flowing again. The Covid 19 lock down has left me strangely stumped at times, almost as if having so much unplanned time on my hands has slowed me down. I would wander into my studio and fiddle around tidying my sheets of glass, ordering them by colour and size but couldn’t get stuck in to anything constructive.

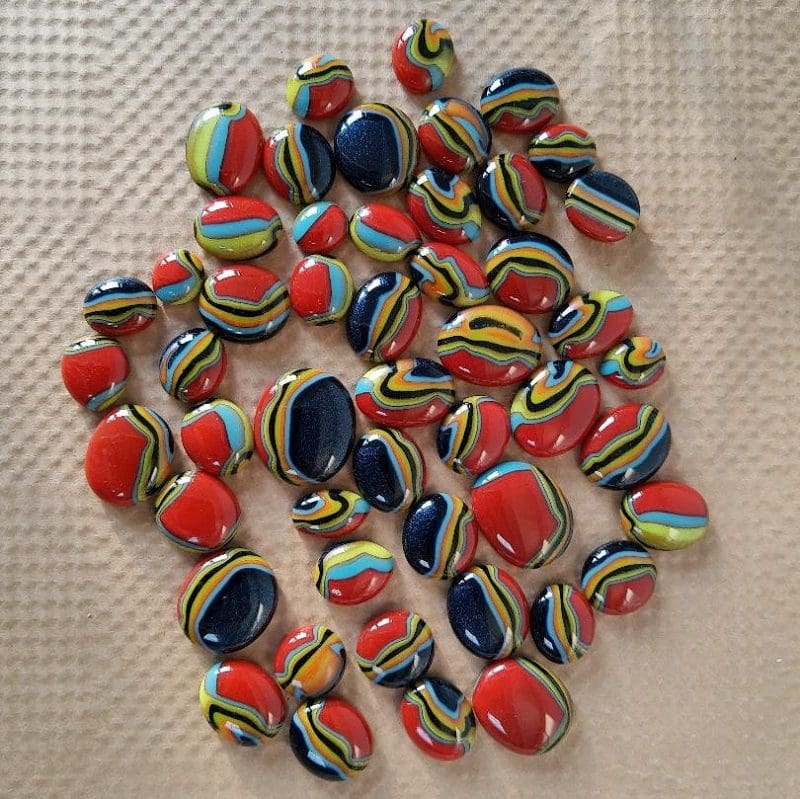
So I decided to make some puddles. This is a fun technique where you place a stack of different coloured equally sized glass pieces together and fuse them. The layers fuse together into a solid lump. Then the fun starts! Using a hammer and tile cutters you break the piece into smaller bits, exposing the striped layers of colour. These smaller chunks are then fused again with the layers upright. 

The result is lovely rounded pebbles of swirling colours, I love just running them through my fingers!

I’m now thinking of what to do with them. Some will be pendents and some I will incorporate into other projects.

Thank goodness, I’ve got my mojo back!

Posted on — Leave a comment

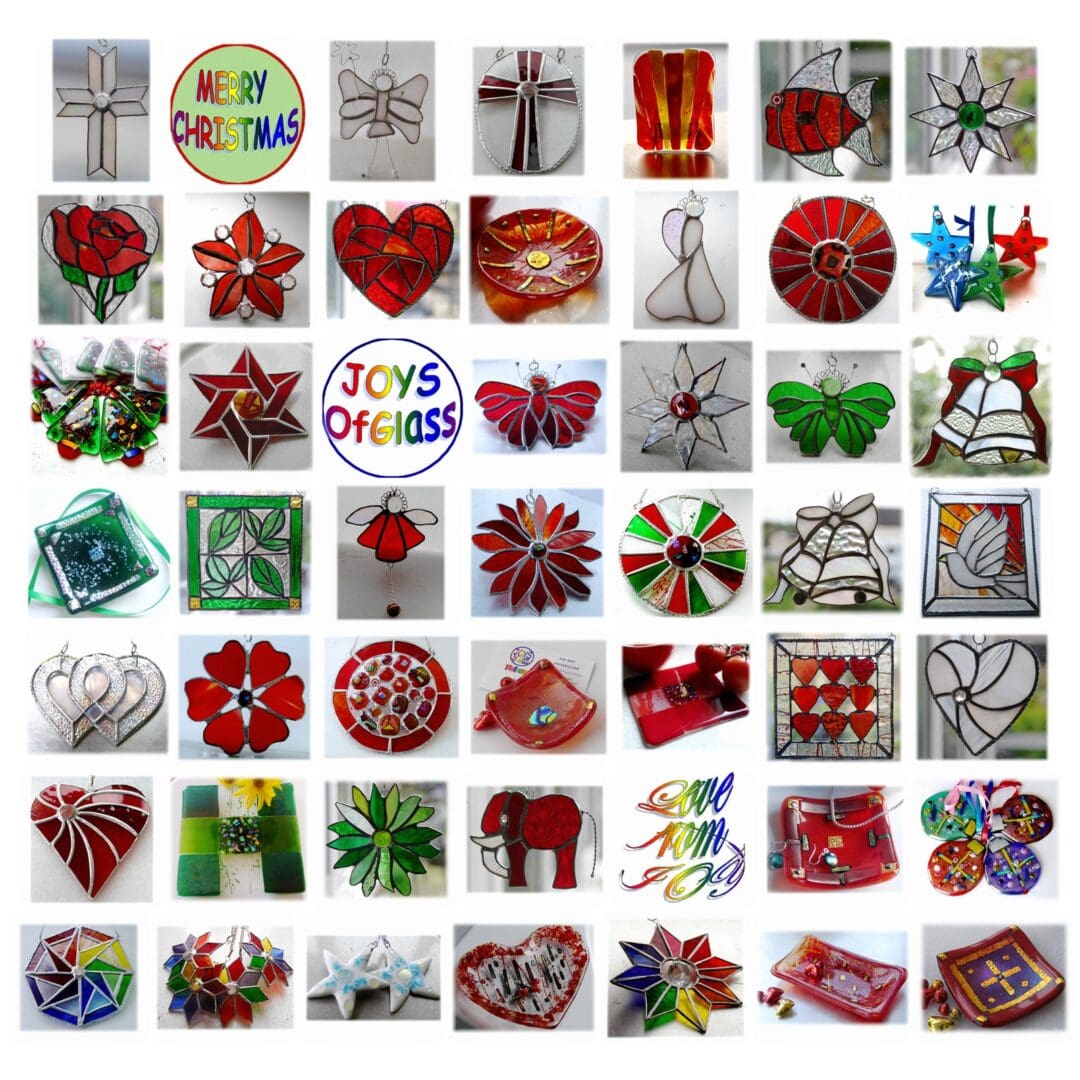
MERRY CHRISTMAS with love from JOYsofGLASS XX

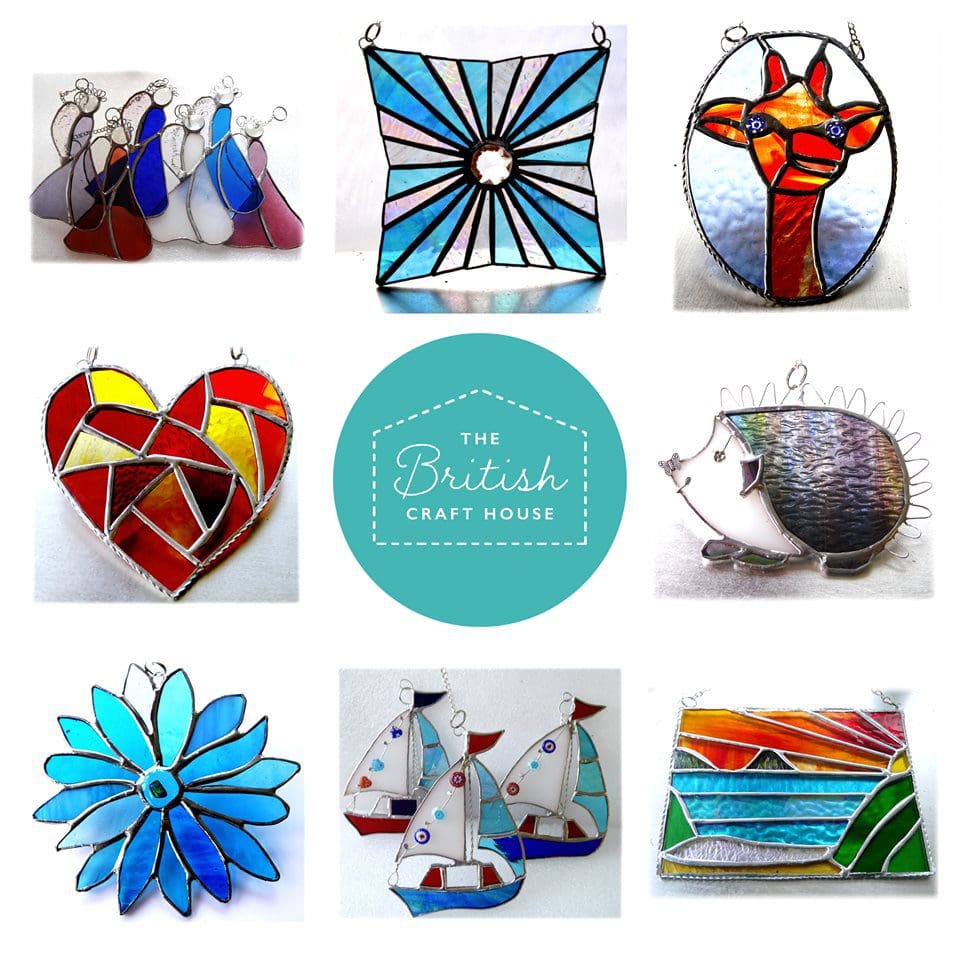
An Enormous Thank you to Dottie for setting up this wonderful Handmade British site for artisans and artists and craftsmen (should that be craftspeople ?  ?). 

Thank you also to all those who have visited my Joysofglass shop and stopped to browse and even to buy.  I do hope you have enjoyed what you have seen and look forward to seeing you again soon. 

The British Craft House has not been here long, less than 2 momths, but it’s been blooming fantastic so far.
Onwards and Upwards for 2020.

Posted on — Leave a comment

and a bit more about me, Joy of JOYSOFGLASS

I work in my studio (otherwise known as the big garage ?) in the garden of my house which is surrounded by green fields and single track, 60mph, country roads. 
I spend rather a lot of my time making stained glass suncatchers using the Tiffany Copper Foil technique and have an abundance of designs in all sorts of shapes, sizes and colours which will, I hope, delight you.

I also make small fused glass pieces, all one-offs as my kiln is limited in size.

I will always try to keep my shop filled with an array of beautiful glass so that there is something for everybody and every taste.  

Please contact me if you have any queries, have an idea for something you would like but it isn’t showing as in stock or have seen something you like but would prefer it in a different colour.

My suncatchers come ready to hang with a silver chain securely attached and a strong suction hook in the packet with them.

All my suncatchers are constructed very carefully to be as strong as possible. They are made of glass and if you hit them or drop them onto a hard surface they are liable to crack so please do treat with care. They are finished with polish containing Carnauba Wax for protection and shine.

If they get a little dusty after hanging in the window for years and years  ?   then they are quite happy having a wash in warm soapy water and a gentle polish like any glass.
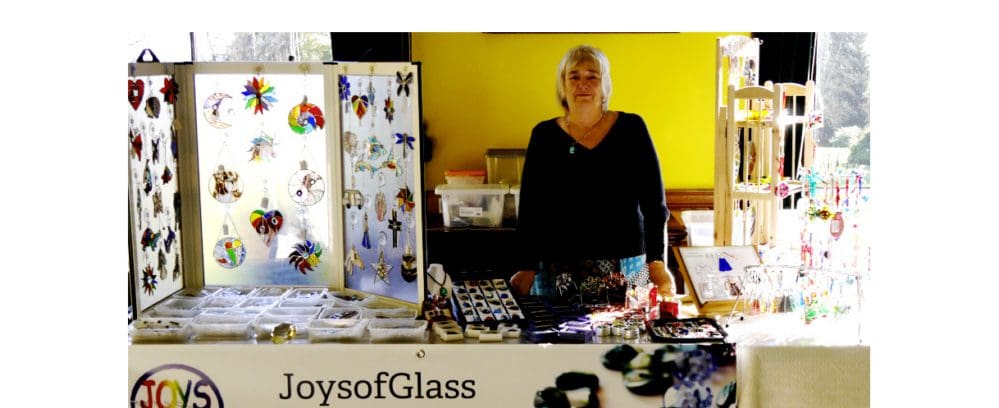
Like dogs my suncatchers are for life not just for Christmas.