Posted on — Leave a comment

Creative Ceramic Handles

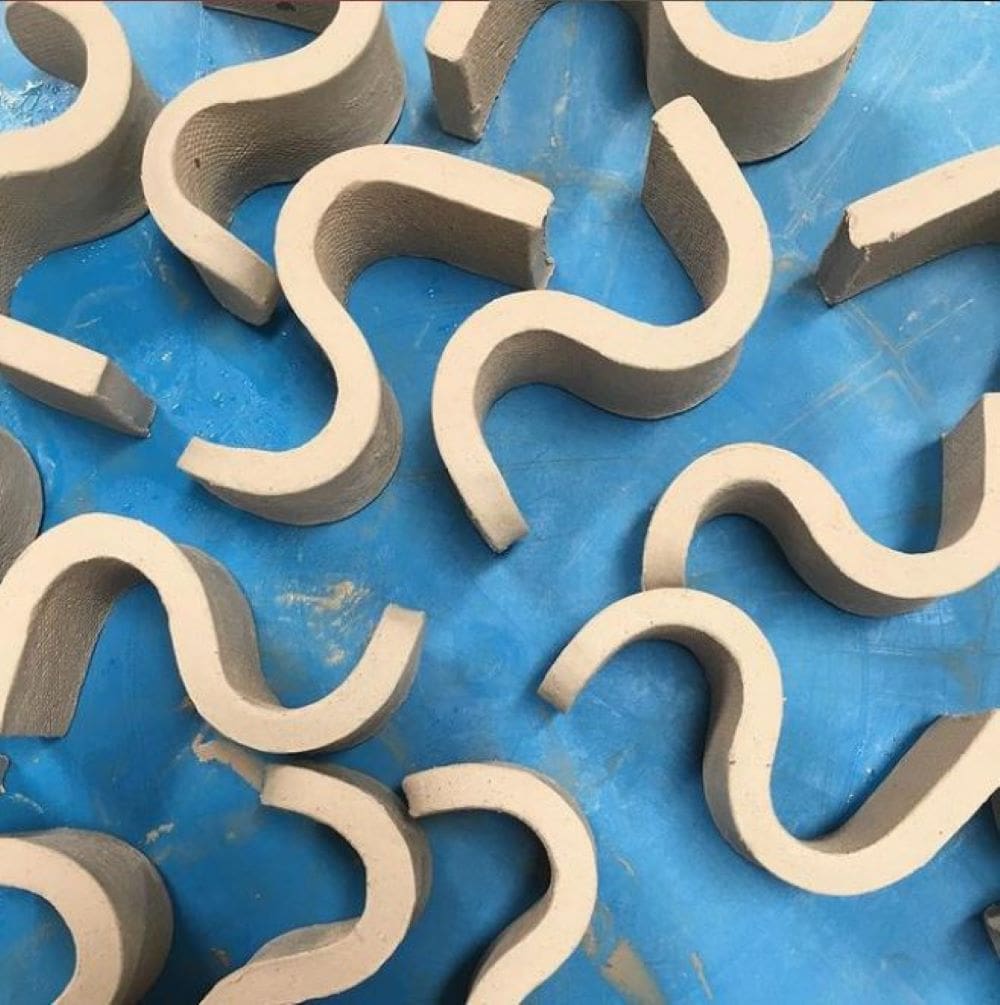
Ceramic Handle Technique

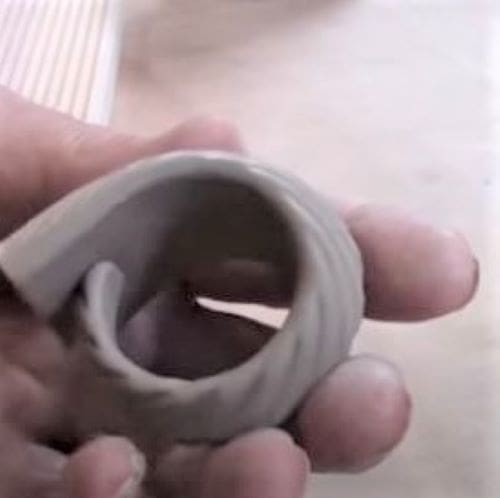
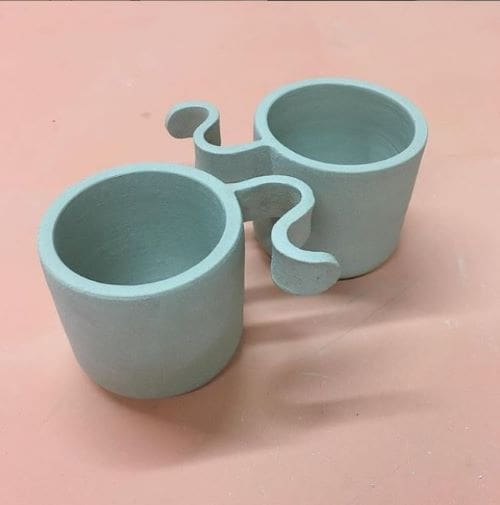
This curly handle technique is demonstrated by Bill van Gilder from Maryland, USA in a YouTube video …

Looped Ceramic Handles

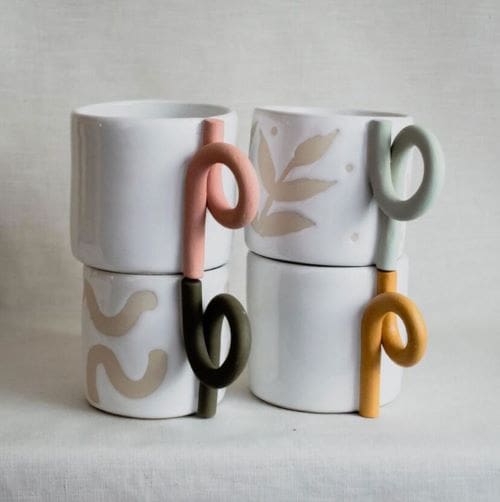
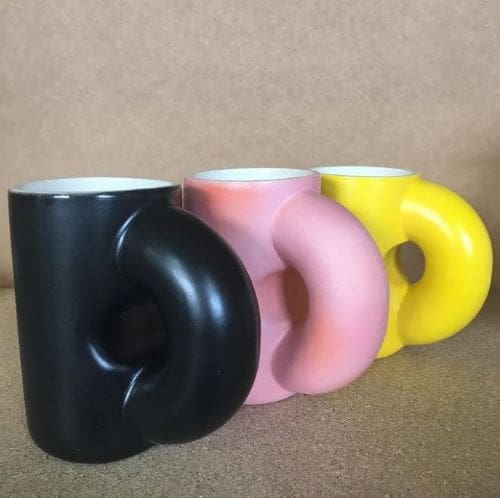
The Magic Shop (Mary & Shelby Ulibarri) from California, USA make these looped handle mugs … more of their work on their Instagram page … https://www.instagram.com/p/CNx1D-GD61c/

Ceramic Mugs

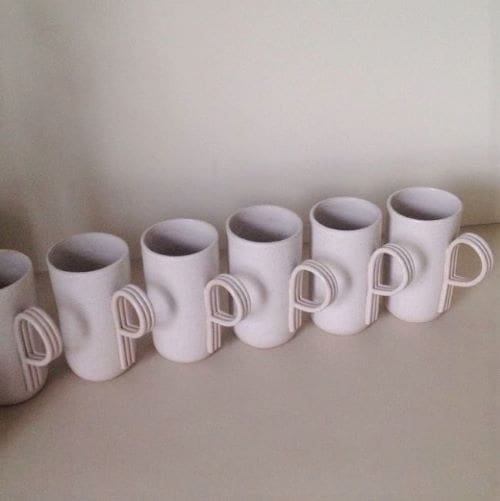
Natalie Weinberger Ceramics, based in Brooklyn, New York, USA created these stylish ribbed handles … see more of her work on Instagram … https://www.instagram.com/p/v3zDD9oW8_/

Ninon Choplin was born in Paris and now lives and works in Los Angeles, USA, creating fun, coulourful ceramics … I really like these ‘noodle’ handles … see more of their work on Instagram … https://www.instagram.com/p/BRez2oylSTf/

Chub Mugs by Erin Lynn Smith

These volupuous ‘Chub Mugs’ are made by Minneapolis potter Erin Lynn Smith. They look so tactile … see more of her work on her Instagram page … https://www.instagram.com/p/BUm4yAfgtkb/

Posted on — Leave a comment

Pottery Slump Moulds

Slump mould? This is an obvious term for a hand-building potter but may raise a few eyebrows in the uninitiated. I will first explain, then I will share with you a cheap & cheerful method to make a home-made slump mould.

Slump mould

This is a concave mould, like the shape of the inside of a bowl, intended to take the clay inside the curve of the mould.

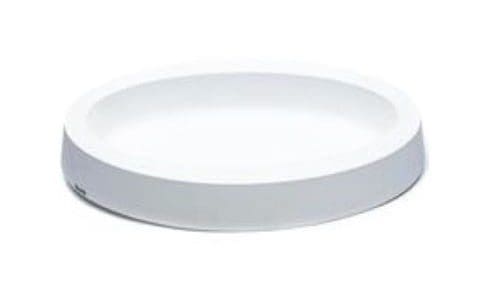
Usually in a pottery studio, a slump mould is made from plaster of Paris. The clay can be put into the mould as a rolled-out slab or as balls, spirals or strips of clay.

Commercial plaster slump mould

The inside surface of the slab form is exposed, allowing it to be decorated with underglaze, slip or impressed marks

The outer face of the slab is in contact with the mould, which will shrink away from the plaster of Paris as the clay dries.

Homemade slump mould

This is my version of a homemade slump mould …

You will need a strong cardboard box & a sharp knife (plus of course your clay!)

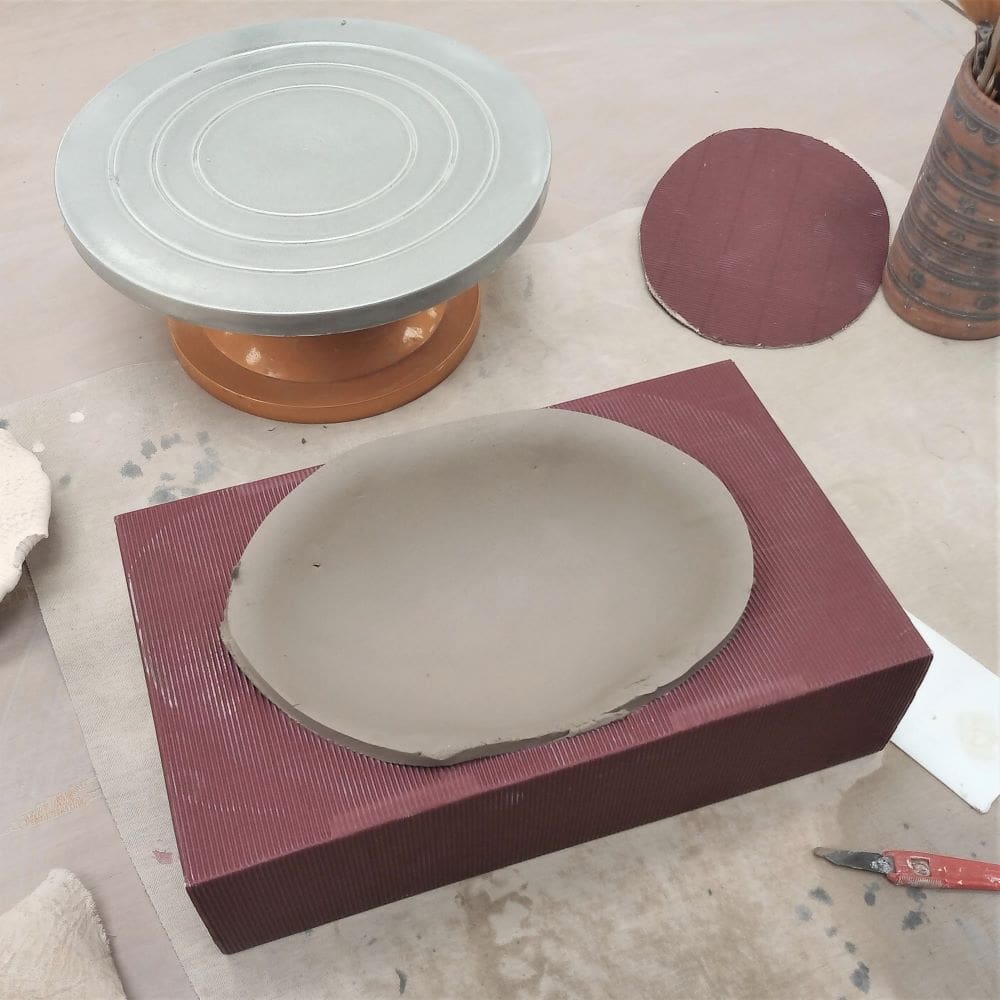
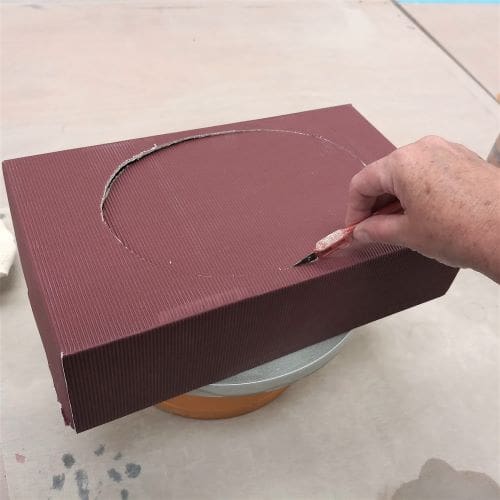
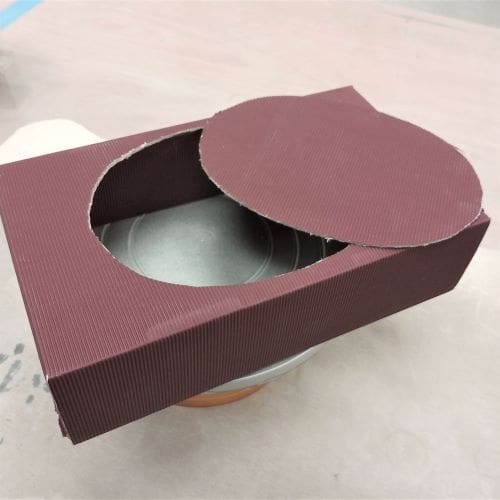
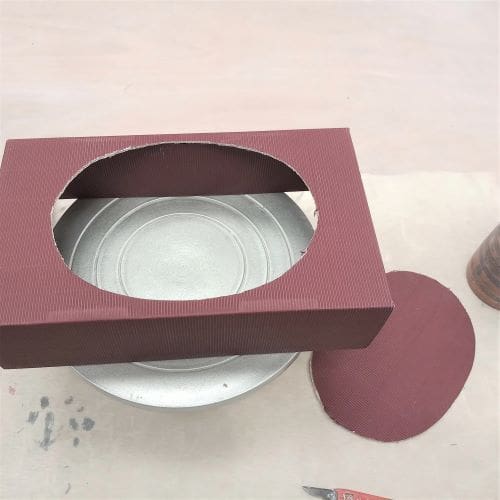
Draw the shape of the rim onto the box – in this case I am going for an oval rim – and cut aound the shape with a sharp knife.

Homemade Slump Mould (1)

Homemade Slump Mould (2)

Homemade Slump Mould (3)

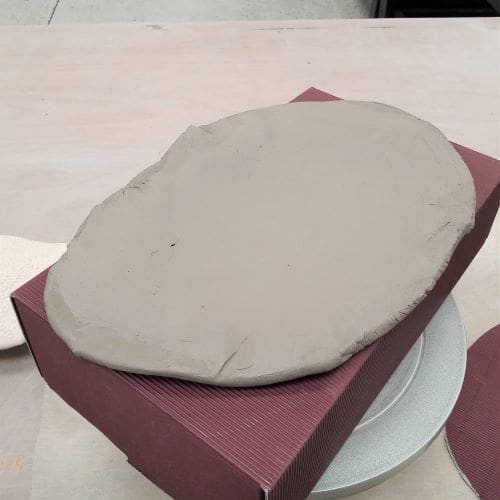
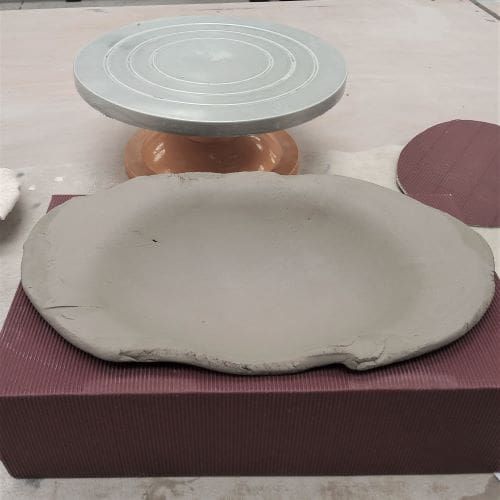
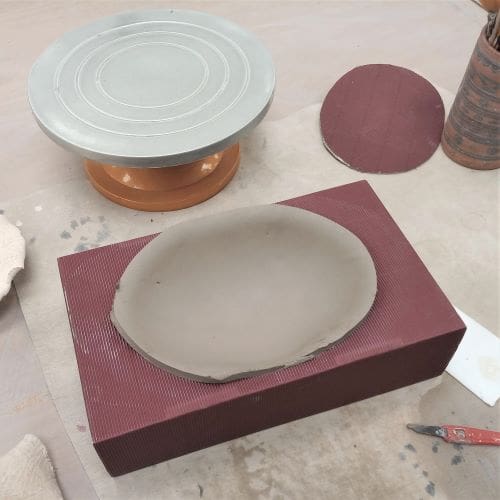
Then place a rolled out slab of clay over the cut-out opening …

Homemade Slump Mould (4)

Pick up the box and drop it from about 15cm away from the table, the clay should slump slightly into the hole … keep dropping it until the clay has reached the depth you want. 

Homemade Slump Mould (5)

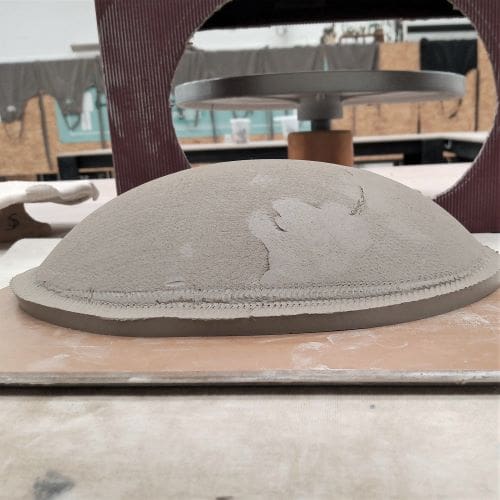
Finally, trim the excess clay from around the rim …

Homemade Slump Mould (6)

Ant turn out the completed form onto a board to dry.

Homemade Slump Mould (7)

My next blog will be about a homemade hump mould …

Posted on — Leave a comment

Pottery tools on a budget

There are lots of online and physical shops supplying tools for ceramics – from the hobby superstore stocking tools and materials for hundreds of different crafts & hobbies, to ultra-specialist pottery suppliers with clays, glazes and equipment for the most advanced ceramicist.

As a ‘hobby’ potter, I have become quite creative over the years, sourcing effective tools from some surprising places with an emphasis on reusing, repurposing and recycling things that would otherwise be thrown away.  These ‘found’ tools were an absolute boon when I was making all my ceramics at home during the Covid-19 lockdowns, when I had no access to my usual tools & equipment.

I will give you here a random selection of the tools I use for various processes of making pottery …

Wooden Rolling Pins


Slab rolling

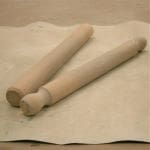
Rolling pins – these have to be wooden to stop the clay sticking to them as you roll it out; very cheap ones can be bought from supermarkets’ budget kitchen range.

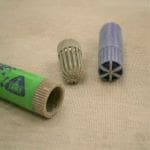
Pen Lids

Impressed marks

Bottle tops, buttons, pen lids – look at the textures on the edge or the end, pressing them into the clay will give you all sorts of flowers, ridges and circles.

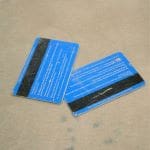
Old Store Cards
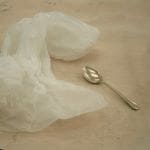
Plastic Bag & Spoon

Smoothing/compressing

Plastic card, plastic bag – reuse expired gift cards for smoothing clay slabs before using them for slab building. Thin plastic bags are great for burnishing (polishing) leather-hard pieces.

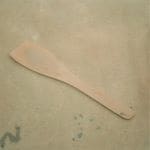
Wooden Spatula

Paddling

Wooden spatula – again, it has to be wooden so that the clay doesn’t stick to it as you shape it; very cheap ones can be bought from supermarkets’ budget kitchen range.

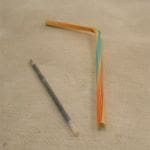
Plastic Straw & Ballpoint Pen Inner

Making holes

Ballpoint pen inner, straw – you can create small holes with a ballpoint pen inner, larger ones with a straw.

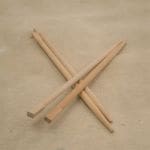
Wooden Chopsticks

Glaze/slip mixing

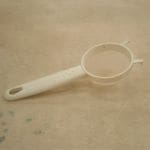
Chopsticks, coffee stirrers, tea strainer – chopsticks and flat coffe stirrers are great for mixing small amounts of brush-on glaze. An old tea strainer good for sieving small amounts of slip or glaze.

Tea Strainer
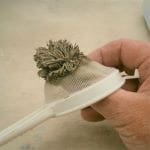
Tea Strainer & Clay

Grass/moss for sculptural work

Tea strainer – it’s like magic – press a small amount of soft clay through a tea strainer and you have moss!

Slaking & reclaiming clay

Clay reclamation

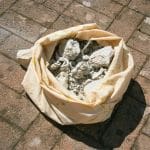
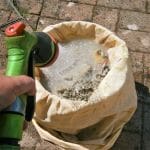
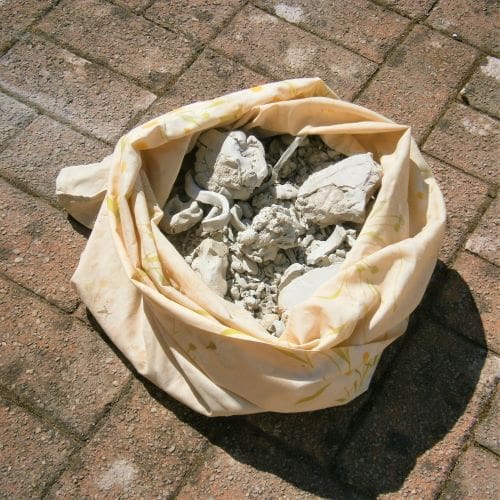
Pillowcase – I save all my clay scraps in an old pillowcase until I have about half a pillowcase-full they the pieces are bone dry. I then put the whole thing, pillowcase and clay in a bucket of water until it is slaked down (that is until the clay has disintegrated into little granules). I then pull out the pillowcase, allow the water to drain and then wedge the clay in the usual way.

I’m always open to new ideas, tips and hints – so if you have anything you have found that works well, please share!