Posted on

Snippety Moments

December is here and it’s brought its to do list. For all that I love having lists any month of the year, December is the one that gets most strictly tamed with tasks and blocks of time. With Christmas prep added to all the everyday routines, I need to chip away systematically at writing cards, buying and wrapping presents and organising food. This doesn’t mean everything is happening in a smooth and clockwork sort of way (it gets to a running around with hair on fire stage eventually), but I usually know what’s done and what still needs to be done.

In one of my social media posts for this blog I mentioned that these posts give me a nudge to remember to notice details around me. And it gives me a place to write down what I’ve observed, so that I can collect a little parcel of moments together and then take a look at what I’ve got. A bit like filling your pockets on a walk, then taking all the contents out and seeing what you’ve got at the end of it.
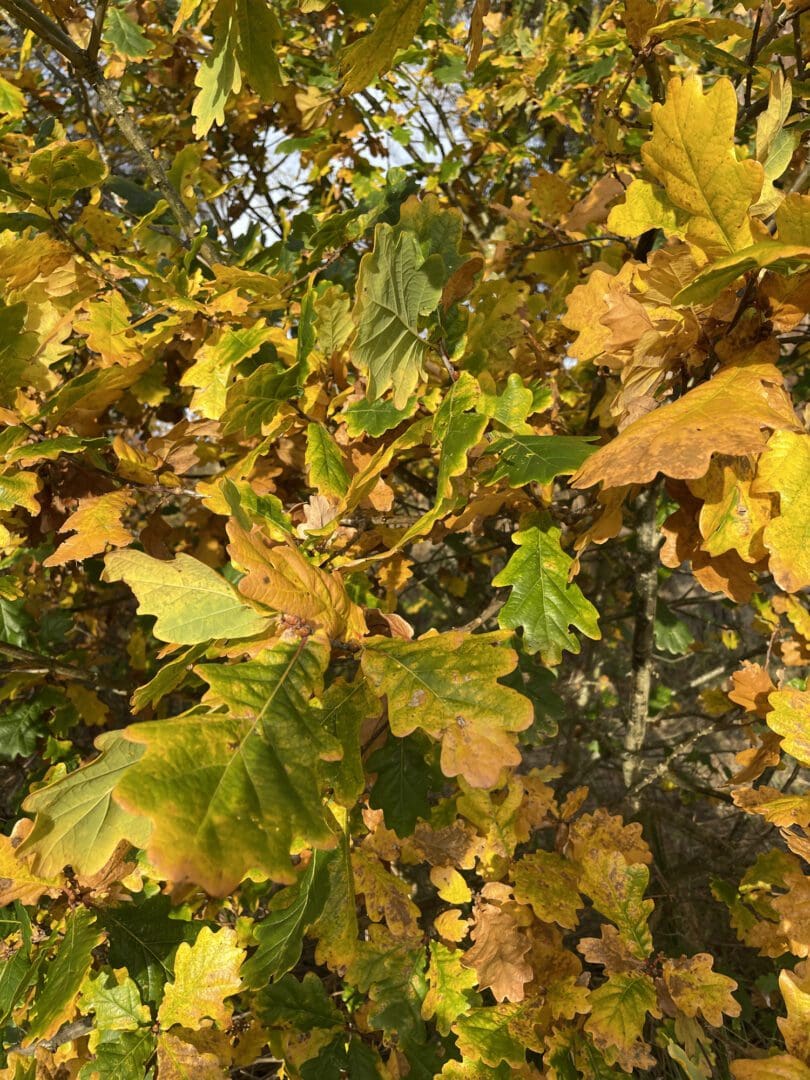
 

Yellow and green oak leaves 


Throughout the week this is definitely a more snippety kind of exercise. Heading to the shops or the post I notice the golden light and the colour of the trees in the early morning, and the extra nip in the air. There’s a vivid mix of colours around still – evergreens contrast with golden yellow and orange leaves – while other
trees are wintry and bare.


On the way down the hill, I can see the jewelled red berries of woody nightshade. A few weeks ago most of them were still unripe, green and firm. Now there is a scarlet glow of juicy clusters – enticing for the birds if poisonous for almost anyone else.


At home there are often birds in the garden – the sparrows have been using a shallow plant saucer for a bird bath all summer. We’ve been stopping every now and then to watch them splashing and fussing. The sparrows have been chattering all year, but there’s a blackbird as well. I caught sight of him the other day, looking well-fed and ready for winter.


On damp and milder days, the garden still smells warm and earthy. More autumn than winter still. I
am reminded of the very summery February we had some years back, when I could go out without a coat and there were dozens of ladybirds in the hedgerows. It’s both pleasant and unsettling because the seasons are definitely a bit off.
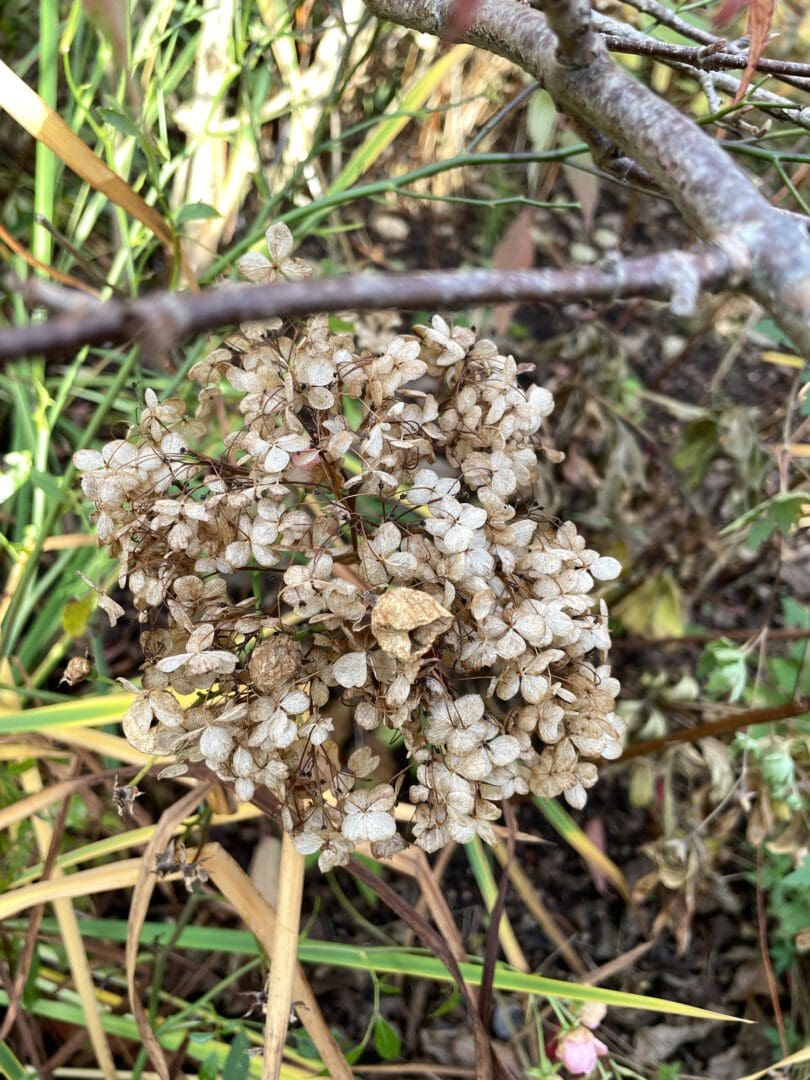
 

Dried hydrangea flower head


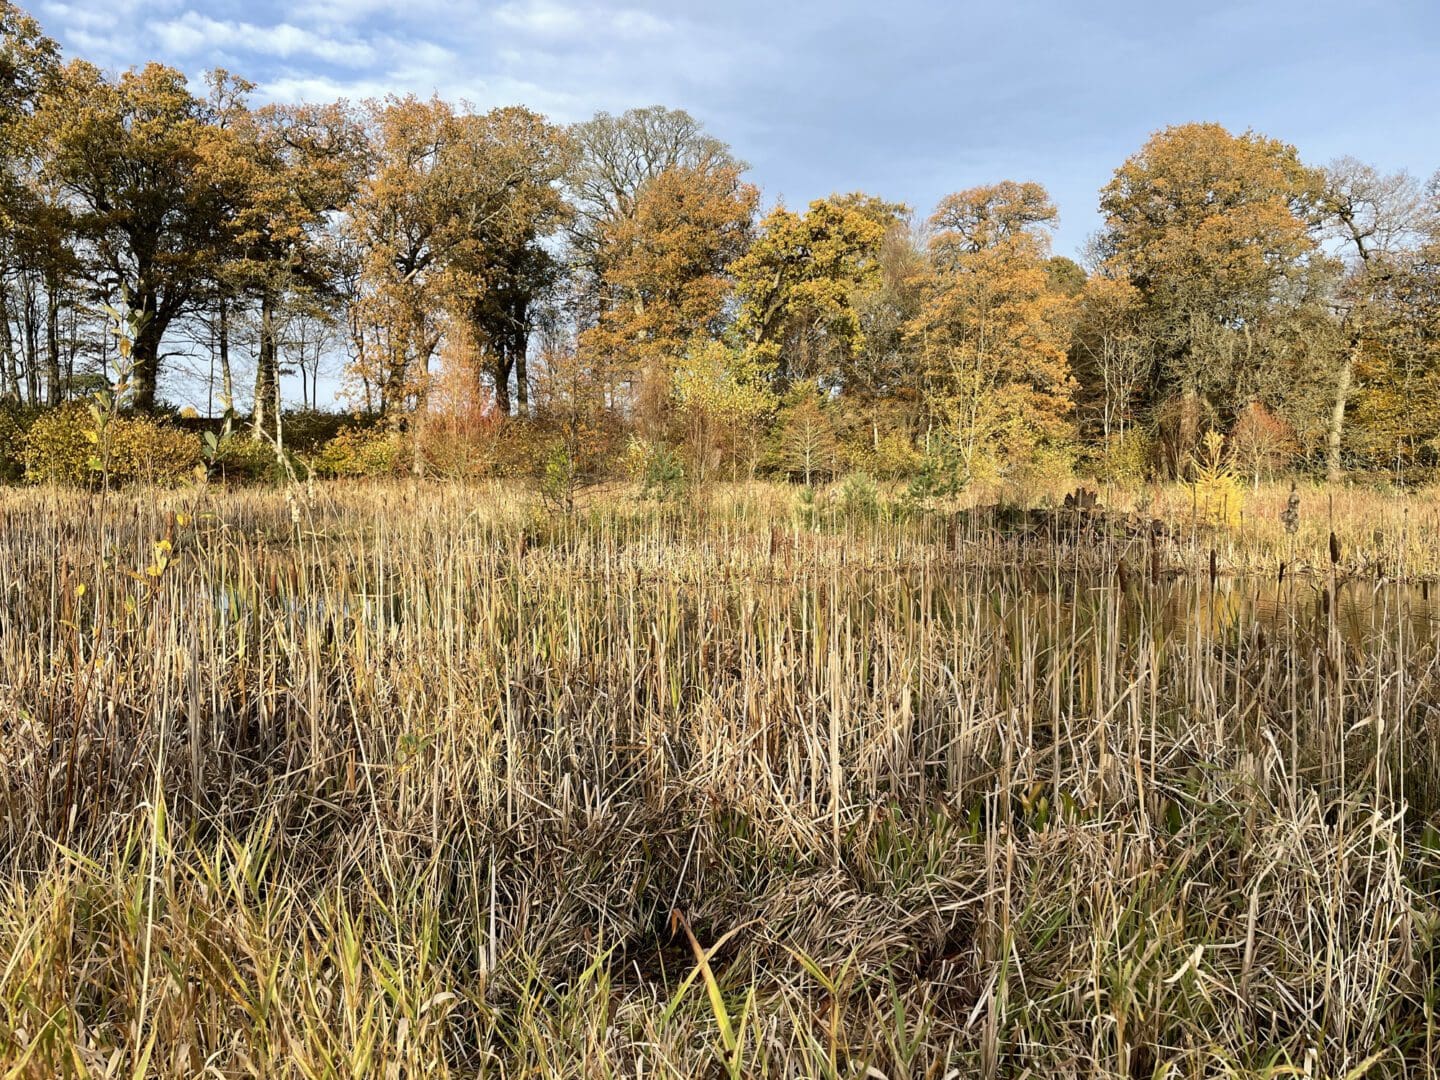
Snippety moments through the week help to lift the days above the to do lists, if briefly. Weekends are best of course for having more time to get out and look around. The photos in today’s post were all taken at Dumfries House, which has beautiful grounds and a really splendid walled garden. It is interesting at any time of year and the autumn colours were looking delightful in November.


Wherever we go, I try to get photos of flowers and trees. Looking through the pictures afterwards is another way of emptying my pockets out to see what I have – I’m always sifting through to see what might spark an idea for a project.
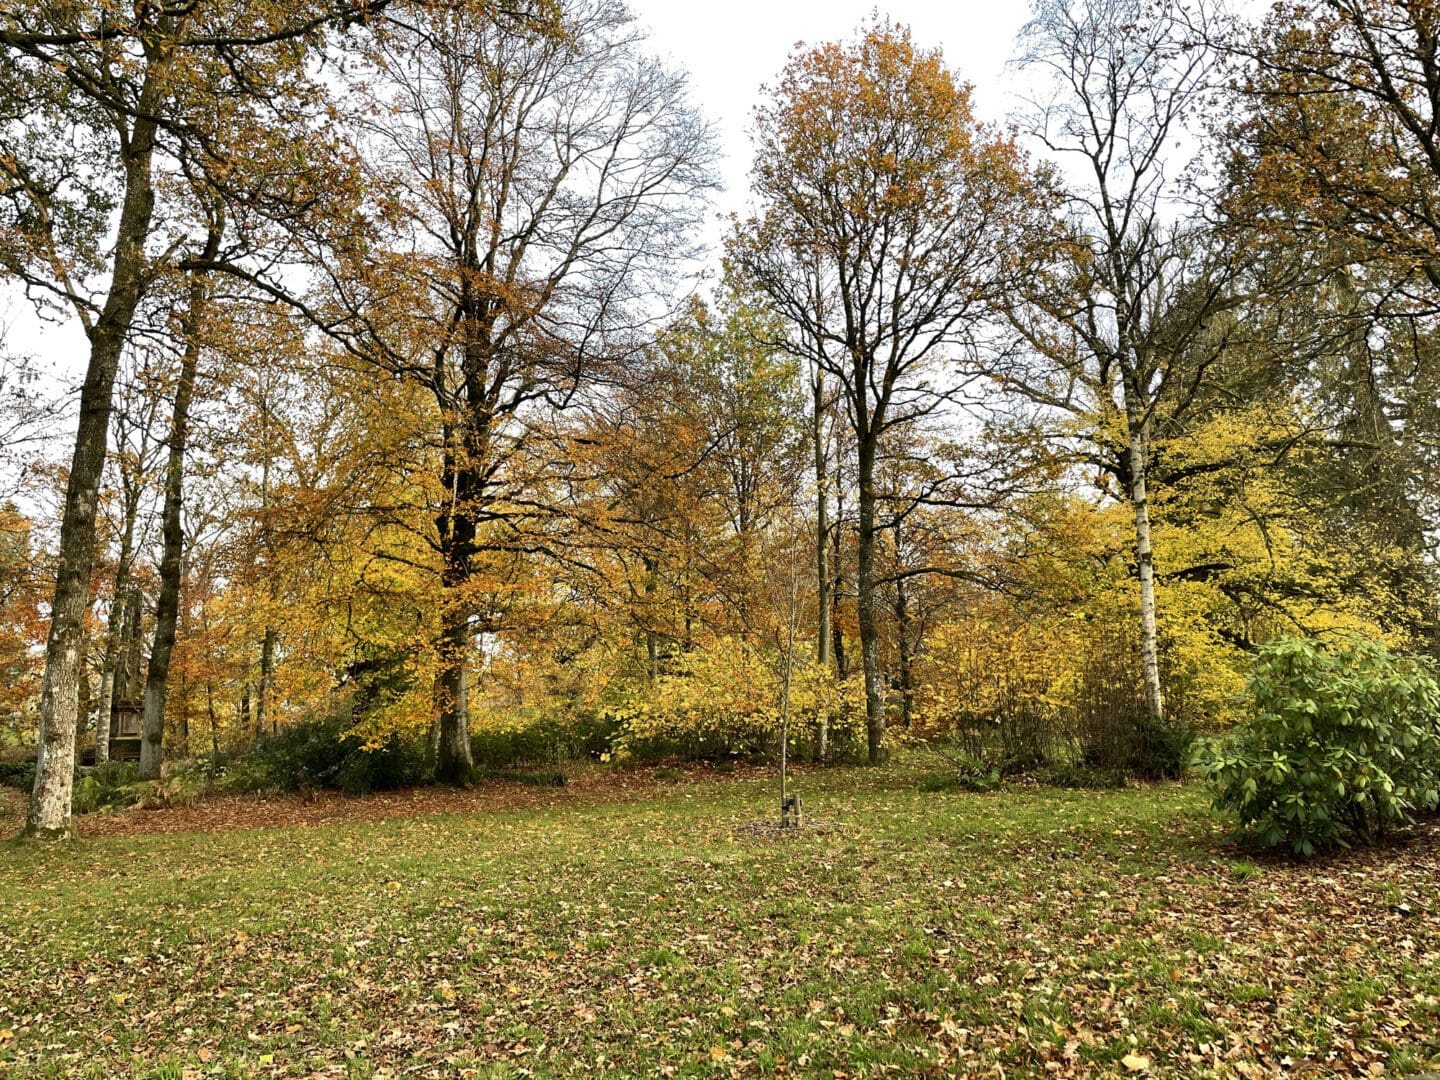
 

Golden trees in late autumn


At this time of year, my thoughts are already leapfrogging Christmas to think of spring designs. I’m thinking of the details I love most in the early spring, when everything has been dormant for so long, and then there are flowers again. This year that’s a little topsy turvy, as our primroses are still in flower! The spring bulbs are already making an appearance too, so we will see what January brings…

Posted on

Getting Started with Blackwork

After dreamily reading through lists of many embroidery techniques and researching some of the styles I’ve seen in museums, the first style I’m going to explore more closely is blackwork. The rest of the schedule is not set in stone but I have plenty of ideas to be going on with.


My last blog post has a bit more about my long term plans for a deep dive into embroidery: https://staging.thebritishcrafthouse.co.uk/ginkgo-leaf-embroidery/


Blackwork is an ideal place to start as the techniques involved are very simple. Some of the most commonly used stitches are: back stitch, double running stitch (Holbein stitch), chain stitch and stem stitch. Many blackwork designs can be done entirely in back stitch (hooray, that’s an easy one!).


The reference I’m using for stitches and patterns is Becky Hogg’s excellent book on blackwork, published by the Royal School of Needlework:

https://royal-needlework.org.uk/product/rsn-essential-stitch-guides-blackwork/


The book has an interesting summary of the history of blackwork and its uses. For example the double running stitch – which creates the same design on both sides of the fabric – is also known as Holbein stitch because it appears in so many of Hans Holbein the Younger’s portraits. This in itself indicates what a popular type of decoration it was in the sixteenth century, at least among royalty and the aristocracy who could afford richly embroidered clothes.  


Following Becky’s advice in the book, I bought some white 32 count evenweave linen and some tapestry needles. I’m using a size 24 needle and a single strand of DMC black embroidery floss (310).


I’m stitching each design in a 2” x 2” square – large enough to give me an idea of the design but small enough so that I have time to stitch quite a few different styles.


I started by stitching the small diamond pattern in back stitch. One of the pleasing things about blackwork is that even simple designs look striking, so that any design is interesting to stitch.

  Black lines embroidered diagonally     Small diamond shapes created by crossing embroidered diagonal lines.     Reverse of small diamond embroidery pattern

At first I started by working the whole diamond shape but then realised that I didn’t need to do anything so fiddly. I used a similar technique to cross-stitch, running the stitches diagonally one way and then the other. At the end I followed along the rows adding the tiny notch at the top of each diamond.

Completed blackwork design: small diamond pattern. Interlocking diamonds, each with a tiny notch at the top.

After finishing the piece I discovered another method, where the top halves of the diamonds are stitched in staggered rows. The next row down completes the row above, which is also very efficient. This is one of the advantages of blackwork – different methods can produce the same results.


One of the challenges is counting the spaces accurately so that the whole pattern is even. Some designs are simpler than others but the 32 count linen is very finely woven, so I have to keep my wits about me. It’s not compulsory to stitch the design so small – I just love the fiddly delicacy of tiny patterns. I didn’t quite get some of the edges right on the small diamonds, but noticing where I make mistakes is all part of the experience.


Having tackled one fairly basic pattern I was itching to get going on something more demanding. This open lace design is suitably thrilling and beautiful. It is also being worked in back stitch.

 One line of open lace blackwork      A 2 inch square half stitched with a blackwork open lace design      A two inch square of white linen nearly covered in blackwork open lace.

Crucially, this design doesn’t allow for a repetitive system of stitching, like the small diamonds. There isn’t a specific way to work the pattern, which means I need to stitch a little more mindfully. The main thing is to keep the stitching within small areas. If the black thread reaches too far across the linen at the back of the design, it will probably be visible on the front. So I need to think about my stitching as I go, to avoid stranding myself in a spot where I need to cross a large gap. If needed I can secure that section and start again somewhere else, but it would be a slow process if I had to do that too often.


This attention to detail can make my eyes (and head) feel tired, but I can also get into a rhythm. Once I had enough of the lace design stitched, it gave me reference points to continue in the same way.


As I have quite a few patterns I want to try out, I’m working on several different pieces now. At the moment I’ve got an enjoyable balance between watching a detailed pattern develop and having a simpler design on hand as well for when my brain wants something easier to follow.  

A few lines of triangular darning stitch

This procession of triangles is done in straight stitch and the design is called triangular darning. It’s one of the patterns which allows for areas to be filled more densely. The combination of darning stitches with more open patterns can be very effective.


Thank you for reading this far – there was quite a lot to talk about. I am planning to stitch a variety of blackwork patterns and create a couple of different sampler displays from them. I will post another update in a month. You can also follow my progress on my YouTube channel:

https://www.youtube.com/channel/UCjEFsCMObyKooe-GRP6jucw

Posted on

Finishing the Flying Acorn

My last flying acorn post ended when the easiest stitching tasks had been completed and I was getting ready to tackle the tricky curves of the oak leaves. Not the most riveting cliffhanger (embroidery is yet to establish itself as an extreme sport), but I definitely faffed a bit getting to grips with it. It always takes a bit of extra effort to get started on something when you know the end result will be imperfect. But the challenge of it is the spur that keeps the project going.


(If you’re coming in cold to this second half of the project and the context seems to be missing, here’s the first part: https://staging.thebritishcrafthouse.co.uk/flying-acorns/)


Applique acorn with two grey and green oak leaves.


My hand appliqué techniques could do with some finessing. Most of the time I coaxed the fabric into turning underneath. I pinned and tacked everything mercilessly so that it would hold in place until I could stitch it more subtly. There was the expected amount of fraying and fiddliness, but I more or less wrestled the leaves into submission.


It would have taken me a lot more time to get a neater result, although that’s something worth trying when I have the time to do and redo. In the spirit of done is better than perfect, I was quite happy with my efforts. And I covered up some of the issues with more couching…


Once the leaves were stitched, it was time think about decoration. I’d been waiting for this point to see what ideas occurred to me. Lou’s blog mentions beads and metallic threads so I’d been turning over some thoughts in that direction.


I spent a bit of time doodling designs on a bunch of oak leaf outlines, to see what suited the shapes. Curves and swoops seemed the way to go. It was an easy decision to use one of my favourite doodle patterns for the right hand leaf. A delicate scroll design, backstitched in a silvery thread, gave a pretty suggestion of filigree. Another time I would have whipped the backstitch to create a smoother line, but time didn’t allow. I’ll need to create some more projects that allow me to play around with that sort of design as I find it so pleasingly pretty.


For the left hand leaf I got out a stash of fabric scraps and cut out some paisley swirls to highlight the curves of the oak leaf. I tacked them down and secured them with embroidered outlines, plundering my Embroidery Stitch Bible (link below) for stitch inspiration.


Close up of oak leaf with paisley applique shapes. Each paisley shape outlined in a different embroidery stitch: Pekinese, heavy chain, feather, herringbone, fern and French knots.


This style of textile art is new to me. I wanted decorations that had some variety and allowed for creative play, but which were simple enough to be stitched quite quickly. I like my golden highlight on the acorn – a teeny bit of bling and easy to stitch.


The final step was to add some beads, to chime with Lou Gardiner’s flair for mixed media creations. It was easy to decide on a random-ish scatter of silver beads among the scrolling threads. The left hand leaf had me thinking a bit more – I was tempted to create something a little more elaborate. But I didn’t want the beading to outweigh the rest of the decoration, so I went with my scatter plan for both leaves.


I am pleased with the final result. It’s always satisfying to complete a project in any case, and this one felt like a bit of an unknown quantity until everything was stitched in place. This piece had such obvious stages – from felt padding to appliqué, followed by embroidery and beading. I wanted each stage to enhance the project and not spoil the work that had already been done. I still have plenty to learn and refine in terms of hand appliqué, textile design and mixed media embellishments, but I like this piece as an introduction to those techniques.


As per the brief, I have also composed a hand written letter, ready to send to the Acorn Team at Marchmont House with the hoop. It will be on its way shortly. Keep an eye on my Instagram account – or, more importantly, Lou Gardiner’s – and I will give a shout out when the exhibition appears.


Thanks for reading, I hope you enjoyed following my progress. My next blog will be about the next stage in my stitchy plans. I have a list of projects as long as several arms, which I’m hoping will develop and refine my embroidery skills over time.


If you would like to see the video journal I have created for my embroidery projects, the YouTube link is also below:

Sweet Thorn’s embroidery chats on YouTube: https://www.youtube.com/watch?v=h2WHepz224A&list=PL5GoJm8wxHjSfwVkBbOvzUC8IbWjirYGp


Lou Gardiner:https://www.instagram.com/lou_gardiner_embroidery/

Sweet Thorn: https://www.instagram.com/sweetthorn.embroidery/


The Embroidery Stitch Bible (Betty Barnden): https://royal-needlework.org.uk/product/the-embroidery-stitch-bible/

Posted on — Leave a comment

Flying Acorns

Nearly a year into this blog and I have some embroidery content to talk about. If necessary, now is the time to pick yourself up off the floor…


But I always wanted embroidery chat to evolve naturally in this blog. I didn’t particularly want to replicate my social media posts and newsletters, where I talk about work in progress and the finished results. I have taken this blog off at a tangent and talked a lot about connecting with sights and sounds in nature, much of which inspires my embroidery work. 


Now I have some embroidery projects developing which are largely separate from what I’m selling in my online shops. They are slow projects, and I’m using them to learn more about embroidery techniques and designs. All being well, I will have a lot to talk about here.


Today’s post is about a collaborative project that I’ve joined: Lou Gardiner’s Flying Acorn Army, an exhibition inspired by and hosted at Marchmont House in the Scottish Borders. Hundreds of people have already submitted embroidered acorns to accompany Lou’s very fabulous Cape of Creative Courage.


You can read about how this project started on Lou’s blog and follow its progress on herInstagram account:

https://www.lougardiner.co.uk/blog.php 

https://www.instagram.com/lou_gardiner_embroidery/


When this project was initially announced last year, I didn’t have enough spare time to work on an acorn piece. But the deadline has been extended to the end of August and I’ve had more time over the summer to get stuck into my own interpretation of Lou’s design.


This first stage was put together according to the guidance on Lou’s blog. A sheer fabric mounted in a hoop, with the inner hoop bound to keep the muslin in place.


Felt acorn with two green felt oak leaves.


Lou provided templates for the acorns and instructions on how to build up layers of felt padding to provide a foundation for stumpwork.


Applique acorn with two  green oak leaves.


I chose a variety of fabrics to layer over the felt. As you can see, on the left I opted for a top layer of felt too. Whipstitching the padding to the hoop turned out to be pleasingly neat, and felt is so forgiving and doesn’t fray. So I chose to use an extra layer and kept that section tidy at least.


Applique acorn with two  green oak leaves.


I began with the least challenging fabrics, on the whole. I am not practised at hand applique, so I started with fabrics that I could stitch straight onto the muslin, without turning the edge of the fabric. The felt was easy to whipstitch. I then used a buttonhole stitch to secure the acorn cup, to prevent the tweed (oh gorgeous barleycorn!) from fraying. Similarly, I couched the edge of the second leaf – laying down 6 strands of silvery-grey DMC floss and securing it with 4 strands of one of my favourite green shades (which is 3051 in case you’re interested).


I chose an easy target for the first attempt at applique and tried out hidden whipstitch for the cotton part of the acorn. The curve was indeed tricky. I am pleased with how it turned out but it gave me a lot to think about in terms of capturing wiggly oak leaves. 


I’ll be back in August to show you how the rest of the applique went, and hopefully to show you the finished piece all decorated and ready to send. Thanks for reading!

Posted on — Leave a comment

Waiting for Spring

Spring flowers are the most beautiful overture to the garden reawakening and welcoming the sun with a rush of blooms and greenery. There are other flowers that I love to see arriving later in the year such as cherry and apple blossoms, poppies and irises. But there is always a thrill at seeing the first flowers of the year breaking through gloomy winter and making the cold days less bleak.


Year by year a little more gets added to our garden and I’m gradually building up a display of early spring flowers. A friend of mine, whose back garden will be a riot of crocuses now, mentioned that she planted bulbs every year and this seems like the best plan to me. Some flowers appear regularly, like the snowdrops in the back garden, and others are more intermittent, like our daffodils. Sometimes flowers die off of course – we used to have a lovely primrose, and I’m not sure that the cowslip will come back this year. So there are always gaps to fill here and there.

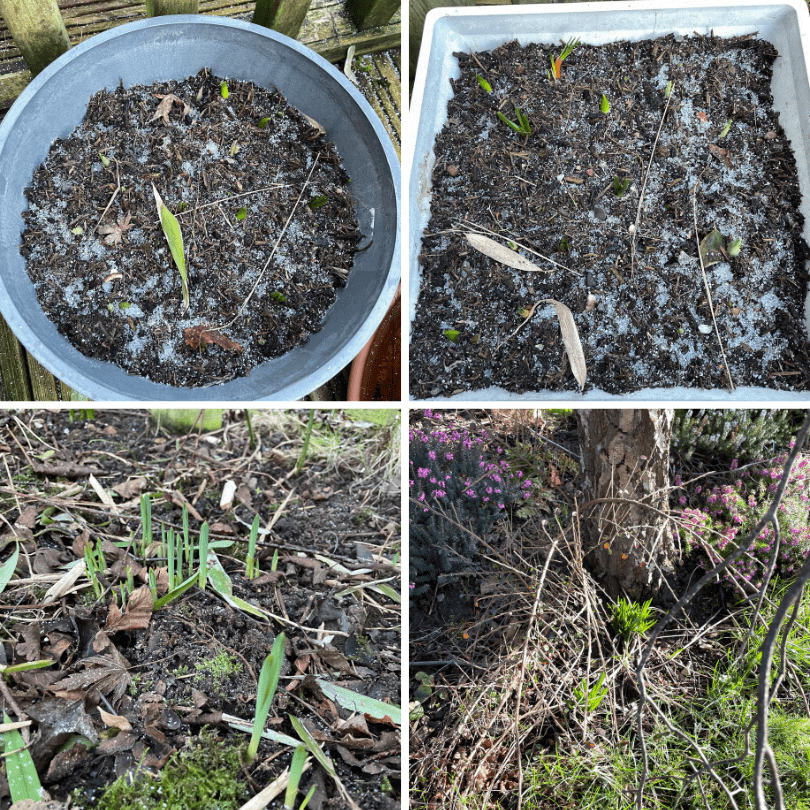
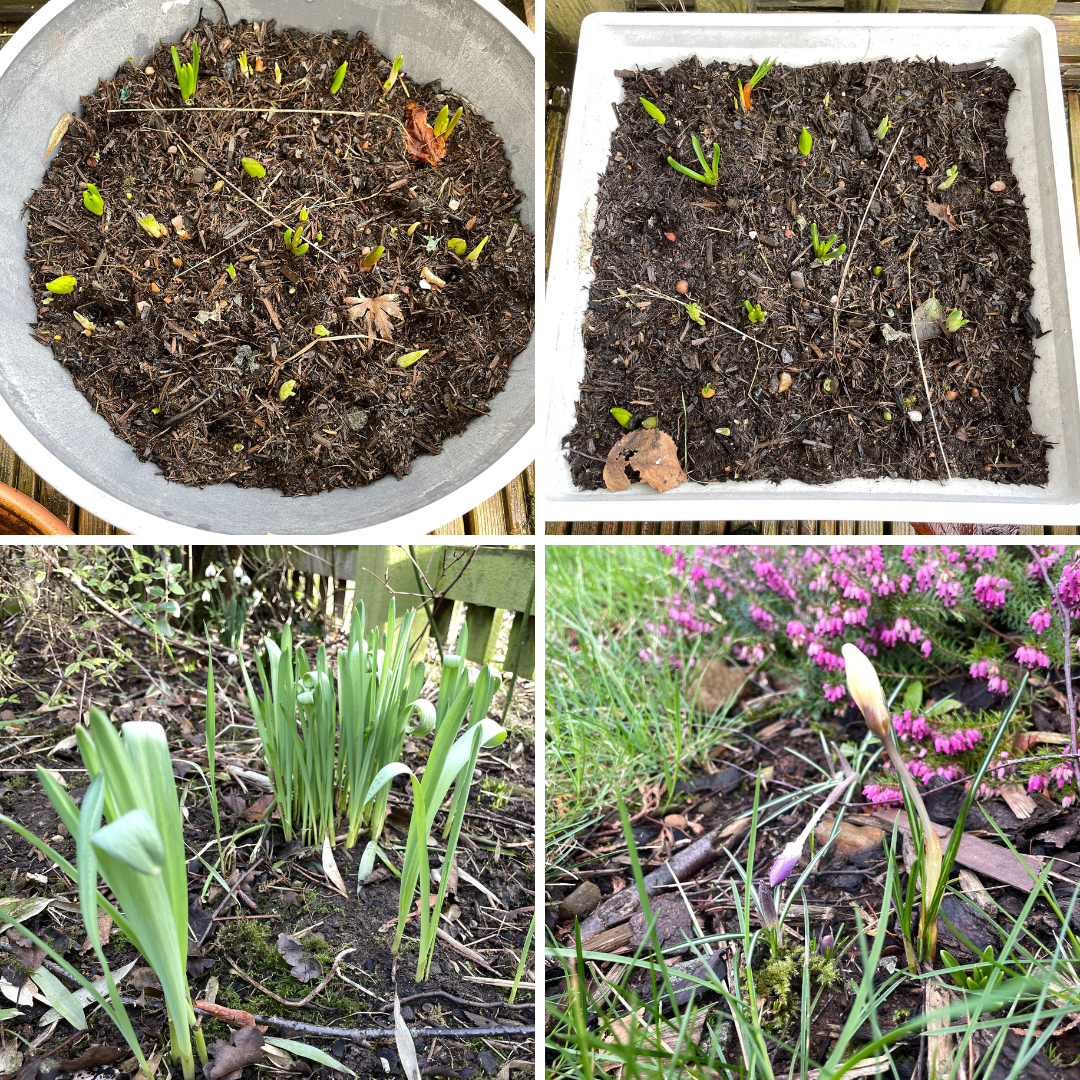
Collage photo of early crocuses amd bulb shoots

Sometimes I only have one or two packets to plant, last year I had quite a few. I added more crocuses because they will look so wonderful when I’ve finally created little carpets of them. I also bought flowers I’ve not had before – muscari, chionodoxa luciliae, scilla siberica and (swoon) dwarf irises. I’ve dotted them around the flower beds in the front and back gardens. I only have daffodils in the lawn, but crocuses look spectacular growing out of the grass so I’ll have to give that a go sometime. It’s easiest with early flowers as the grass won’t be getting cut for a while yet.

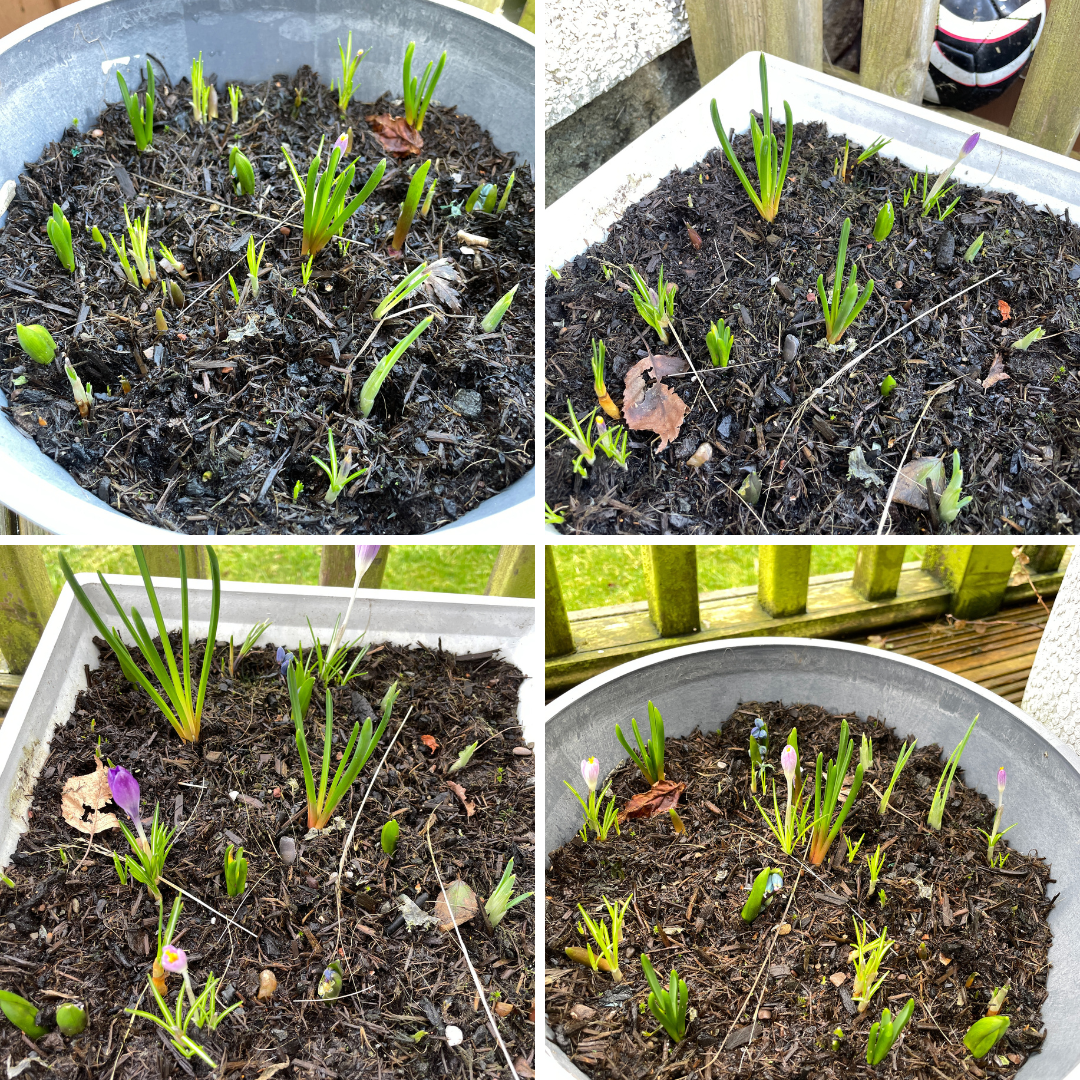
Collage photo of containers with new bulb shoots

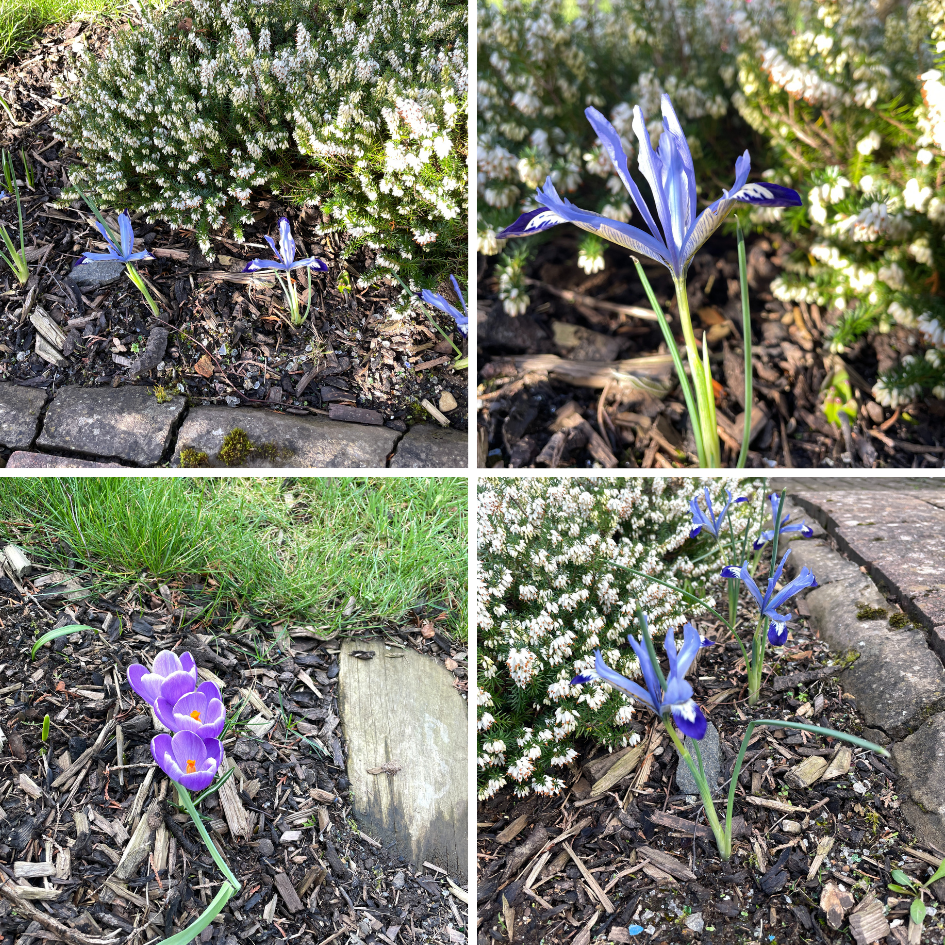
This is the first year I’ve had bulbs planted up in containers. It’s lovely having a colourful display in the front garden, but we have a better view on the back garden. The containers sit just outside the back door, where I can enjoy them every day. The dwarf irises have come up best in the front garden though – it’s a sunnier spot, so they look all stately and glorious. They’re the first irises I’ve been able to encourage to grow and it’s a treat to finally have some in the garden.

Collage photo of dark blue dwarf irises and purple crocuses

I think Monty Don from Gardeners’ World plants out container bulbs to his lawns and meadows a year or two after the first flowering. This definitely sounds like an interesting rotation plan to try out. It’s been useful learning from other people so that I can have a plan of what I’m doing. Addressing different garden tasks through the year has been a learning curve since we had a garden. We’re busiest in spring and autumn when weeding, planting, pruning and frost coverings are the main activities. The momentum often falls away in summer due to holidays and different routines. If it’s not too British a summer, we make a point of watering the garden and taking a look round every so often. The biggest task for me is maintenance – making sure that the plants are healthy and thriving through the year, and get enough attention.

 Collage photo of spring flower embroidery designs

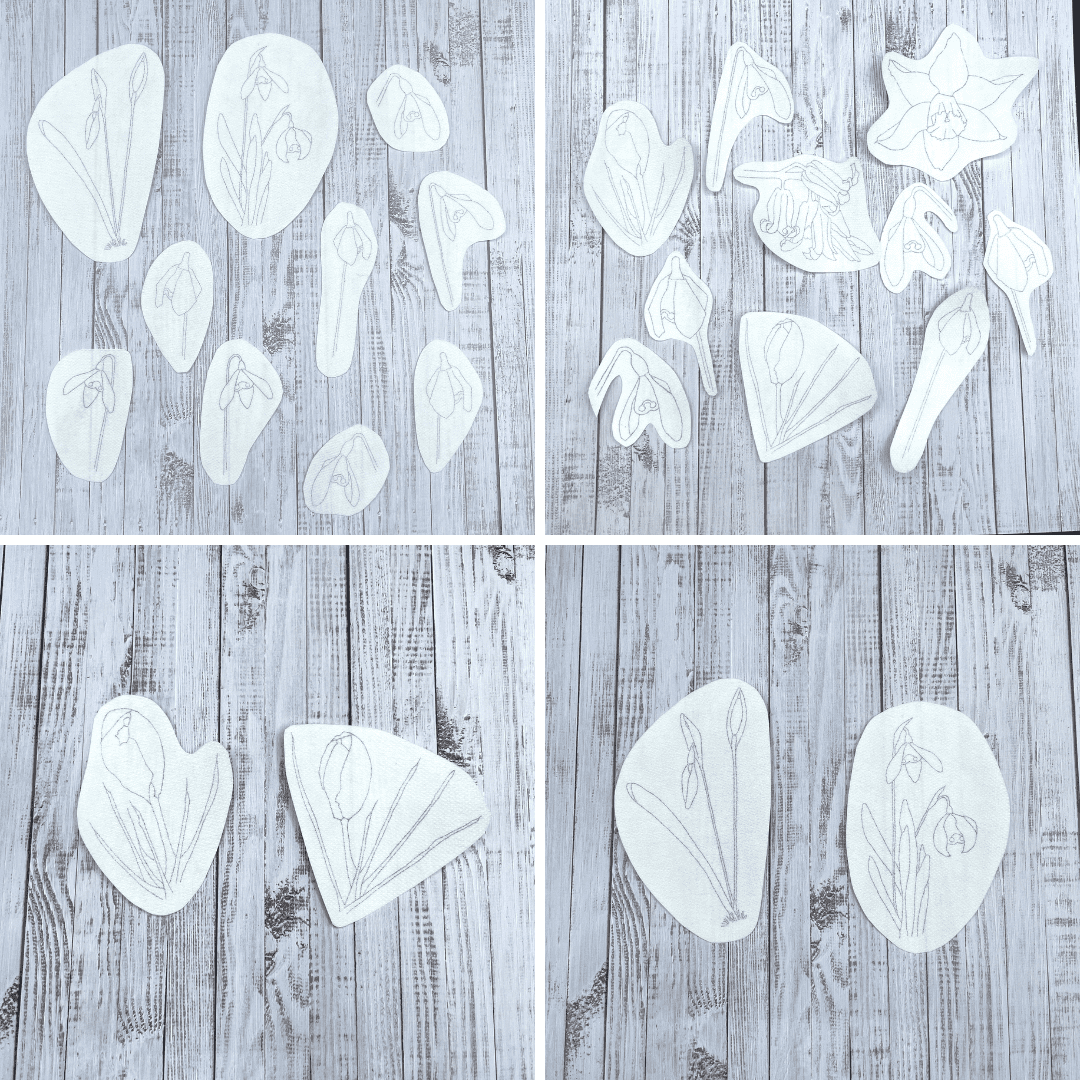
Given the season, early spring flowers were the natural choice for my first stick and stitch embroidery designs. I got particularly carried away with the snowdrops. These sketches are developed from my photos of spring flowers, most of them from my garden in the past few years. Naturally I am already planning designs for next year based on the new additions that are flowering now. I’m also working on more meadowy themes for the summer and I hope to have a kit or two released later in the year – I’ll keep you posted. In the meantime, although you won’t see these designs in my British Craft House shop, you will find them at TBCH’s spinoff site Buy Indie, where I’ve got a Sweet Thorn corner too:


https://buyindie.co.uk/product/stick-and-stitch-spring-flower-embroidery-patterns-2/


Thanks for reading, have a lovely March!