Posted on

Getting Started with Blackwork

After dreamily reading through lists of many embroidery techniques and researching some of the styles I’ve seen in museums, the first style I’m going to explore more closely is blackwork. The rest of the schedule is not set in stone but I have plenty of ideas to be going on with.


My last blog post has a bit more about my long term plans for a deep dive into embroidery: https://staging.thebritishcrafthouse.co.uk/ginkgo-leaf-embroidery/


Blackwork is an ideal place to start as the techniques involved are very simple. Some of the most commonly used stitches are: back stitch, double running stitch (Holbein stitch), chain stitch and stem stitch. Many blackwork designs can be done entirely in back stitch (hooray, that’s an easy one!).


The reference I’m using for stitches and patterns is Becky Hogg’s excellent book on blackwork, published by the Royal School of Needlework:

https://royal-needlework.org.uk/product/rsn-essential-stitch-guides-blackwork/


The book has an interesting summary of the history of blackwork and its uses. For example the double running stitch – which creates the same design on both sides of the fabric – is also known as Holbein stitch because it appears in so many of Hans Holbein the Younger’s portraits. This in itself indicates what a popular type of decoration it was in the sixteenth century, at least among royalty and the aristocracy who could afford richly embroidered clothes.  


Following Becky’s advice in the book, I bought some white 32 count evenweave linen and some tapestry needles. I’m using a size 24 needle and a single strand of DMC black embroidery floss (310).


I’m stitching each design in a 2” x 2” square – large enough to give me an idea of the design but small enough so that I have time to stitch quite a few different styles.


I started by stitching the small diamond pattern in back stitch. One of the pleasing things about blackwork is that even simple designs look striking, so that any design is interesting to stitch.

  Black lines embroidered diagonally     Small diamond shapes created by crossing embroidered diagonal lines.     Reverse of small diamond embroidery pattern

At first I started by working the whole diamond shape but then realised that I didn’t need to do anything so fiddly. I used a similar technique to cross-stitch, running the stitches diagonally one way and then the other. At the end I followed along the rows adding the tiny notch at the top of each diamond.

Completed blackwork design: small diamond pattern. Interlocking diamonds, each with a tiny notch at the top.

After finishing the piece I discovered another method, where the top halves of the diamonds are stitched in staggered rows. The next row down completes the row above, which is also very efficient. This is one of the advantages of blackwork – different methods can produce the same results.


One of the challenges is counting the spaces accurately so that the whole pattern is even. Some designs are simpler than others but the 32 count linen is very finely woven, so I have to keep my wits about me. It’s not compulsory to stitch the design so small – I just love the fiddly delicacy of tiny patterns. I didn’t quite get some of the edges right on the small diamonds, but noticing where I make mistakes is all part of the experience.


Having tackled one fairly basic pattern I was itching to get going on something more demanding. This open lace design is suitably thrilling and beautiful. It is also being worked in back stitch.

 One line of open lace blackwork      A 2 inch square half stitched with a blackwork open lace design      A two inch square of white linen nearly covered in blackwork open lace.

Crucially, this design doesn’t allow for a repetitive system of stitching, like the small diamonds. There isn’t a specific way to work the pattern, which means I need to stitch a little more mindfully. The main thing is to keep the stitching within small areas. If the black thread reaches too far across the linen at the back of the design, it will probably be visible on the front. So I need to think about my stitching as I go, to avoid stranding myself in a spot where I need to cross a large gap. If needed I can secure that section and start again somewhere else, but it would be a slow process if I had to do that too often.


This attention to detail can make my eyes (and head) feel tired, but I can also get into a rhythm. Once I had enough of the lace design stitched, it gave me reference points to continue in the same way.


As I have quite a few patterns I want to try out, I’m working on several different pieces now. At the moment I’ve got an enjoyable balance between watching a detailed pattern develop and having a simpler design on hand as well for when my brain wants something easier to follow.  

A few lines of triangular darning stitch

This procession of triangles is done in straight stitch and the design is called triangular darning. It’s one of the patterns which allows for areas to be filled more densely. The combination of darning stitches with more open patterns can be very effective.


Thank you for reading this far – there was quite a lot to talk about. I am planning to stitch a variety of blackwork patterns and create a couple of different sampler displays from them. I will post another update in a month. You can also follow my progress on my YouTube channel:

https://www.youtube.com/channel/UCjEFsCMObyKooe-GRP6jucw

Posted on

Ginkgo Leaf Embroidery

After surprising you all with an actual embroidery project in my last posts, I am continuing with this stitchy theme for now. As far as spare time allows, I am planning a variety of projects so that I can explore different embroidery styles and techniques.


Very pleasingly, there are so many sorts of embroidery to learn about. I have an idea about the first few projects but I don’t know where all these ideas will finally take me. I have a vague notion about trying out a variety of styles and then focusing more on my favourites. That’s the sort of project which will take years and it will be interesting to see what develops as I go along.


I have made some lovely long lists of various embroidery styles and I have some idea of what to explore first. I’m planning to keep things relatively simple for now and move on to more complex techniques and designs over time. As with any art, embroidery designs cover a range of complexity and the simplest designs can be as striking as the most detailed ones.


My first mini project was an exercise in design as well as technique. I enlarged one of my own ginkgo leaf designs and had a bit of a play with colour.

Embroidered veins of half a ginkgo leaf in a variety of green shades and autumn colours.

The veins are in stem stitch. You can see that I made a note of the colours I was using by adding a small key at the side. I wanted to mix these colours up to see how they worked together. To save time on making the next colour choice every time I finished a vein, I wrote down a pattern which spread the colours out across the design.

Embroidered veins of a ginkgo leaf in a variety of green shades and autumn colours. Central section filled with long and short stitch in green.

I stitched the central part of the leaf in more natural colours, to get some practise with filling stitches. This is definitely an area I need to concentrate on more at some point. I am always trying to improve how neatly the stitches sit together. As far as colour goes I was just winging it. I tried to add some subtle highlights to the dominant moss green. When I look at needle painting more closely I will have the time to consider how to use embroidery thread for shading and for variety. The technique of shading similar colours together subtly is a delicate skill. The next step seems even more complex –  judging how different colours work together to create a more nuanced idea of shading, and how to work in accents of contrasting colours so that they complement the design and don’t clash.


To add a bit of texture and stitch variety, I edged the leaf in whipped backstitch and trailed the stem. I like the smooth raised effect of trailing. Another name for this technique is satin couching, but it has several different names. I still need to work on this stitch to create a consistently smooth result. It is a really effective way to highlight details.

Embroidered ginkgo leaf with a raised outline and stem. Veins stitched in green shades and autumn colours

The final task is to wash away the fabric marker and mount the embroidery on card to start the embroidery portfolio that I’m planning. If you’re following me on Instagram no doubt you will see the finished product soon.


In the meantime I am already stitching away into my next project. All being well, I should have another blog post ready soon and you can see what kind of a start I’ve made.


If you want to explore embroidery styles and stitches, the Royal School of Needlework have provided a very pleasing rabbit hole: https://rsnstitchbank.org/technique


The instructions are gorgeously clear, with photos, graphic and videos. I have several of their beautiful books, but I am sure that this page will be a valuable resource as I explore more types of embroidery.

Posted on

How to find your ring size

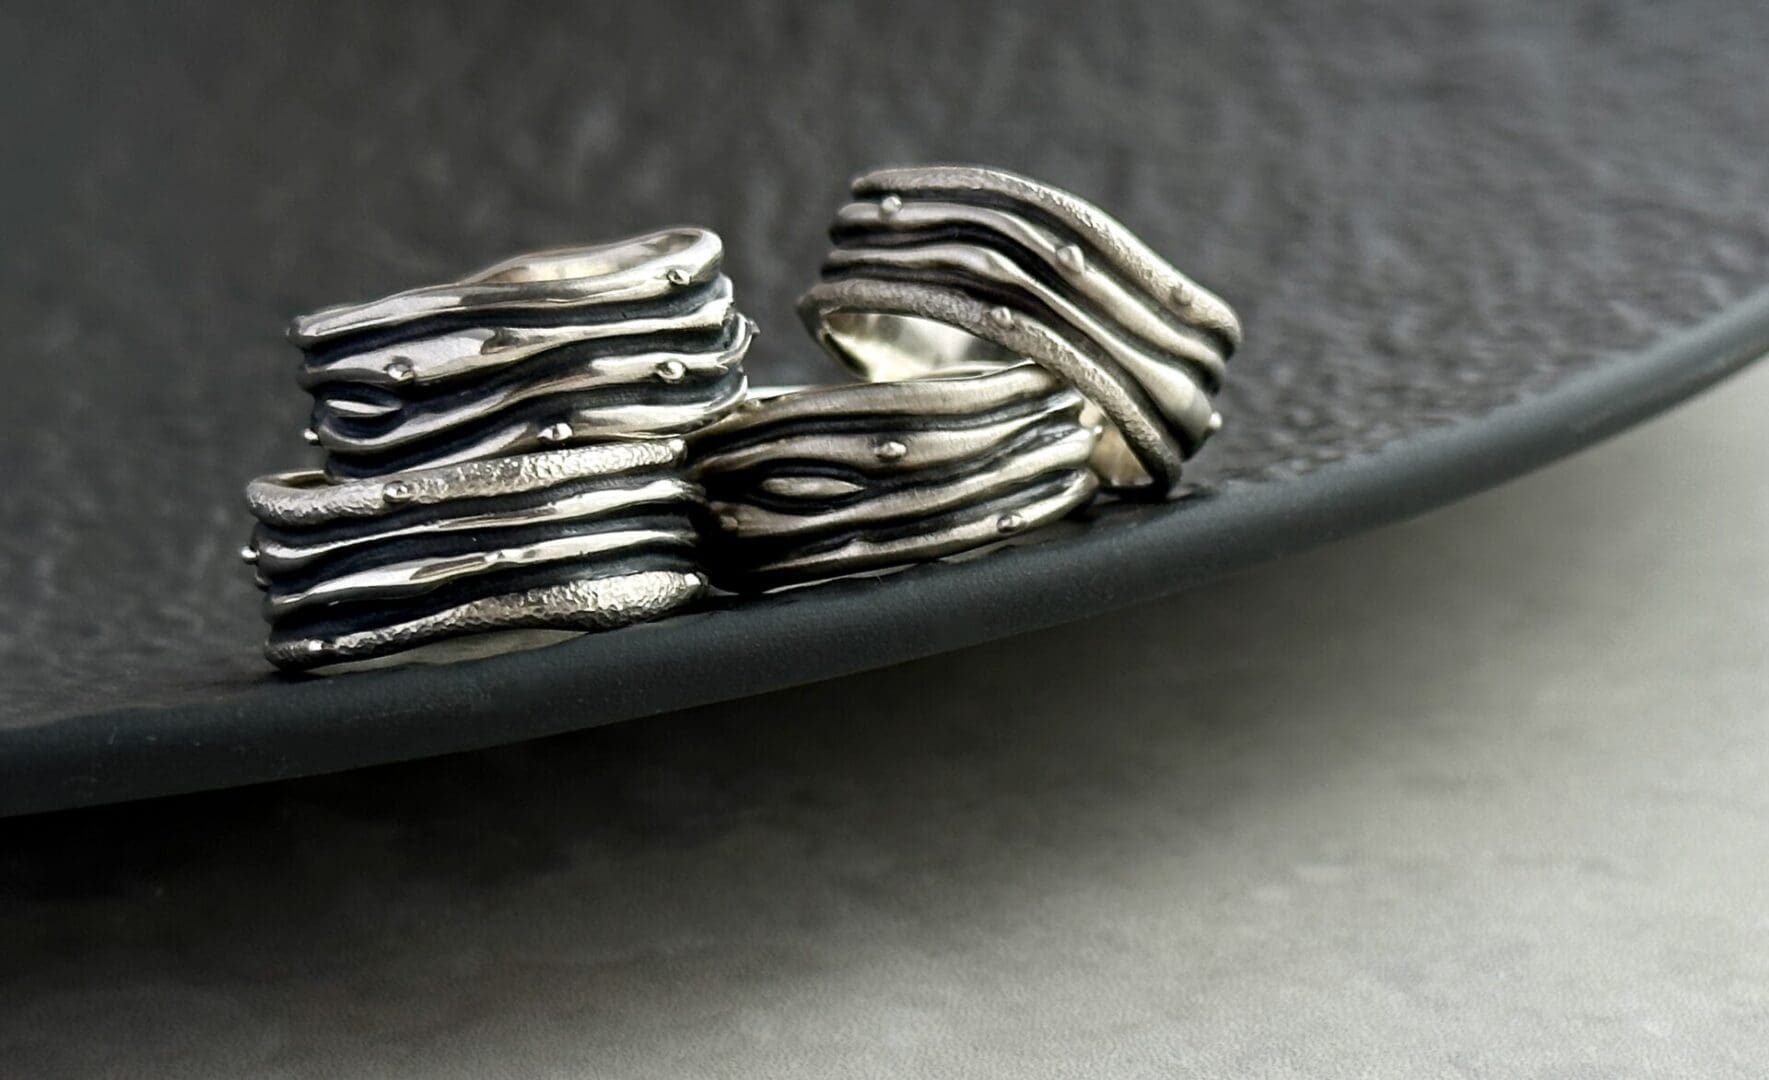
Handmade Bespoke Sterling Silver Ocean Ring Band

How to find your ring size

I want to help you find your ring size so you have the perfect, most comfortable fit – I have two easy approaches.

Firstly, choose a ring that fits the finger that you would like to know the size of and choose a ring that still comfortable to wear when the weather is warm.

1. FREE: You can use a ring sizing app – there’s a great one called ‘Ring Sizer by Jason Withers’ in the iPhone app store (it’s also available for Android phones). It is simple to use and instructions are within the app.

2. FREE: You can follow the guidance in my Find your ring size guide. Grab a ruler to use with this guide.

Did you know you need to up-size for wider ring bands?

If the ring you’re interested in purchasing has a band that is wider than 4mm, you’ll likely need to choose a larger ring size to be sure of a comfortable fit:

If the ring band is 4 to 6mm wide, it’s recommended that you add on 1/2 a size ~ e.g. if you measured a ring size M, choose ring size M 1/2

If the ring band is 7mm wide and over, it’s recommended that you add on 1 full size ~ e.g. if you measured a ring size M, choose ring size N

Taking this approach will account for the wider band and ensure you have a comfortable fit when wearing it.

I’d be happy to answer any questions you have about ring sizing so please send me a message at emma@myjewellerygarden.com  

Add extra: My Jewellery Garden UK and International Ring Size Conversion Chart

Thanks for reading, from Emma at My Jewellery Garden

Posted on

Another Harriet Hare Sculpture… ‘Iced Bronze’

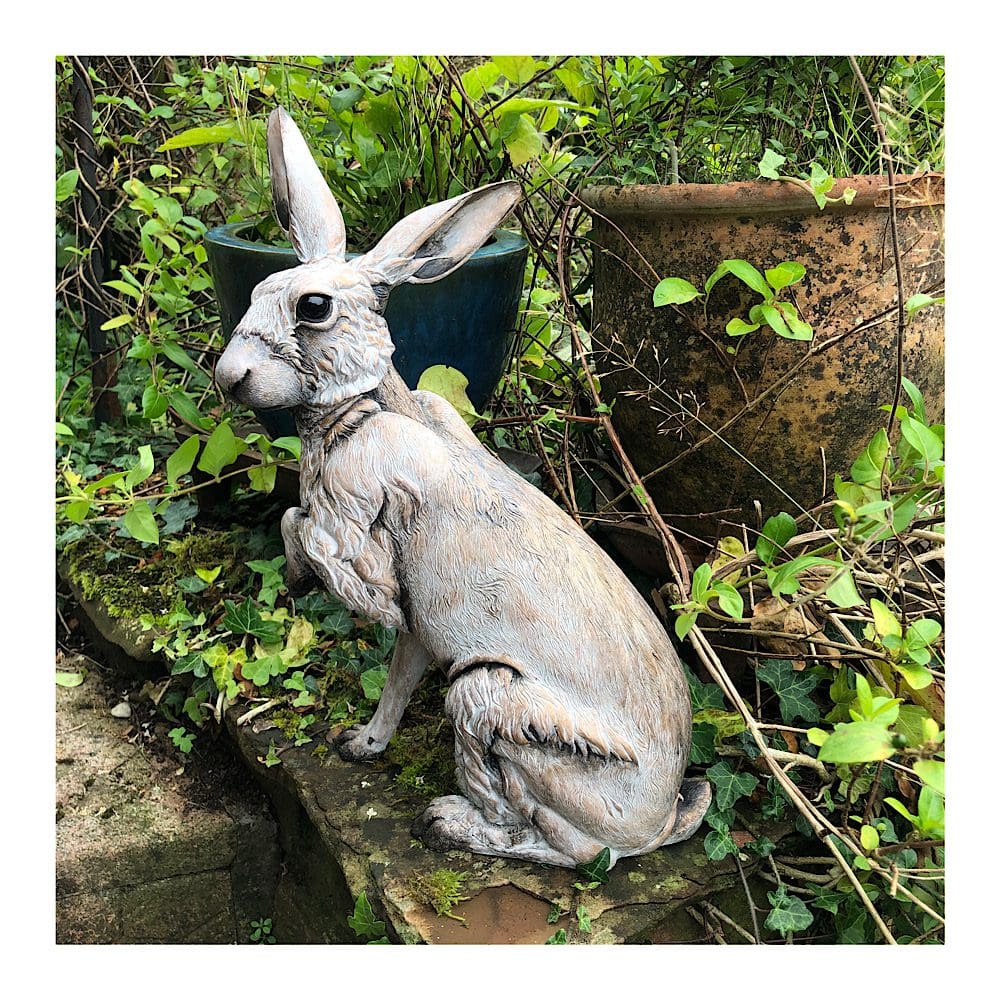
Large sitting Hare sculpture in a garden setting

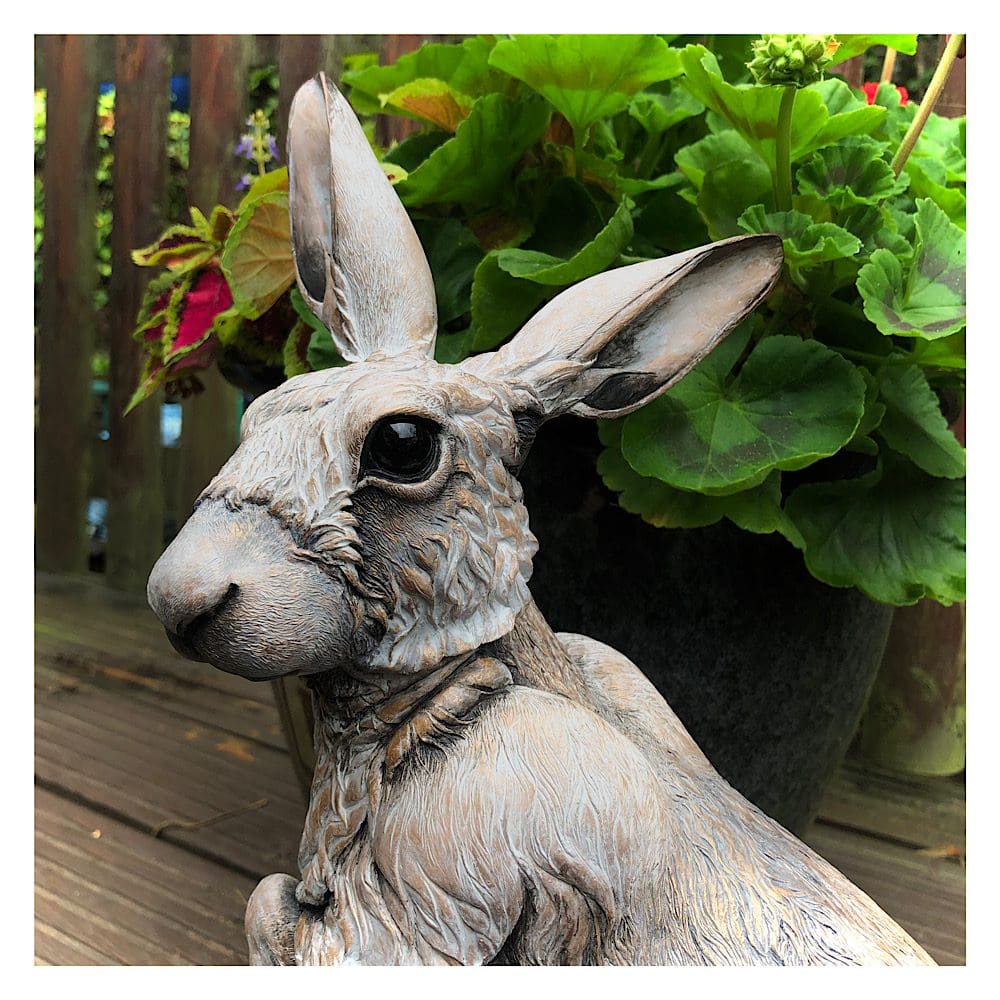
I’ve made my large Hare Sculpture in a variety of finishes including ‘Rusty’ Harriet in cold-cast iron, and ‘Moon-lit’ Harriet in cold-cast pewter. Recently though, a British Craft House customer asked if I could make an ‘ethereal-looking’ version in bronzes and greys, and this is the result! 

I’ve called her ‘Iced Bronze’ Harriet, and you can see a short video of her on my ‘Kirsty Armstrong Sculpture’ YouTube channel via this link;

‘Iced Bronze’ Harriet Hare on YouTube

Posted on — Leave a comment

The Science of Aromatherapy for Wellness

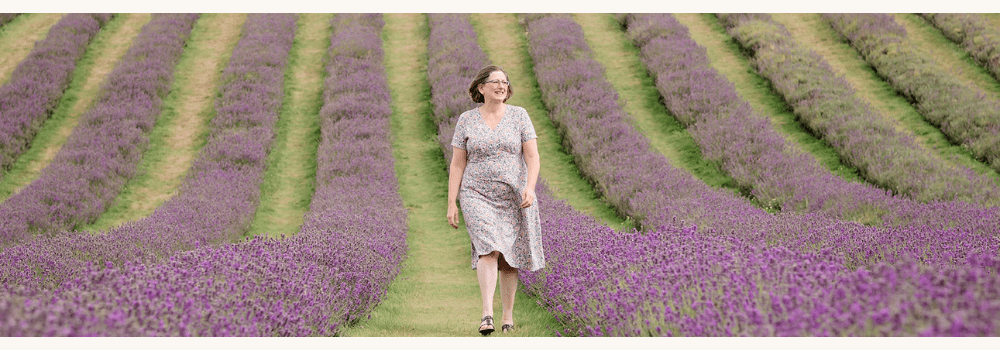
Lavender essential oil natural skincare for dry and sensitive skin.

Aromatherapy has been used for centuries to promote mental health and wellness. It involves the use of essential oils derived from plants to enhance physical and emotional wellbeing. The science behind aromatherapy is fascinating and shows that certain scents can have a powerful impact on our mood and emotions. To determine whether a scent is a fragrance or essential oil, always look for the common and botanical names on the packaging.

Contrary to popular belief, essential oils aren’t just a single scent. They are made of several aroma compounds and should always be diluted if used topically on the skin and only inhaled for short periods of time. Compounds may smell different on their own but, when combined, provide the complete natural scent. For example, the main aroma compounds of lavender (Lavandula angustifolia) are linalool and linalyl acetate. Individually, they don’t smell of anything recognisable. Once combined, they take on the lavender scent which so many love and enjoy. After all, lavender is one of the most popular aromatherapy oils known for helping with relaxation, promoting calmness and providing relief from stress. Many swear by it to give them a great night’s sleep and it’s even been featured in clinical research studies on anxiety.

Aromatherapy is way more than a stress reducer. It can also uplift and invigorate the mood. This may be helpful during the winter months when it’s darker for longer or when your get-up-and-go needs a kick start. Most of us will have experienced the scent of menthol, a well-known and recognised aroma compound found in peppermint essential oil. This gives peppermint its refreshing scent which is very uplifting, refreshing and stimulating. It’s perfect for use in the morning, especially when you need a pick-me-up or mood boost. It’s not ideal for use late at night unless you’re burning the midnight oil.

As we head towards winter, rosemary (Rosmarinus officinalis) is another uplifting, stimulating and refreshing scent which can give you a mood boost on dark early wintery mornings. Some say it reminds them of eucalyptus which is quite interesting as they share an aroma compound called 1, 8-cineole which is also known as eucalyptol. This might explain why so many people recognise it as eucalyptus.

In aromatherapy, there are so many oils to choose from and you should always choose the scents you are naturally drawn towards.  As it is fundamental to our mental wellbeing, here’s Alison’s top five essential oils for getting a great night’s sleep:

Lavender (Lavandula angustifolia), sweet orange (Citrus sinensis), frankincense (Boswellia carterii or Boswellia Serrata), ylang-ylang (Cananga odorata) and chamomile (Anthemis noblis).

Experience Lavender in our Gardener’s range and Sweet Orange in the Wee Bairns skincare range for delicate baby skin and to help dry and sensitive skin.

Posted on

A Very Hygge Day

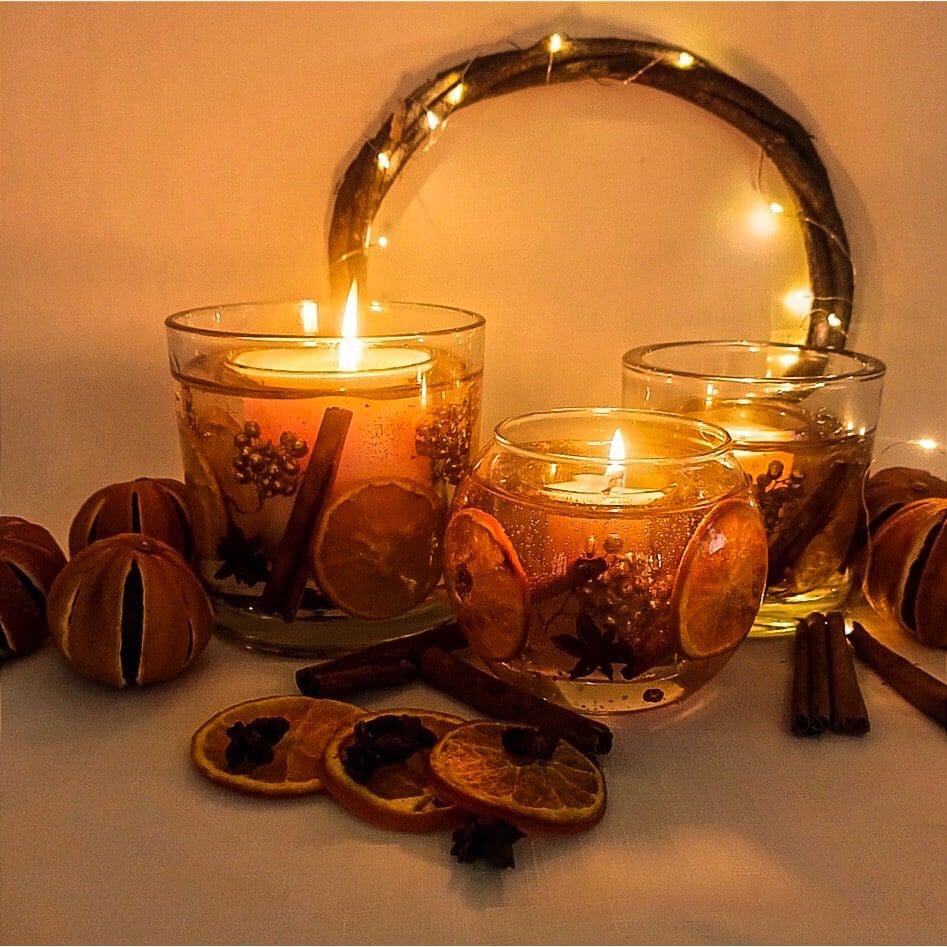
Hygge and Hearth A Very Hygge Day

Hygge and Hearth

A Very Hygge Day

Why is today Hygge?

That is a good question and one that will be answered in this blog post, but first and foremost, what is hygge?

What is Hygge?

Hygge is a concept that is mainly associated with Scandinavian countries, especially Denmark, that has been gathering interest across the globe. Hygge has no literal translation to English, though most interpret it to mean ‘cosy’. Many people will be aware of the underpinnings of hygge, such as candlelight, open fires, storms raging outside whilst being protected in a warm home, friends, family etc. Hygge can also be a home decor style, think Scandinavian minimalism, light airy spaces, light furniture interspersed with contrasting textures, a calm space. A third interpretation of hygge can be seen to be more philosophical or a lifestyle. Taking time to notice and appreciate the small things in life, the quiet reflections and living in the moment. It is this third description of hygge which forms this blog post.

So go on…

So a while ago, a tweet became popular, posted by @michaelglasper and then featured by thepoke.co.uk. The subject of this was Michael Palin’s Diaries, specifically a diary entry written on a Sunday, November 13th. Whilst Michael Palin was actively writing about hygge is doubtful, but what he does do is capture the essence of hygge. A quiet wellbeing, when all is well, for those fleeting second or minutes, a reflection and an acknowledgement that while this feeling cannot cure everything – personal dramas, catastrophes, even tragedies, by living in this specific moment, everything on a personal level seems that little bit better. Michael Glasper (@michaelglasper) described it as the ‘finest diary entry ever written’ and he may be right.

Michael Palin’s Diary

Sunday November 13th

 ‘Today, helped no doubt by the hard, bright freshness of a cool, sunny November morning, I have a feeling of completeness. The world makes sense this Sunday morning. Even the weather seems to be resting, peaceful and mellowed after the angry squalls of the last two days.

There’s a smell of beef and Yorkshire pudding and from where I write I can see the chimney letting out wisps of smoke from the fire in the sitting room.

Yesterday I read through the novel so far and was greatly heartened. I saw much that worked and I also saw clearly what didn’t work. I can see the way head and I can’t wait to get going again tomorrow. 

I just feel very happy and very content at this moment. Nothing is expected of me today except to be here at home. I am perfectly well aware that around the borders of my life are problems, difficulties, painful decisions, even human tragedies demanding my involvement. I know I cannot live in a continual vacuum of happiness – but a day like today restores energies, tops up batteries, rebuilds whatever faith one has.

Today there is nothing more I want then what I have.’

Dr Erica @Hygge and Hearth

The home of luxury botanical candles and unique gifts inspired by nature.


Posted on — Leave a comment

How to Care for Copper Jewellery

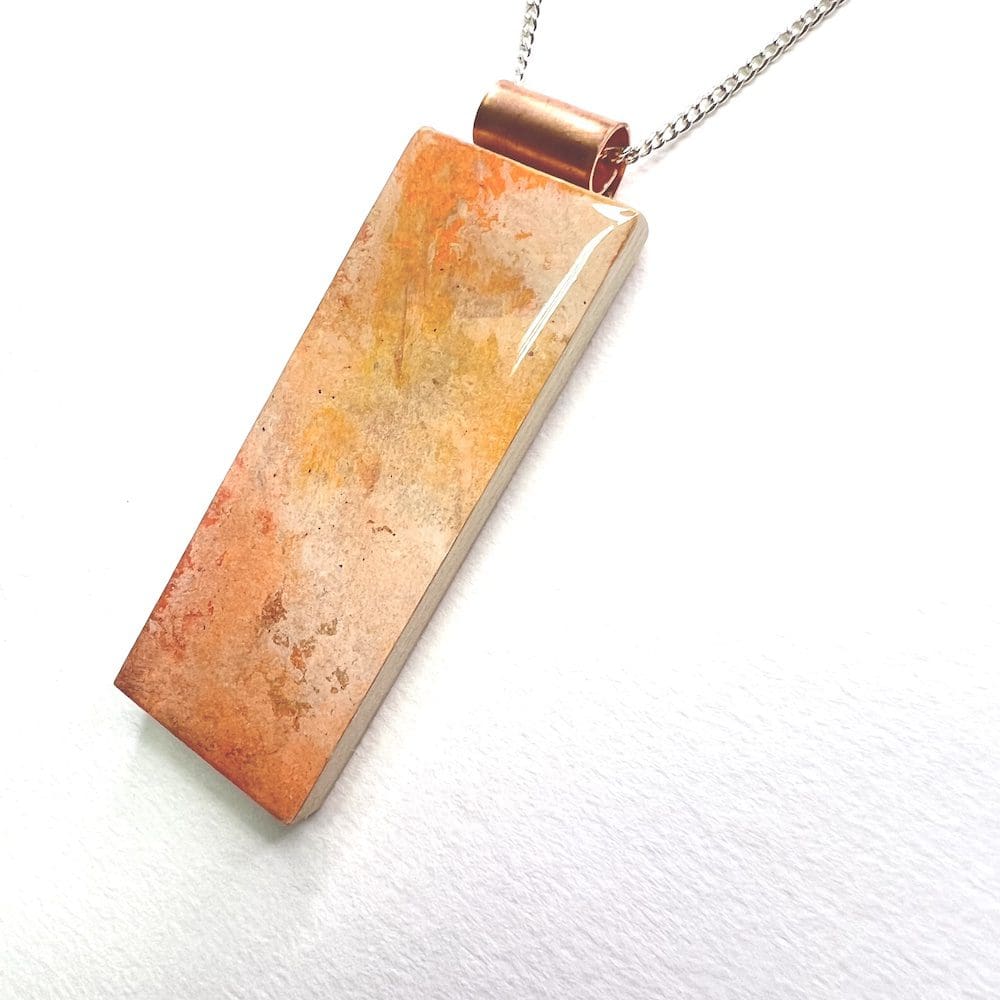
peach-and-copper-wooden-necklace-


Copper jewellery possesses a timeless feel with its warm, rosy hue and unique charm. Here we will explore the essential tips for caring for your copper jewellery.


Before the care tips, it’s essential to understand copper’s characteristics. Copper is a soft metal that tends to patina or tarnish over time. This natural oxidation process can lead to a darkening or a colour change on the surface of your jewellery. While some people appreciate the aged look, ( I know I do) others prefer to keep their copper pieces shiny and vibrant. So Here’s how:


Regular Cleaning


Regular cleaning is essential to prevent tarnish and keep your copper jewellery looking its best. There are several methods you can use:


 Lemon and Salt – Create a paste by mixing lemon juice and salt. Gently rub this paste onto the copper piece using a soft cloth or a toothbrush. Rinse thoroughly with water and pat dry.


 Vinegar and Salt –  Mix equal parts white vinegar and salt to form a paste. Apply it to the jewellery, let it sit for a few minutes, and then gently scrub with a soft cloth. Rinse and dry.


Commercial Copper Cleaners – You can also find commercial copper cleaners designed for this purpose. Follow the instructions on the product label for the best results.


Drying and Storage


After cleaning, ensure your copper jewellery is completely dry before storing it. Copper is susceptible to moisture, so always pat it dry with a clean, soft cloth. To prevent scratches and tangling, store your copper pieces separately in a cool, dry place. Consider using anti-tarnish bags or jewellery boxes to protect them further.


Preventative Measures


To try and prevent tarnish, avoid exposing your copper jewellery to harsh chemicals, such as household cleaners, perfumes, and lotions. Remove your jewellery before swimming, showering, or engaging in activities that may expose it to moisture. Additionally, consider wearing gloves when handling copper jewellery to prevent the transfer of oils and acids from your skin.


Embrace the Patina


Those of us that love copper we can appreciate the rich patina that develops over time, as it adds character and uniqueness to each piece. If you enjoy this aged look, simply embrace it and let your jewellery naturally evolve.


Caring for copper jewellery doesn’t have to be complicated. With a little regular maintenance and attention, you can enjoy the timeless beauty of copper for years to come. Whether you prefer the gleam of polished copper or the charm of a well-developed patina, these care tips will help you preserve your treasured pieces. So, go ahead, wear your copper jewellery with pride and let it tell your story.

Posted on — Leave a comment

About Hygge and Hearth

Hygge and Hearth 

About Us 

Luxury botanical candles, reed diffusers and unique homeware gifts.

Inspired by nature, our candles and reed diffusers aim to bring ambience and atmosphere to your surroundings. Handcrafted and poured in small batches our candles and reed diffusers are sustainable, vegan friendly and are cruelty free. 


Ethos

We believe you can surround yourself with beautiful home fragrance and decor without compromising quality or the environment, which we consider very hygge! Products are designed to be reused, recycled or repurposed. The finest quality ingredients are used and come from sustainable sources; vegan, environmentally friendly and not tested on animals. All our products are handcrafted in Castlefield, Manchester. Additionally the majority of the ingredients and botanicals used in our products are from the UK and where applicable from sustainable sources.

Inspired by nature our handmade ranges include flowers, fruit and shells. As natural materials are used, there may be small variations in the product due to harvest or source. This means that every one of our products are indeed unique!


What’s in a name?

Hygge (hyooguh)

A concept native to Denmark and is deeply ingrained in the Danish psyche (incidentally often said to be the happiest country in the world) and can be described as a way to live well. Actual definitions can be harder to pinpoint, just like the pronunciation! as hygge can mean different things to different people. Hygge can be described as ‘cosiness of the soul’, a ‘feeling of home’ and being ‘mindful to take pleasure from the small  or simple comforts in life’ (Wiking 2016). Hygge can include the elements and environments – hearing a storm while you are safe indoors,  perfect crisp blue winter skies or lazy, endless summer afternoons. Essentially, hygge is about surrounding yourself with the things that make life good.


Hearth

Historically the hearth or fireplace was seen as the heart of the home, often the main provider of heat, light and comfort. As ambient lighting is an integral part of the hygge concept, a fireplace or hearth is very hygge. Due to modern living the open fireplace has become rarer, but creating an ambient atmosphere with our botanical candles and homeware ensures giving your home the hygge feeling couldn’t be easier! 

Wiking.,M. (2016) The Little Book of Hygge. Penguin Life.