Posted on — Leave a comment

Poured Paint Jewellery

Hello! what very strange times we are living in at the moment and it seems for some time to come as well. It’s been lovely this week as I have had a week off from the day job and spent time with my granddaughter, we (in Wales) have only just been allowed to meet indoors again so I was able to spend the whole day with her, we played games, created a few of our own and painted, absolute bliss!! after all the fun we had I was inspired to get my paints out for some grown up painting.  

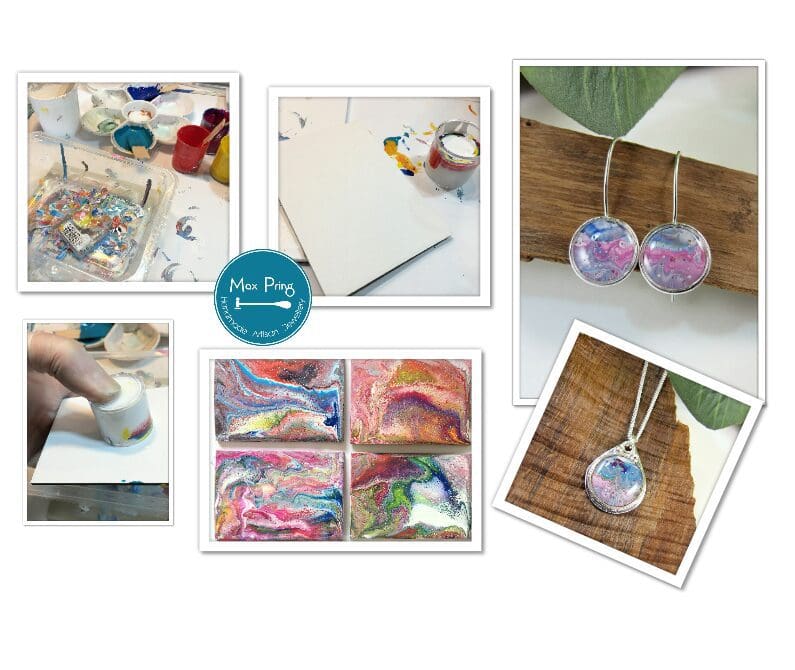
Well when I say grown up it’s no less messy as this time I wanted to try paint pouring lol! What is paint pouring I hear you ask, well you mix different colour acrylic paints with pva glue, pouring medium, oil and water to about the consistency of heavy cream, then you add small amounts to a cup in random colours, then literally pour it over the canvas!

My paint pouring video

There are a few different techniques you can use, but so far I have only used the one by upending the cup and moving it around the canvas, then use my blowtorch which draws the oil to the surface creating what’s known as cells.  I absolutely loved it! it was great fun, very messy but the finished pictures are amazing, so many colours all creating the most wonderful patterns.

It wasn’t long before I realised this type of art would make some really interesting jewellery so I picked a few (of the 15 I did!) and have put them to one side for making jewellery.  As for the jewellery, I felt these needed fairly simple settings so I created some shallow bezels with sterling silver. Just two pairs of earrings and two pendants for now, but there will be more to come in the future and as usual I’ll mix the metals up a bit and include copper and brass when I have time to make more. 

Once the silver settings were made I cut the paintings up into small circles and then set these little circles inside the silver settings with resin to both protect them and add some dimension to the finished pieces.   I have to say I’m thrilled with the results, next on my list are brooches, scarf rings, keyrings and some bracelets I just need to find time to make the settings now. 

As for the paint pouring, I’m definitely going to be doing that again! though next time they will probably be bigger, I’m thinking coaster size and I’m sure I have some 8×8 frames stashed away somewhere!

Thanks for stopping by and I hope you enjoyed reading about my foray into paint pouring.
Posted on — Leave a comment

Meet the Maker – Beverley from Bevart designs

Meet the maker blog

Beverley Chapelhow – Bevart designs.

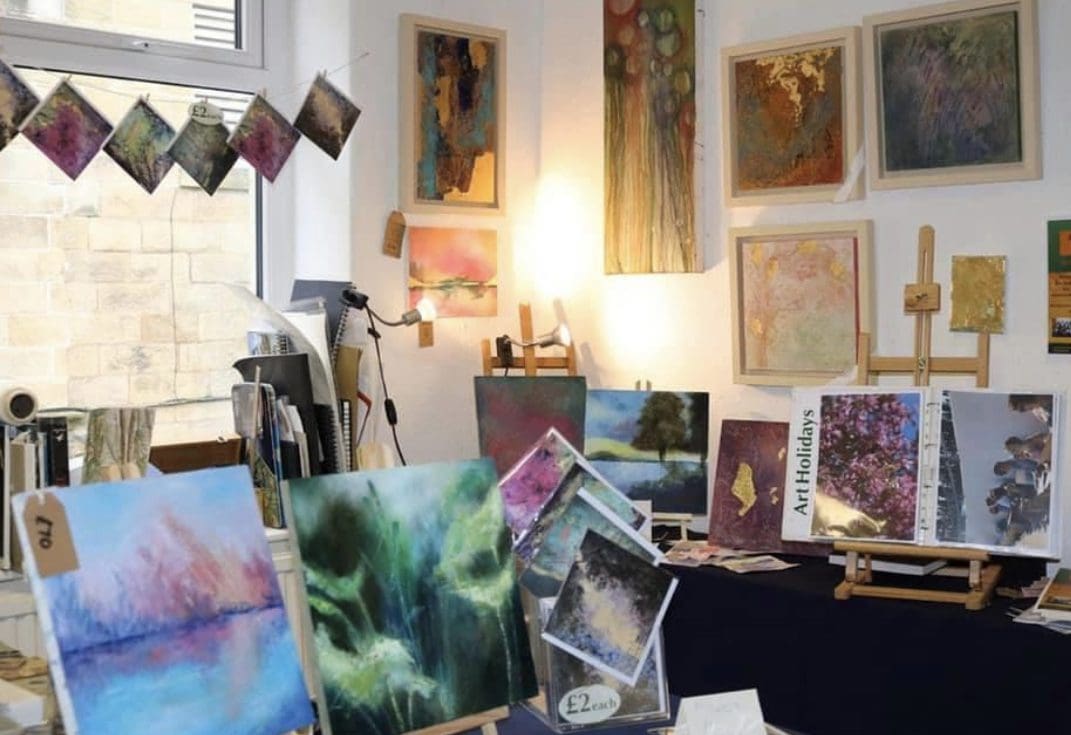
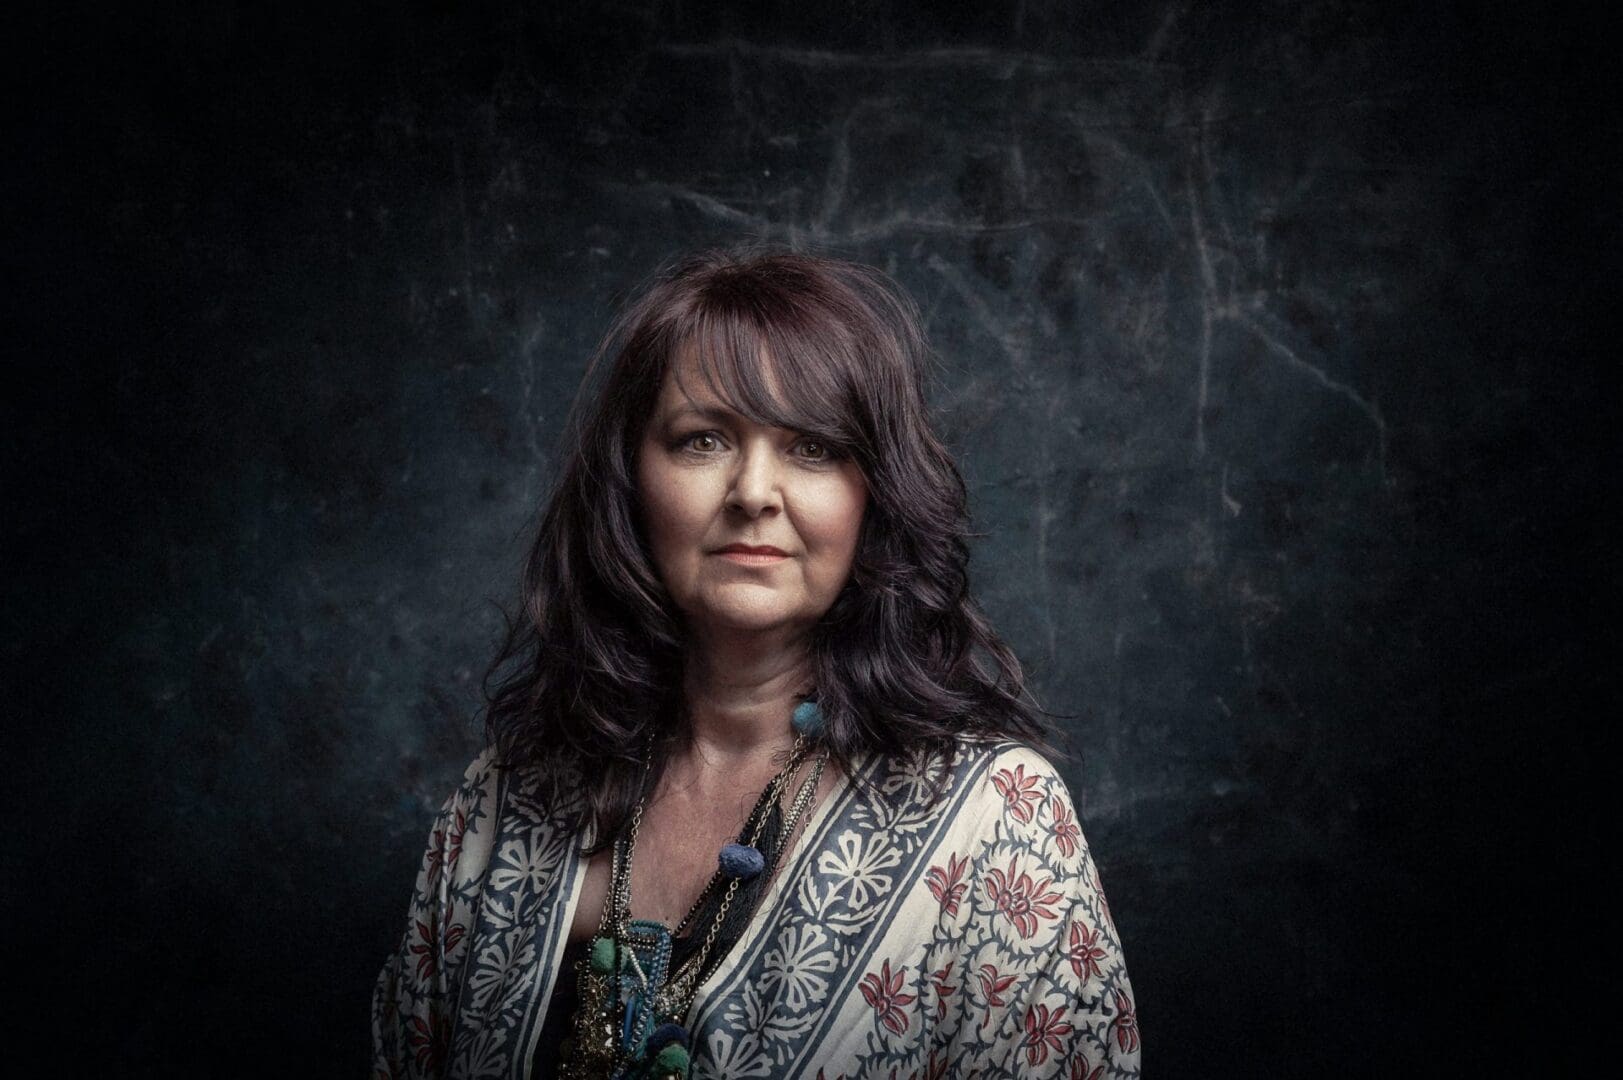
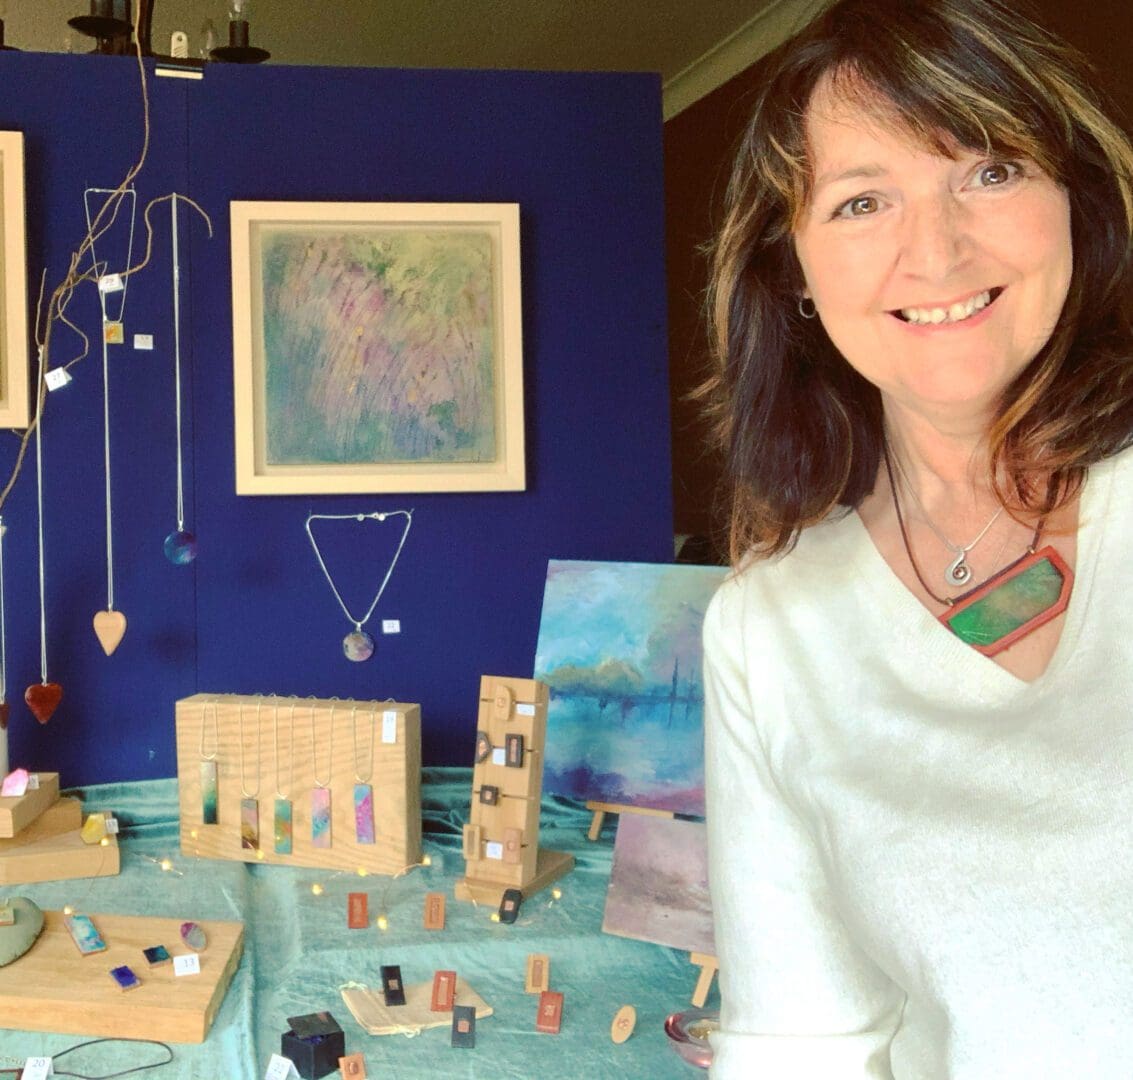
I am Beverley, of ‘Bevart designs’ I live in the beautiful Ribble Valley in Lancashire. I will always be that artist that fell into making jewellery making and designing, many people have said that my artwork would make lovely jewellery pieces, this got me thinking and I started to create and work on this possibility. I made a few pieces and put them on display in my studio… to my delight I sold a few, 12 months on I was accepted for a great art and craft show called ‘Art in the Pen’. I took with me my framed artwork and my jewellery, I made more sales than I thought possible. Being encouraged by this I applied to sell on ‘The British Craft House’ and was thrilled to be accepted.

I have always taught art classes to adults sometimes with a crossover into craft making like flower arranging, printmaking, card making etc.

I am inspired to create any art work including my jewellery by nature, the Japanese way of Wabisabi, travel, and other artists, I love the work of Greyson Perry, Yayoi Kusama, there are lots more!

my art studio

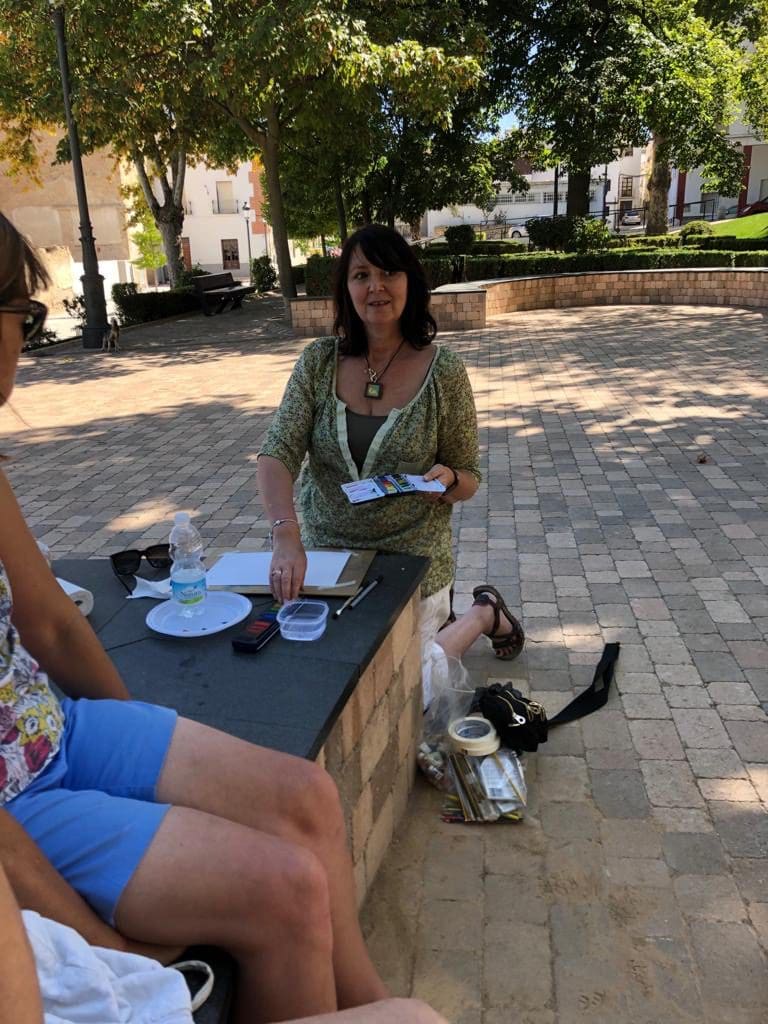
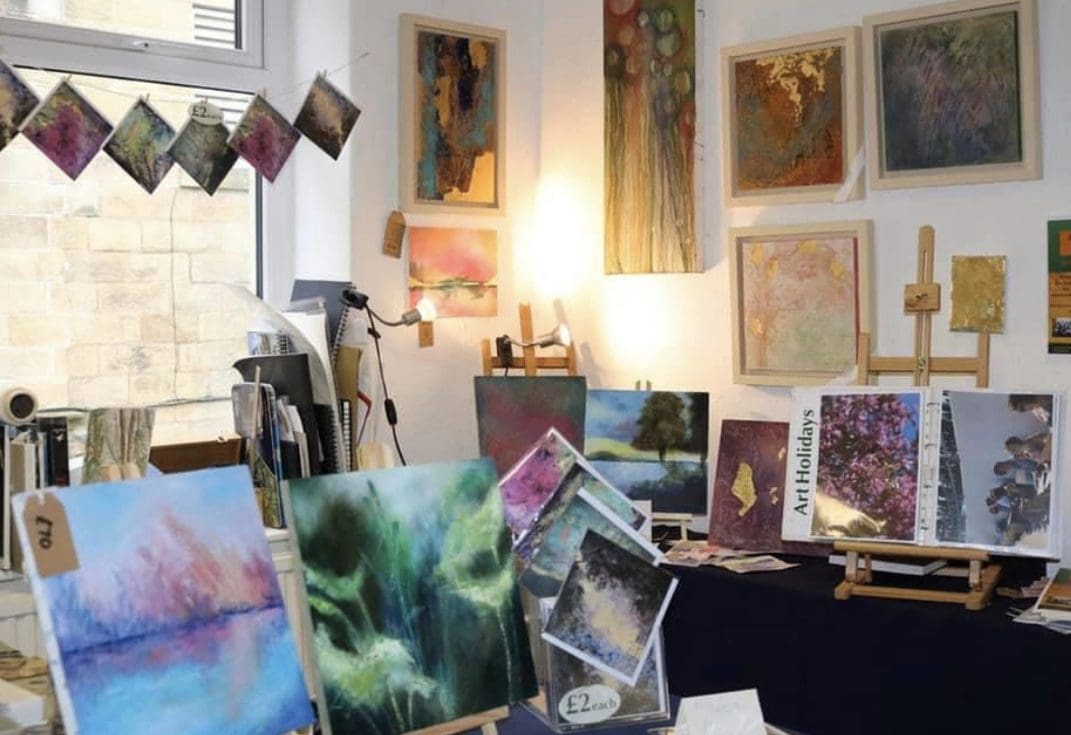
I graduated from university in 2008 with a degree in fine art, with a friend and colleague we wanted to still try and work together in a studio environment, we wanted to find a place where we could provide affordable studio space for other artists. I am currently the proud owner of ‘Atelier Arts’ an art studio collective with gallery and teaching space in Clitheroe from here I sell my paintings, I teach art classes to adults including general art and life drawing , I also teach art in Spain with partners ‘Caves of Dreams’  we provide a full all-inclusive art holiday experience in Baza, the region of Andalucia.  

Teaching in Spain

What is the dream? The dream was always to own an art studio, the other is to be selling my work more regularly, whether that’s jewellery or my paintings to build a following and to become successful.

I am currently working from home and we have a workshop in the garage, so I can keep on creating and making.

My proudest moment business wise is owning my current business and that being a success. Forever proud of our two daughters growing into confident, successful, independent women.

My creative future looks like this, over the past year I have been experimenting with ice dyeing and eco printing on fabric. I love textiles and pattern, this is something I want to add to my shop in the future in the form of scarves as I believe this would enhance my jewellery range. I am also planning some Yoga and Art retreats, I want to provide creative relaxing workshops based around self care, using our mental and physical self in a creative way using clay and paint.

To relax and have fun I love to tap dance, I regularly take part in yoga, pilates and meditation. I also love photography and to travel sketch and paint.

I also enjoy a good night out with friends in the city of Manchester drinking cocktails!

I also adore cake, what is my favourite cake ….any cake!!! But very partial to a lemon drizzle

Posted on — Leave a comment

Meet Beverley

We love Beverley’s work.

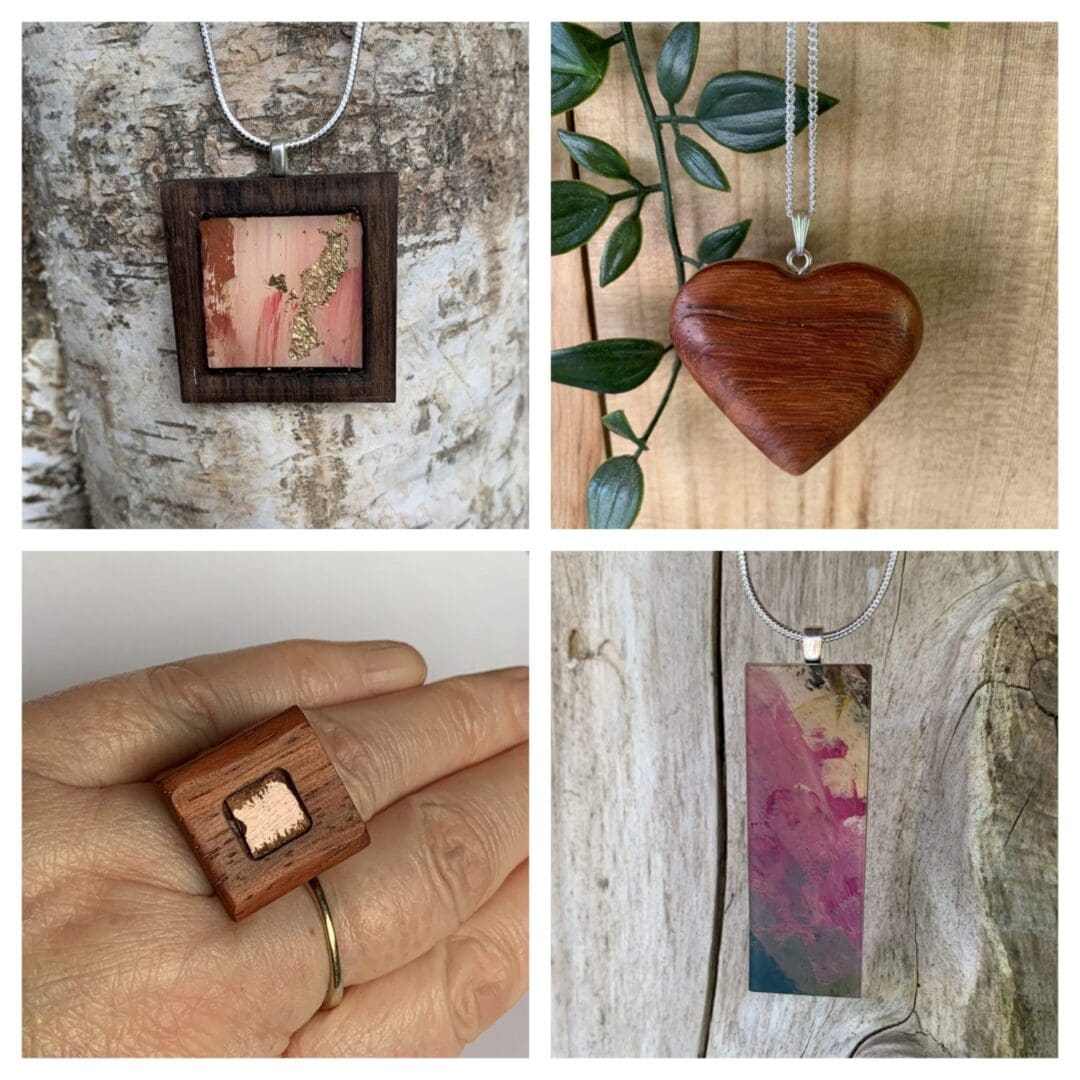
She has combined her love of wood and its tactile qualities with that of colour and resin and copper clay to hand make unique pendants and rings!

We caught up with her to find out a bit more about her!

I am Beverley, of ‘Bevart designs’ I live in the beautiful Ribble Valley in Lancashire.

I will always be that artist that fell into making jewellery making and designing, many people have
said that my artwork would make lovely jewellery pieces, this got me thinking and I started
to create and work on this possibility. I made a few pieces and put them on display in my
studio… to my delight I sold a few, 12 months on I was accepted for a great art and craft
show called ‘Art in the Pen’. I took with me my framed artwork and my jewellery, I made
more sales than I thought possible.

Being encouraged by this I applied to sell on ‘The British
Craft House’ and was thrilled to be accepted. You can find my shop here! 

I have always taught art classes to adults sometimes with a crossover into craft making like
flower arranging, printmaking, card making etc.
I am inspired to create any art work including my jewellery by nature, the Japanese way of
Wabisabi, travel, and other artists, I love the work of Greyson Perry, Yayoi Kusama, there
are lots more!

I graduated from university in 2008 with a degree in fine art, with a friend and colleague we
wanted to still try and work together in a studio environment, we wanted to find a place
where we could provide affordable studio space for other artists. I am currently the proud
owner of ‘Atelier Arts’ an art studio collective with gallery and teaching space in Clitheroe
from here I sell my paintings, I teach art classes to adults including general art and life
drawing , I also teach art in Spain with partners ‘Caves of Dreams’ we provide a full all-
inclusive art holiday experience in Baza, the region of Andalucia.

What is the dream? The dream was always to own an art studio, the other is to be selling
my work more regularly, whether that’s jewellery or my paintings to build a following and to
become successful.

I am currently working from home and we have a workshop in the garage, so I can keep on
creating and making.

To relax and have fun I love to tap dance, I regularly take part in yoga, pilates and
meditation. I also love photography and to travel sketch and paint.

You can shop the collection here! https://staging.thebritishcrafthouse.co.uk/shop/bevartdesigns/

Posted on — Leave a comment

Hallmarking Jewellery in the UK

Hallmarking in the UK.

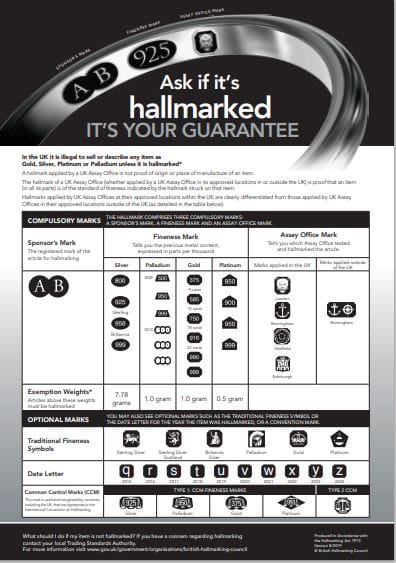
Did you know in the UK it is a legal requirement to have certain items hallmarked?

For silver items this legislation applies on any item over 7.78 grams in weight. For gold and palladium the minimum requirement lowers to 1 gram and for platinum its 0.5 grams.

The process of hallmarking involves sending articles to one of 4 assay offices; either London, Sheffield, Birmingham or Edinburgh where the precious metal content is sampled and tested. Assuming the items meet the standard they can then be hallmarked.

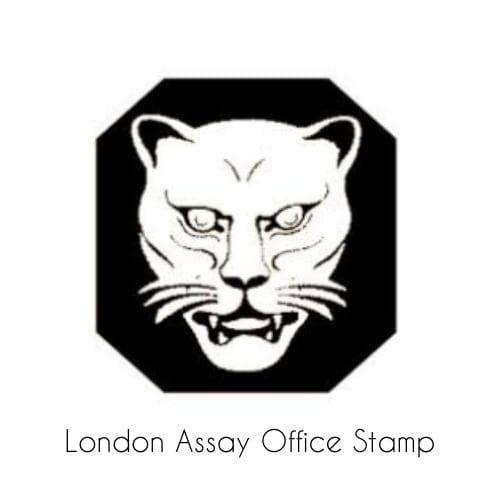
London Assay Office StampIn the UK we have one of the strictest systems in the world for testing and quality marking items.  This makes it a fantastic way of guaranteeing the precious metal item you are purchasing is indeed what you believe it to be.
The process of regulating the purity of metals began in 1238 and was progressed further in 1363 when King Edward III decreed all precious metal items were to be tested and marked for purity and that this also had to include a makers mark. It is amazing to be part of such a long standing tradition.

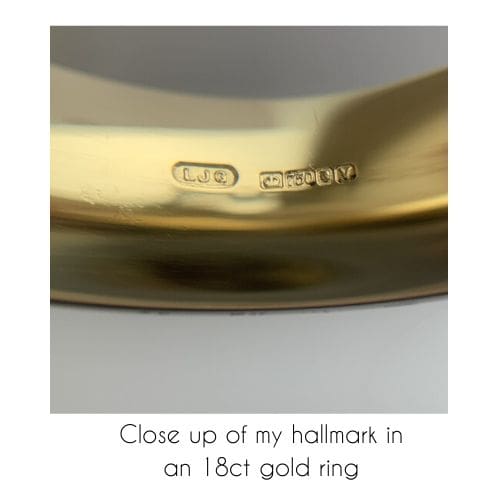
A hallmark consists of various stamps including symbols to indicate where the piece was tested, its purity and the personalised stamp of the maker. Optional stamps include a date stamp to indicate when the piece was made, and fineness stamps to show the metals purity.

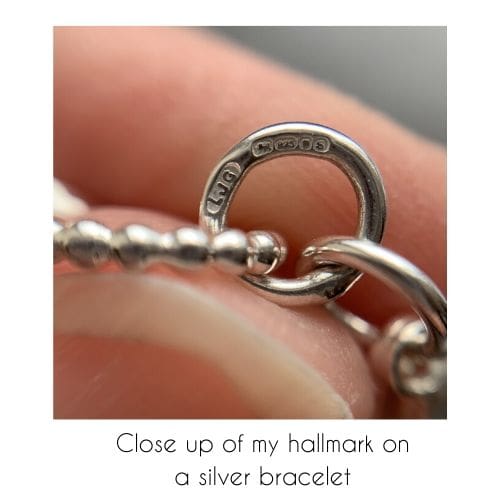
Laura Llewellyn Design HallmarkI am proud to have my hallmark registered with the London Assay office and to have my work checked here.  My makers mark is an oval shaped stamp with the initials LJG; the G is from my maiden name. Each person or company’s stamp is unique so the maker of a piece can be identified.
Hallmarking is a costly process. Therefore I don’t tend to have smaller items which are under the threshold hallmarked as the costs would escalate. If however you would like an item to be hallmarked which doesn’t currently display one please get in touch to discuss the options.

I have included the official dealers notice below so you can see the different marks that can be applied and perhaps identify some on a piece of jewellery?!

I hope you have found this article of interest.  Please get in touch with any questions or leave a comment below.

Laura x

Posted on — Leave a comment

Buzzy Busy Bees

You will probably have gathered by now that my inspiration comes from nature
bee it (see what I did there!) flowers, butterflies, birds or bees, you will
find lots of nature themed influences in my work.

I like to challenge myself to create new designs using different methods and
learn new skills, so today I moved from sheet metal onto Fine Silver Clay for
my bees.  Silver clay is an eco-friendly product it’s made from particles
of pure silver suspended in a binder that burns off under heat to leave fine
silver.  The product feels and behaves much like clay, you can shape it,
mold it and once it’s been fired you can solder it and pretty much treat as any
other silver.

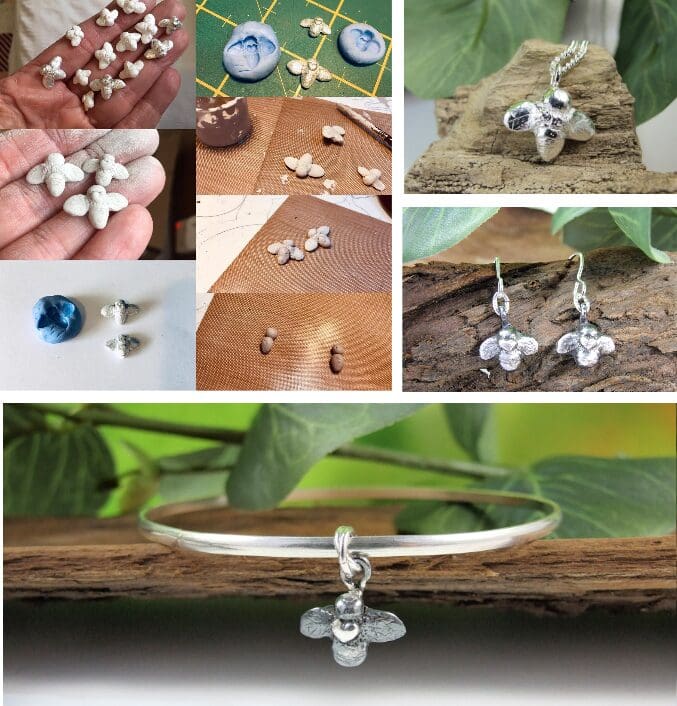
These little fellas are entirely handcrafted from silver clay, you can see
from the pictures how I shaped and molded by hand then used a brush and liquid
clay to refine.  Once they were ready I left them to dry and then kiln
fired them to create fine silver.  I made 3 different designs in two
different sizes and once they were kiln fired and had become solid silver I
created little molds from them to allow me to ‘cast’ more with silver
clay. 

I have just used the tiniest ones to create some earrings and a bangle
giving them an oxidized finish to bring out the details and the slightly larger
one has been made into a pendant which I just polished. I’m looking forward to
using these in other items and using my new molds to create my own swarm, I
have just orders some copper clay so hopefully soon some little copper bees
will be making their way into my shop.

Thanks for stopping by to read my blog, I hope you enjoyed reading about how
I made my little bees.

Normal
0

false
false
false

EN-US
X-NONE
X-NONE

/* Style Definitions */
table.MsoNormalTable
{mso-style-name:”Table Normal”;
mso-tstyle-rowband-size:0;
mso-tstyle-colband-size:0;
mso-style-noshow:yes;
mso-style-priority:99;
mso-style-qformat:yes;
mso-style-parent:””;
mso-padding-alt:0cm 5.4pt 0cm 5.4pt;
mso-para-margin-top:0cm;
mso-para-margin-right:0cm;
mso-para-margin-bottom:10.0pt;
mso-para-margin-left:0cm;
line-height:115%;
mso-pagination:widow-orphan;
font-size:11.0pt;
font-family:”Calibri”,”sans-serif”;
mso-ascii-font-family:Calibri;
mso-ascii-theme-font:minor-latin;
mso-fareast-font-family:”Times New Roman”;
mso-fareast-theme-font:minor-fareast;
mso-hansi-font-family:Calibri;
mso-hansi-theme-font:minor-latin;
mso-bidi-font-family:”Times New Roman”;
mso-bidi-theme-font:minor-bidi;}

Posted on — Leave a comment

My first blog!

Thought I’d tell you a little about myself and then later, in a new blog, take you through my process of making a bridal hair comb.
     
Always interested in detail, innovation and processes I studied Aeronautical Engineering at what was then Hatfield Polytechnic and now University of Hertfordshire, obtaining a BEng degree in 1990. Oh, that seems so long ago now!
     
I then moved to Suffolk and worked in Cambridge as an Aircraft Stress Engineer. Simply put, I was a mathematician who worked out whether any repairs or modifications would be strong enough for safe flight. It involved sorting through paper engineering drawings to find all the relevant details and using hand calculations with complex equations for various scenarios. No computers then and no fancy computer generated models to do all the work, they were just starting to come on the scene when I left work to raise our family.
     
Always handy and craft orientated I found projects large and small to fit around family life but, gravitated towards jewellery making. After having a pair of amber set gold earrings repaired, which then needed repairing again a year later (gold is in fact a soft metal and wears quite easily. A small gold nugget can be hammered into an incredibly thin sheet and used for gilding) I thought I’d source the parts I needed myself. I ordered a catalogue and become inspired by all the wonderful shapes and colours. That enthusiasm and simple pleasure of creating something so complex out of a few individual tiny beads still drives me.
    
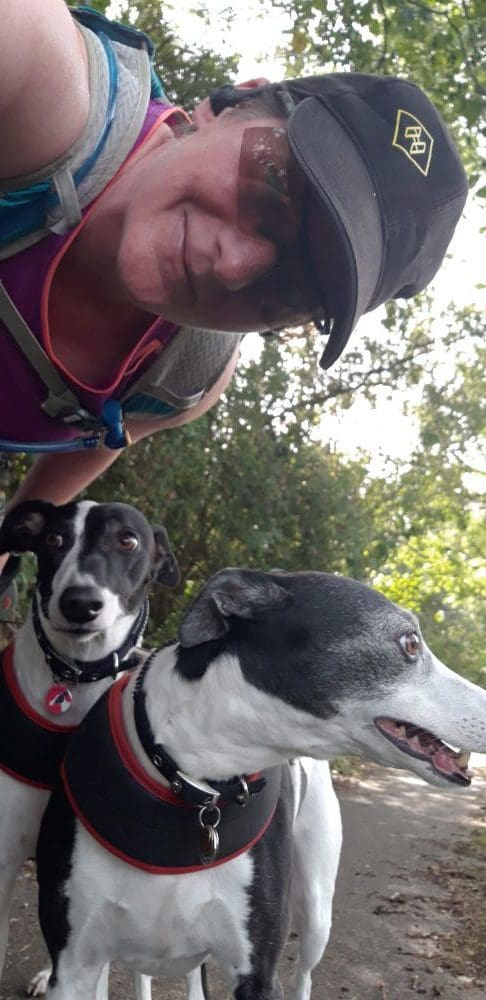
Inspiration from the colours and shapes of the materials has gained additional input over the years from a love of trail running with my dogs, which I found a love of when the last of our three children had reached school age and I had a little time for myself. As the seasons change and indeed as the days change there is always something new to catch my eye; nature is such a giver.
Posted on — Leave a comment

Jewellery by Camilla

Hello my name is Camilla, a bit of background on how I started making Jewellery.

I took up knitting and crocheting when I was a child, and I have always loved making things. As time went by I put my artistic leanings to one side and chose a career in computers, and later went on to raise a family. My children have now grown up and no longer need my time, so I decided six years ago to return to my creative side, and began making jewellery – using my knitting and crocheting skills to make a different type of jewellery.

I love to create new ways of using different threads, wire and beads and to juxtapose different colours in my jewellery. Choosing colour combinations is exciting as well as therapeutic. Inspiration comes from all around me, whether I’m walking through the woods and fields, by the sea, with my dogs, down the high street, through the shops, or looking at the new season’s clothes.

I took up Japanese Braiding (Kumihimo) five years ago to add to my jewellery skills. This offers another way of using different textured threads and beads, adding a vast array of techniques and colour combinations to create interesting pieces of jewellery. The colours and effects are endless.

In 2016 I got excepted by the Surrey Guild of Craftsmen, to become a Member and to sell my Jewellery through their Gallery, which I was thrilled about.

Everything I make is a one-off and is never repeated, each piece is unique to the person who buys it.

Posted on — Leave a comment

How Photofinish Jewellery began.

My Story
​

Serendipity – finding something good/beautiful without looking for it – has played a major role in this venture.

​

Fascinated as I have always been with the myriad forms, shapes and colours of the natural world, it has been a delight to discover a way in which I can combine this love of nature with my love of design and artistry, to produce a unique range of jewellery.

Photography has also been a life-long passion with me and it has brought so much satisfaction to have developed a process that has allowed me to be able to transpose images on to aluminium, creating individual items that are both beautiful and easy to wear.

​

How Photofinish began

​

Although basically a very practical and logical person, I also have a very strong creative streak and this has been apparent in so many ways throughout my life. It could also be said that there is something of the “butterfly” about me, with a restlessness of spirit that provides the drive towards the next idea and challenge.

​

Growing up, I was always drawn to construction in one form or another; be it model making or designing and building an adventure playground in the garden for a pet rabbit. At work, my role for a number of years was to design and produce equipment to be used in conservation projects. Eventually the post became more project management based and I missed having a practical outlet for my creativity.

“The great outdoors” has always held an attraction for me: from a walk in the local park to a journey to see the spectacular wild places of the world. Any location, from the simple to the exotic, always finds me with a camera in readiness. In fact, most snaps of me – other than at my own wedding – show me with a camera, usually in the act of taking a picture.

​

A change in circumstances and serendipity led me to sign up for a couple of workshops as part of the Surrey Artists’ Open Studios. Jewellery was not something that I had previously considered, but I booked in for Aileen Hamilton‘s workshop where I made a silver pendant. It was, however, the aluminium jewellery on display that caught my eye and I duly returned for another course to learn the techniques needed for the dye process.

​

Over the next year, I developed a procedure that allows me to “print” my photographs on to recycled aluminium, so creating jewellery with a unique finish and appearance. Photofinish was born, celebrating nature at its best!


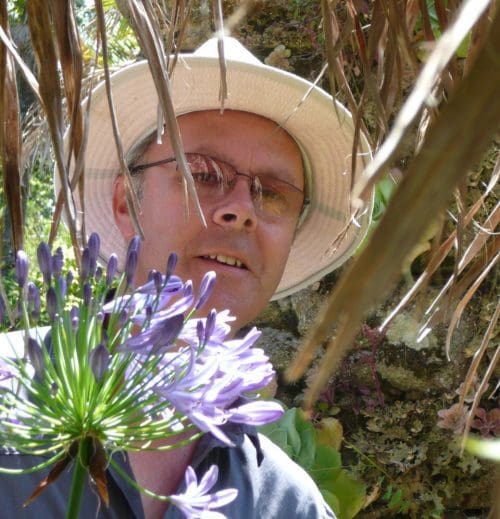
David Hitchcock