Posted on — Leave a comment

The Birth of a Joysofglass Water Lily ..a Work in Progress

I thought you might enjoy some pictures showing how I make my suncatchers so I took some photos when I was making my latest Waterlily and am sharing them here.  One of these days I will get Bob my husband to video the process more fully but in the meantime I will leave you with these pictures of most of the stages the Waterlily goes through before it gets into my shop here.

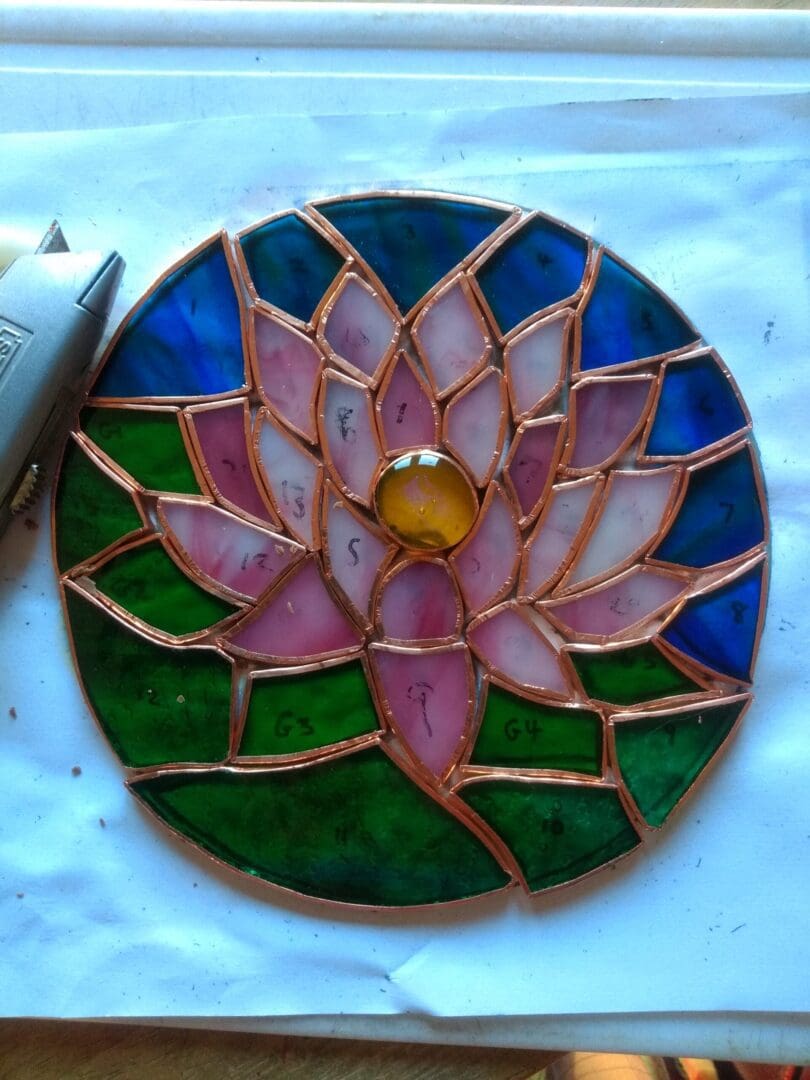
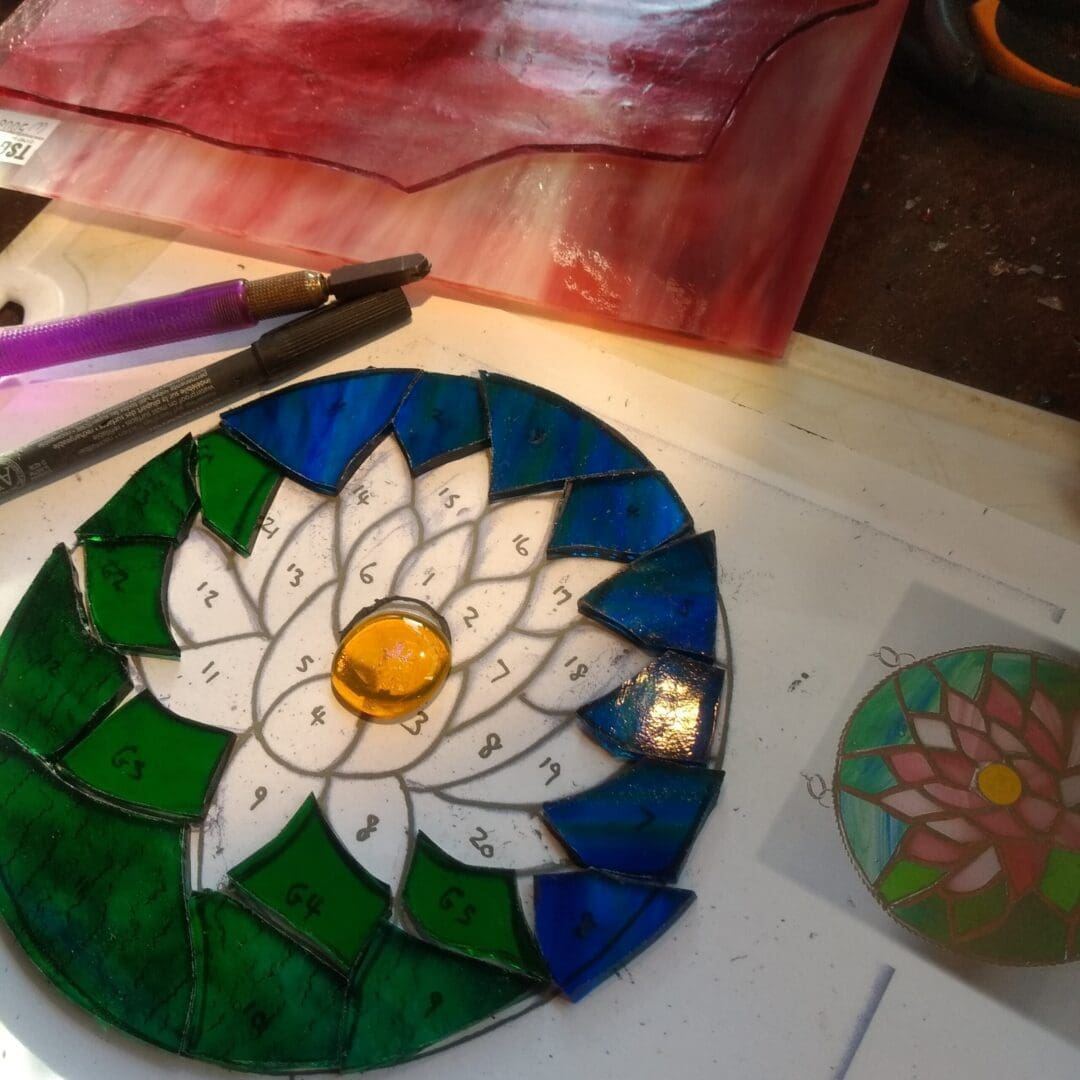
1. Cutting out the pieces. Lay the chosen piece of glass on top of the pattern and trace round each piece using a black permanent marker. Then score each piece with the spring loaded oil-filled glass cutter and snip each piece out.  Sounds so easy……… 
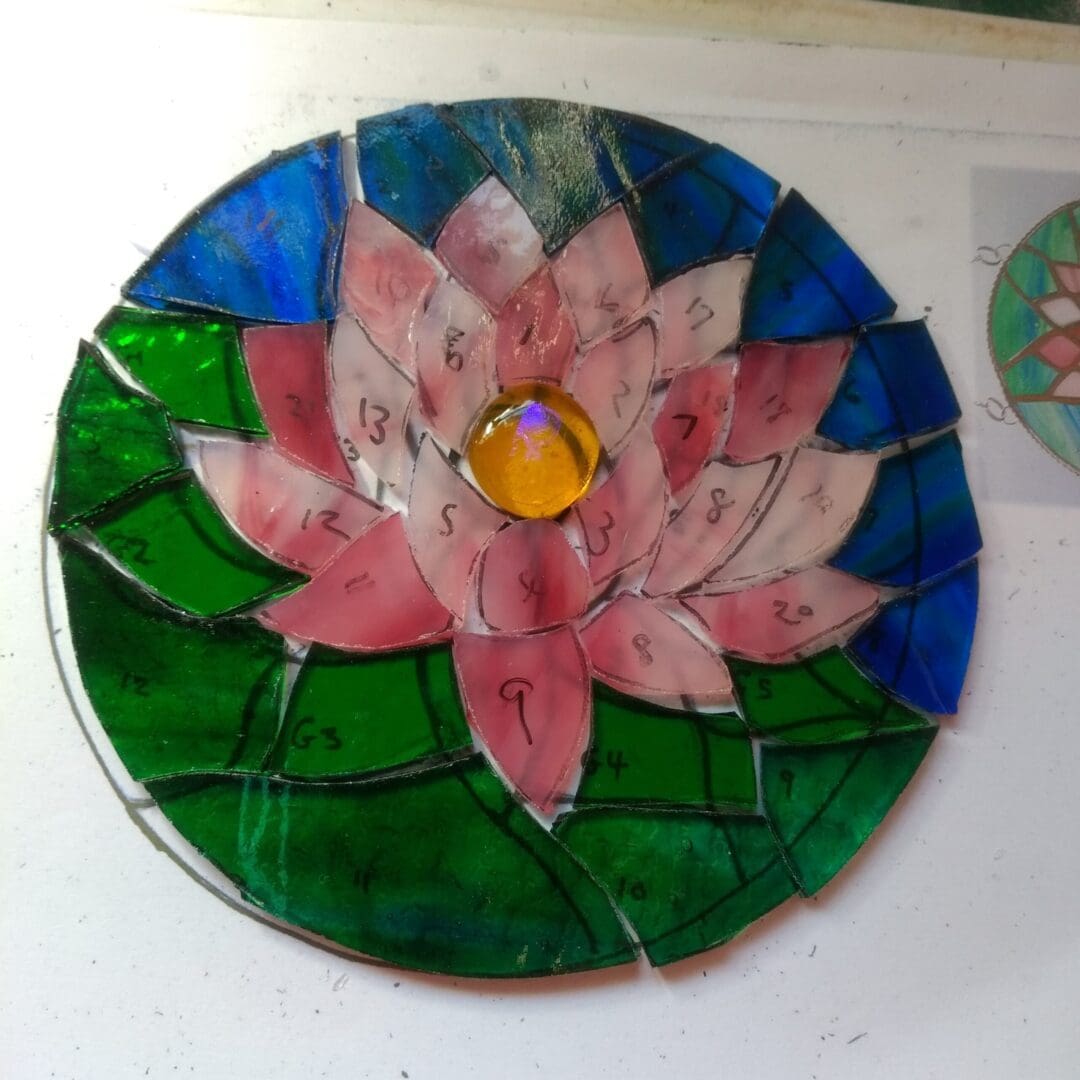
This is the water lily with the leaves and water pieces cut out and waiting for the pink petals.   

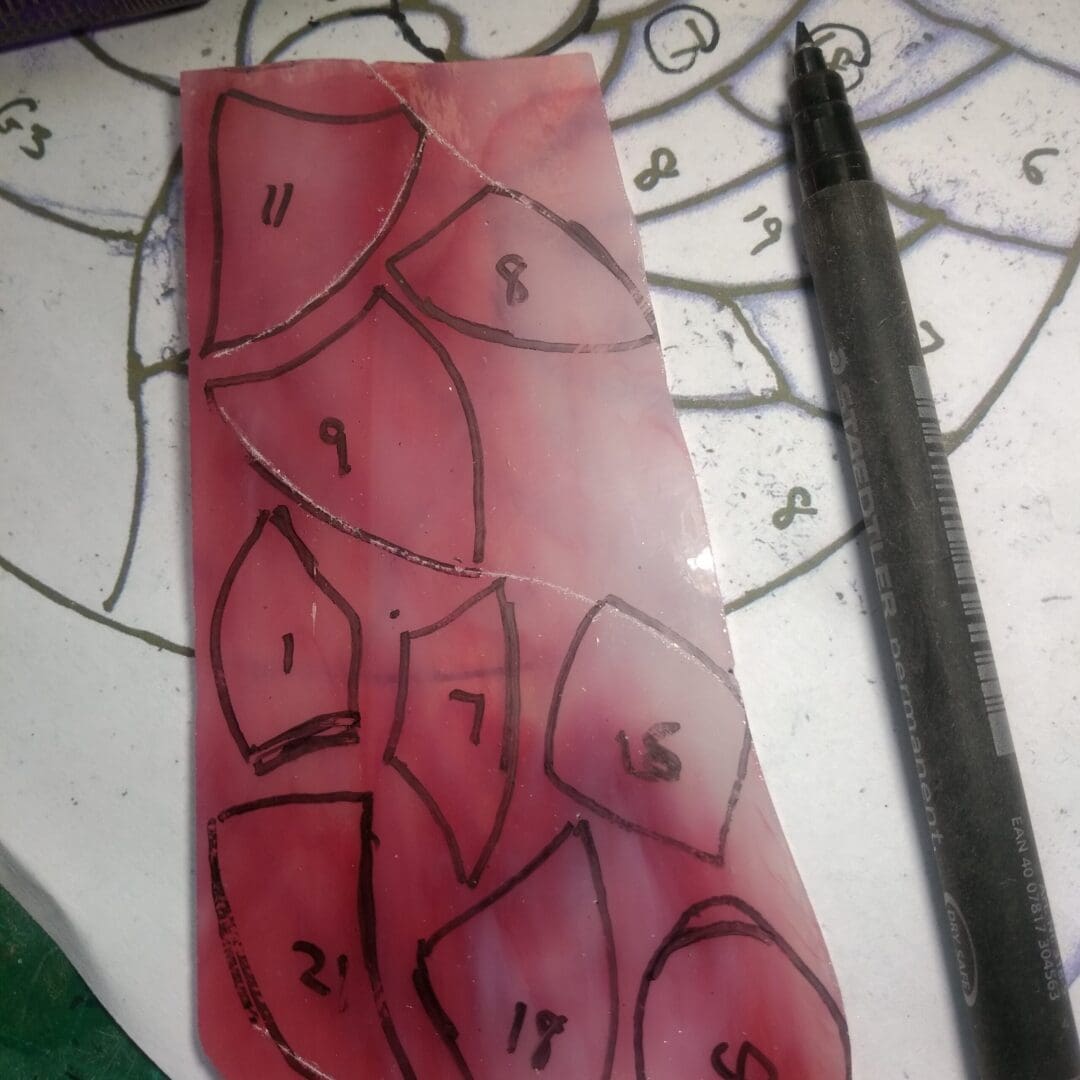
2. This is some pink  glass with the petals marked ready for cutting out.

3. Here is the water lily with all the 39 pieces roughly in place. Now each piece needs to have the edges smoothed on the grinder.  To make sure the pieces fit snuggly together and the edges need to be clean and smooth if the copper foil is to adhere firmly to them. Grinding is the messiest process , glass grinders have a water reservoir and that water splashes about and is cold (and wet !). In Winter I always top up with some hot kettle water to stop my poor finger-ends freezing 


4. Sometimes I find I am having to press really hard when grinding the glass pieces which results in sore fingers until I realise that my grinding bit has worn smooth. Bob to the rescue as he has a good strong allen key in his toolbox which can change the grinding bit for me in a jiffy.
Thanks Bob xx

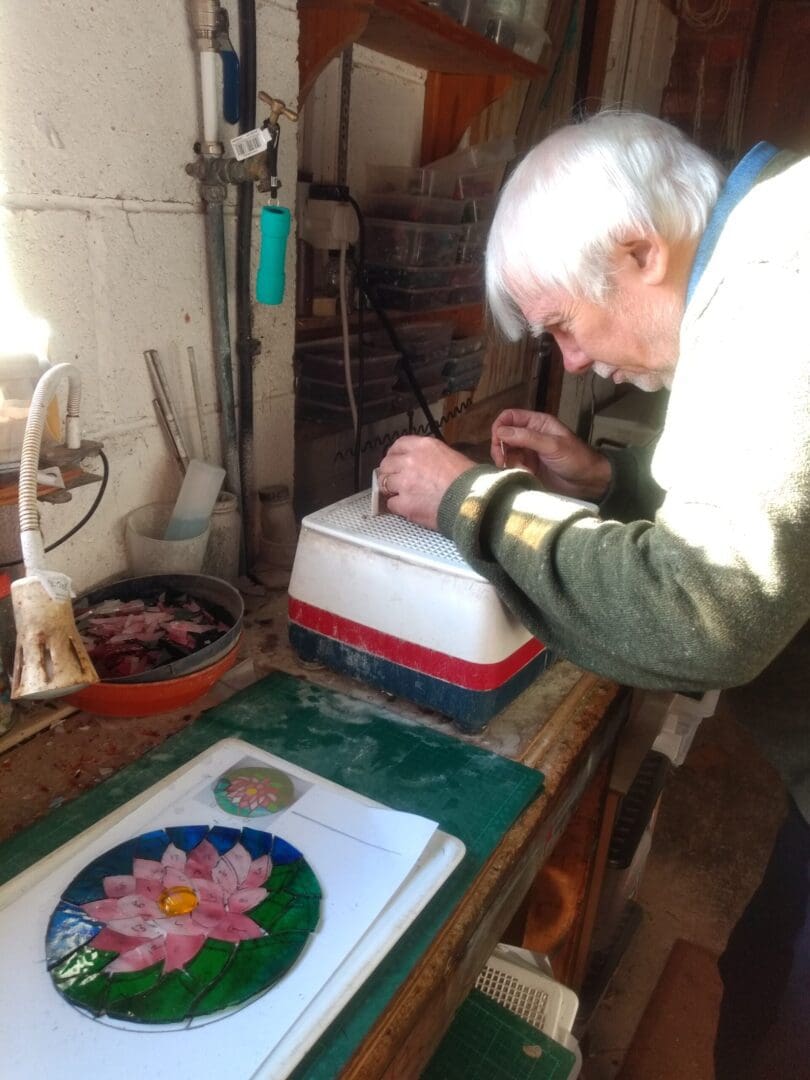
5. And so to the grind. I Always wear gloves. In fact I wear gloves whenever I handle unground glass. It takes seconds to put  my gloves on and off but if I cut my fingers it takes minutes or even hours to stop the blood enough so I can carry on !  You would be pretty amazed at how long my fingernails are considering my frequent use of a glass grinder. Fingernails also protect finger ends from damage from the grinder so a win win really.  Fortunately I usually grind with my right hnad as I’m left handed and need to use my left hand to hold the phone to take the picture !

6. Next process is done sitting down on the sofa. 
 For a pattern like this I take a photo to make sure I know where each piece goes as they can be quite similar and even if I mark the numbers with my permanent marker the numbers often wear off in the grinder water and the hot soapy water I wash them in.   First of all I have to wash all the glass pieces to remove the ‘grind’ on them as they need to be clean and dry for copper foiling.
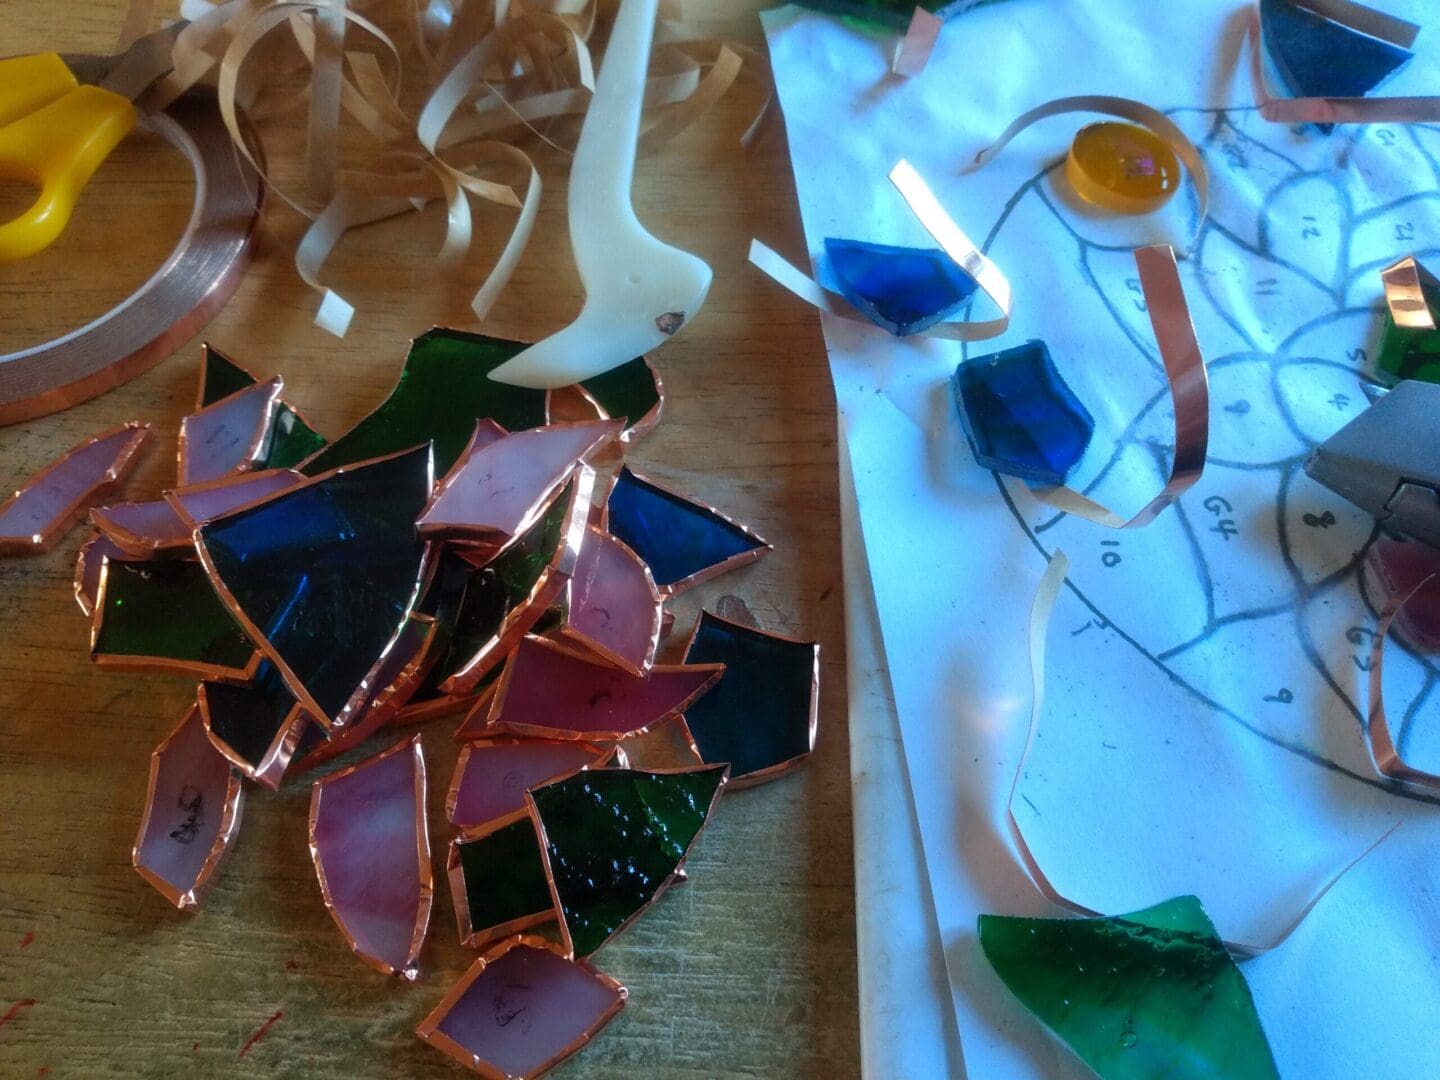
Then daytime rubbishy program on the TV for company, I sit at my little table and painstakingly cut a piece of self-adhesive 7/32 mm copper foil to fit round each piece and then I wrap them one at a time.   Once the foil is round each piece I use my allnova fid to go round each piece, the edge, back and front to burnish / seal it to the glass as tightly as possible. 


7.  Then to fit all the pieces together onto a nice clean and dry paper pattern (I always print two as the first gets wet during grinding). Hopefully they will all fit beautifully together. This little beauty did.  Sometimes I have to return to the grinder to take a little notch off here or there. I can fill a little hole with solder but I can’t solder over a notch !


8. Now to solder.  Switch the soldering iron on and while it’s heating up make sure all the pieces are very neatly together and don’t breath on them in case they move ! 
I tack solder first putting little blobs on each seam to make sure they are secured in place, then solder along each seam and round the edge. Then turn it over and repeat. Then round the outer edge. For this suncatcher I solder a piece of twisted double wire round the edge… it makes a neat edge and also gives quite a lot of strength. After soldering the wire in place I then do some lovely neat soldering along all the seams on the back and repeat on the front making sure to get as nice a rounded bead as possible and no lumps, blips or rough bits.  I finish it by soldering little wire rings on the top for hanging. 

9. All soldered.  Then a wash in warm soapy water and a dry. Add hanging chain using little split rings fitted to my wire rings. Then a polish with  Simonix car polish (contains carnauba wax) and it’s all ready for a photography session.
Easy.

THE END  xx

https://staging.thebritishcrafthouse.co.uk/product/water-lily-stained-glass-suncatcher/

Posted on — Leave a comment

Meet a Good Right Hooker

I’m a 50 something mother of 4 and granny to 6. I have been surrounded by craft of some sort or another all my life, my grandmother was a prolific knitter, my mother is a wonderful embroiderer and seamstress and my father was always fashioning something out of wood.

I was taught to knit and sew at a young age and have always had a project on the go, sometimes useful  ( I made all my children’s clothes when they were small) and sometimes purely decorative. 

 After trying to teach myself to crochet for more years than I’m going to admit here, a very good and patient friend eventually managed to teach me to make the humble granny square and I haven’t looked back since! 

As well as my little crochet business, I have a day job where I’m a housekeeper in a large busy house. No two days are ever the same and I love it. 

When I’m not at work or crocheting you’ll often find me out on my bike in the beautiful Norfolk countryside, last year Mr Good Right Hook bought me a proper road bike so I’m fairly nipping along those lanes now. 

I’m so excited to be a part of The British Craft House and I cant wait to see where it will take me in the coming months and years. 

Jo x

Posted on — Leave a comment

Creative Beginnings of an EMBROIDERER allergic to sewing by hand with needles….

No machine however sophisticated can make anything beautiful unless it is skillfully instructed to do so and used as a tool, with understanding of the technology, materials and techniques and constantly pushing the creative boundaries.

There lies my skill, and my story. 

I am never sure, looking back, if it was our rural location in Norfolk or a thrifty mother who went through the war, making the most of what one had, whose mantra was-

 ‘If you want something, you will have to make it’

that encouraged us, her three girls to be creative. 

I was told I could use her electric Singer sewing machine as soon as I could work out how to sew a straight line……. which was simple really…. place the fabric carefully, lower the presser foot at the start and let the machine’s dog teeth feed, do the straight line.

My Dad was very creative, always planning projects with sketches on the back of old envelopes and as his youngest daughter, I loved to watch him work, whether it was outside laying bricks for a garden feature or standing ankle deep in heaps of fragrant coils of wood shavings that floated down around us as I stood next to him in his workshop, doing my best not to be in the way of his long arms and elbows as he was planing a piece of wood at the bench. It seems that I inherited Dad’s creativity and my Mum’s hoarding character for anything that might come in useful ……. and ……. both my Mum and Dad’s very long arms…

As a child, l was always happy to be making things and using my hands,  I dabbled in most of the crafts, being taught to knit on four needles before I had even left primary school, was shown how to crochet by a kind farmers wife whilst my Dad was selling tractors and machinery to her husband and most of the farmers in Norfolk.

I rather scorned the paint by numbers gift set, using oil paint, but loved the introduction to another as yet unknown medium, (long before acrylic paint) but was not forgiven for the heady scent that lingered in my bedroom for days after, compounded with linseed oil from my handed down lacrosse stick, oiled and  made ready for the new autumn school term.

I used my Mum’s sewing machine to sew clothes first for my dolls and then for me, until I got my very own Janome machine for my 18th birthday and marveled at the new zig zag stitch it could do….along with the complex cams lined up inside the box.. for fancy stuff and stitches.

I loved doing both weaving and batik for my A level Art . Then I discovered clay and sculpture too and loved being in the ceramics studio….throwing pots on the wheel ….drawing and design…… but it was that sewing machine that was worked really hard, setting me on the picturesque and circuitous route towards where I am now……  

Born profoundly deaf, I was quite happy to be in a world of my own, and I am told that I have amazing powers of concentration when focused on doing things,  but thankfully not to the point of being antisocial, doing things that used my hands and learning by example, trial and error, referring to books and looking at picture diagrams.

I had speech therapy from a Mrs Pictures, I can see her now, coming into the house with her rich auburn hair piled high in a sophisticated and glamorous chic french pleat and appreciating her pretty kitten heel shoes long before I was even three years old.

As a teacher of the deaf she came to teach me and my mother too, how to encourage me to talk and lipread, in order to understand speech in a hearing world with the additional help of powerful hearing aids, later reduced to just one as my left ear was pretty useless.

This vital speech therapy continued until I was 16, sharing the sessions, with another deaf girl from my school class, making sure we pronounced our T’s clearly and properly and looked for the difficult S’s that were silent unheard hisses and used the lips shape to discern the subtle differences between the B’s,C’s, D’s and E’s, needing the vowels each side to add to the clues otherwise they all look and sound the same.

Learning  the piano and reading music was a complete happy accident, when  on the arrival of a brand new piano that was delivered as a surprise intended for my sisters, my Mum encouraged our first music teacher to teach me initially as well, just so I would not feel left out, thinking I would naturally drop out.

It was a complete revelation to me, that the printed dots of the music notation related to the rhythms and syllables of the sung words of the lyrics, written underneath, and I carried on with the lessons.

I was to find sadly, that not all music teachers were willing to teach me. The final rejection was when I was at college. Apparently there was a massive showdown in the college staff room that day, between the head of our Ceramics department when he found out I had been refused further music tuition on the basis that I was deaf, and the Head of Music, who had never met me and was rather forced to give me a second chance with a terrifying audition to prove myself…fortunately for me, he then decided to take me on as something of a challenge, teaching me himself.

He was a demanding but inspiring mentor and teacher, encouraging  and stretching me to try new things including the harpsichord, accompanying Paul playing the treble recorder. Two years on, I was surprised and delighted to receive a commendation in music with my BA Honors Degree. 
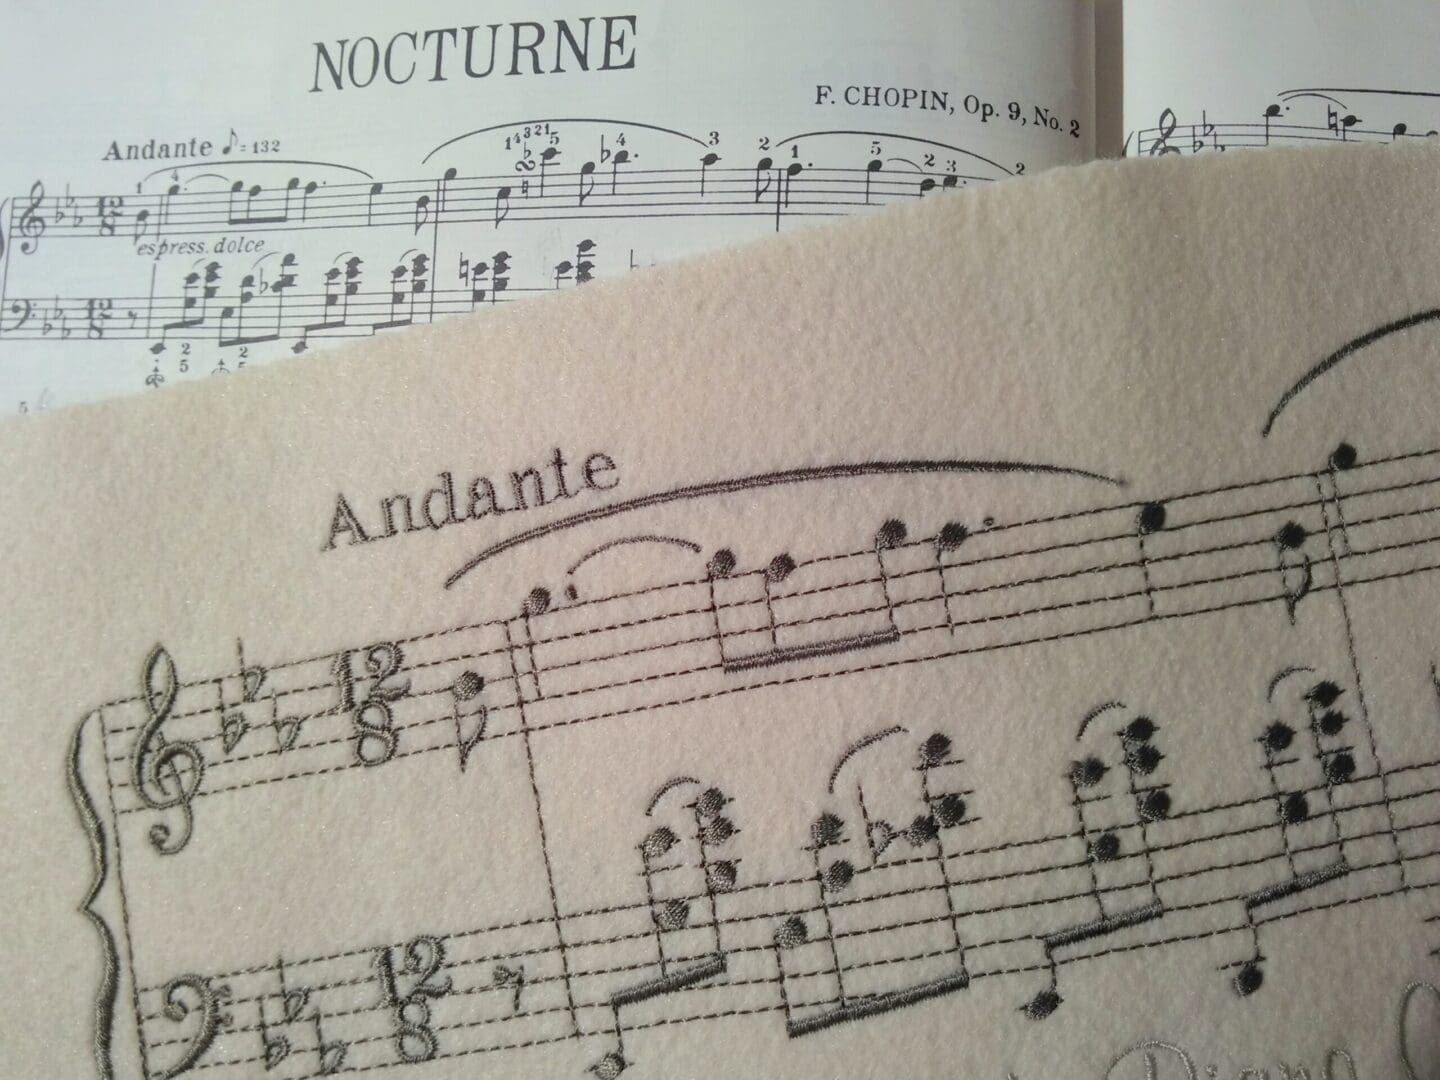
Chopin Nocturne commissioned embroidered keyboard cover

I still take lessons even now and love to play Chopin. Without learning an instrument I would never have appreciated music at all.  Reading music or a score is like having captions / subtitles on a film to clarify what I would otherwise have missed. Just don’t expect me to play spontaneously by ear or sing!

Communicating takes a lot of effort even now and it was hardest of all in the noisy and most challenging environment of all….school…. so the school holidays spent at home were a relief from the din, my Mum never had to worry about keeping me occupied….just make sure that her haberdashery box was full of collected bits and pieces, buttons, zips, thread etc and she would remind me to oil the sewing machine before starting anything. Hopefully I had something made, finished and flattering enough to wear, in time for Saturday night. 

I graduated from Loughborough College of Art & Design, in Ceramics and Three Dimensional Design. My Dad had been a student there before being called up during the war and I met my future husband Paul, studying Furniture design there too. 

We later set up the business ‘Embroidered Collection’, together and the title has conveniently covered everything I have ever made in stitch and we have both been sustained by our own skills and creative efforts ever since. We are often seen together supporting each others work, at shows and major events.

Looking back at my younger self, I now realise that life has gone by in SEVEN  year cycles, for me it was thankfully without the infamous itch. Some of the changes were very subtle, others less so, but I hardly noticed at all,  until 4 cycles later, that there it was indeed, a seven year pattern beginning to emerge. 

Discovering the spontaneity of free machining.

After completing a small piece of hand embroidery for a college  project, I was frustrated at how slow it was, my fingertips and thumb on my right hand shredded and split and were very painful,  so as someone who will even sew a button on by machine, instead of by hand, I was goaded to have a go at embroidery on my machine ‘since you do everything else by machine!’ I admit to initially wrinkling my nose up at the thought, but eventually rose to the challenge. Apparently I am allergic to the nickel in sewing needles which explains a lot!
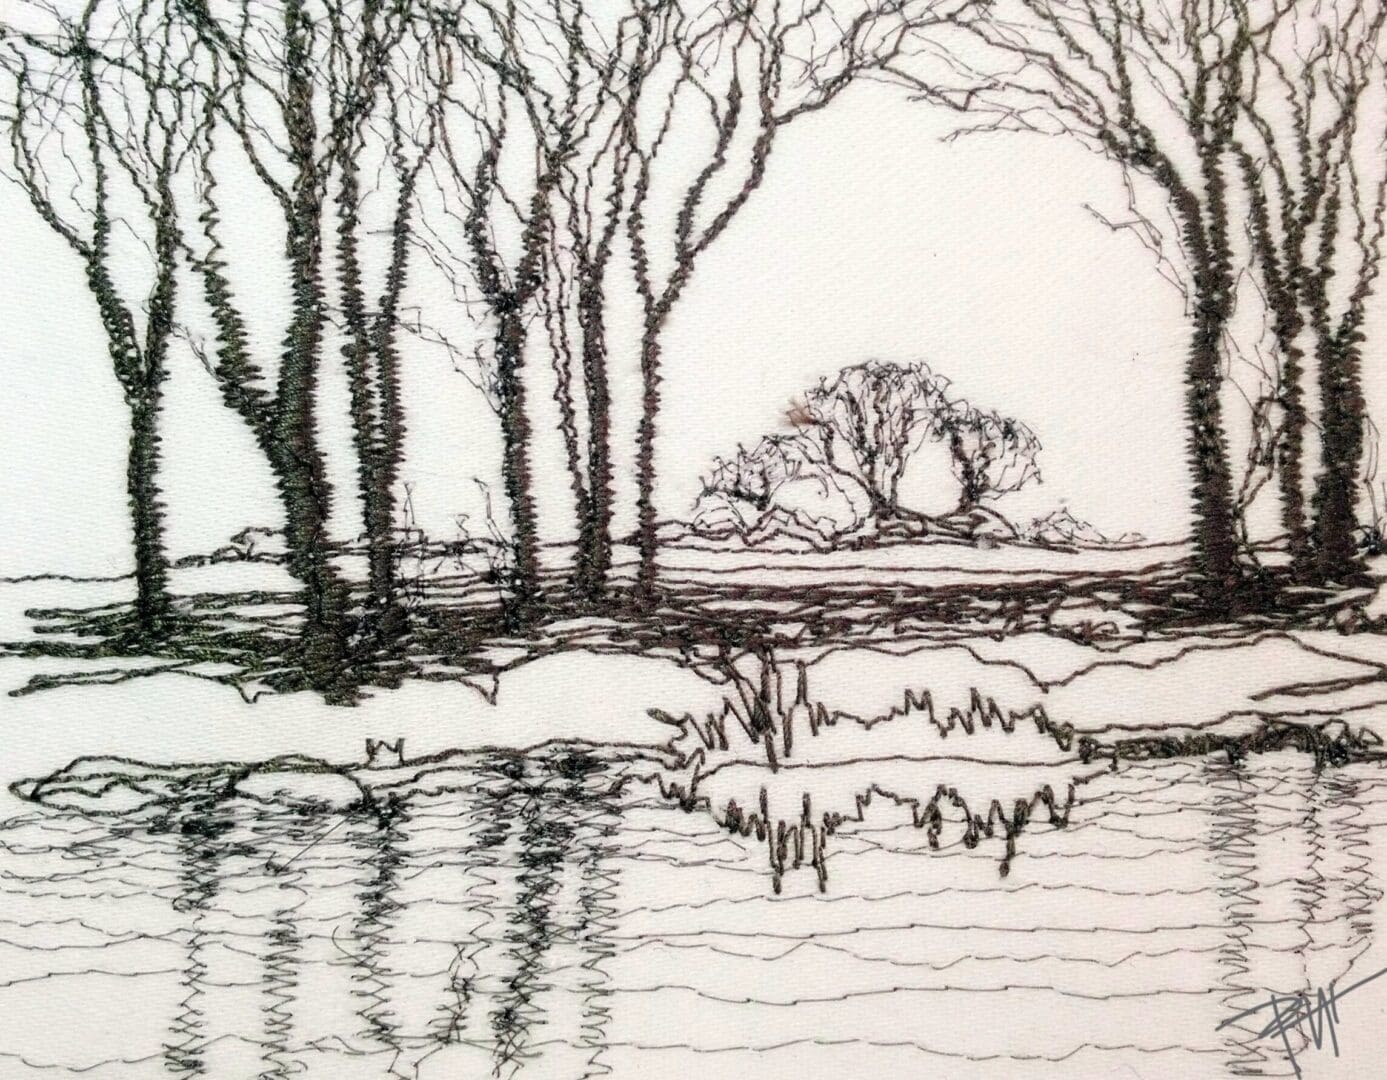
Black and white thread sketch of country scene done in machine stitches drawing as if the needle were a pencil
A quick and spontaneous sketch drawing of a country scene as if the machine needle were my pencil.

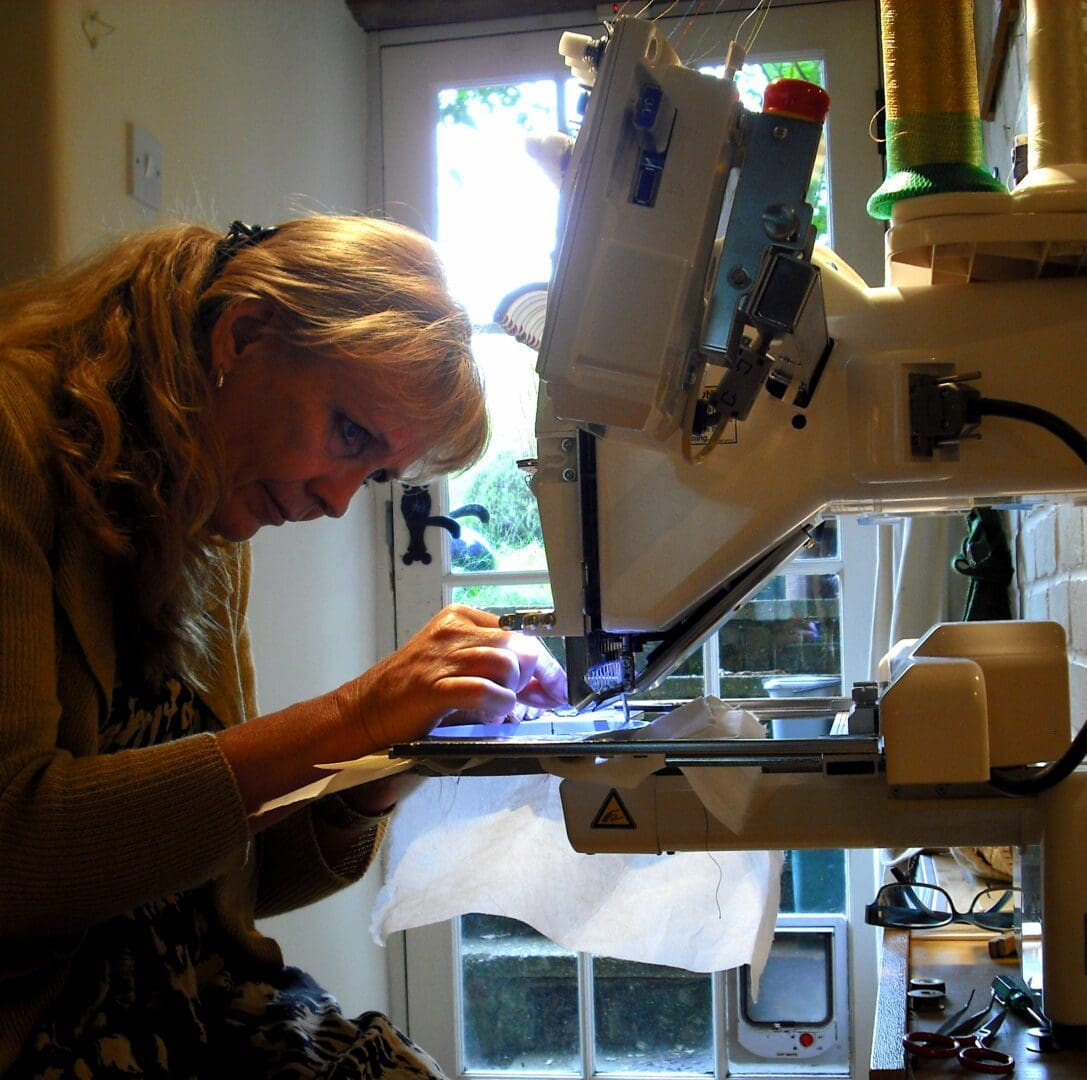
So one day, I found myself lowering the sewing machine’s dog feed teeth right down, the very thing that enabled me to do those straight lines of my initiation test set by my mother, and removing the presser foot on my Janome sewing machine, ready to take  some cotton fabric stretched tight into a wooden embroidery hoop and sort of just ‘scribbling’ with the machine needle and thread creating a single line that was anything but straight. It was very liberating and quite amazingly spontaneous and quick. I loved it. 

The now exposed bare sharp needle, needed some serious respect, these days a special darning foot is available with most machines making it much safer to use when free machining with this technique. 

Needless to say, (sorry) I broke plenty of needles in those early stages, mainly because I forgot to lower the needle bar to create the tension on the thread because the foot was no longer there to remind me to lower it……… then not running the machine fast enough to keep up with the movements of my hands on the hoop, drawing with the machine needle and thread so the poor needle was being stressed to bend away from the hole in the needle plate and then shattering with a bang. 

So after I had burnt out  the motor on my much loved Janome, with the need to run the machine much faster and for long periods of time with little chance to cool down,  I confidently moved onto  a more robust and basic model of Bernina which I still have,  for creating my Thread Paintings of the English landscape onto hand painted silk.

Embroidered picture of a cornfield and poppies
My early Thread Paintings done on my Janome were very small and kept simple

Repetition and practice are key to improvement, just like throwing a clay pot at the wheel, as I had done at Art College, don’t make it too ambitious, precious or too big and try and try again and then one hopefully improves with time. My early free machined results were small often only 2 inches across, then later a little larger for small mounted and framed pictures.

Most techniques associated with production, make good places to learn and improve, not just sewing technique but also my use of colour, building up confidence to move away from monochrome pencil sketches and create perspective and distance in my landscapes, firstly with pictorial design and horizons, then with fine texture and colour, building a layered effect with each hedge line, trees and fence, increasing the sizes of stitches and thickness of thread as one came into the foreground and the last stages of working the picture.
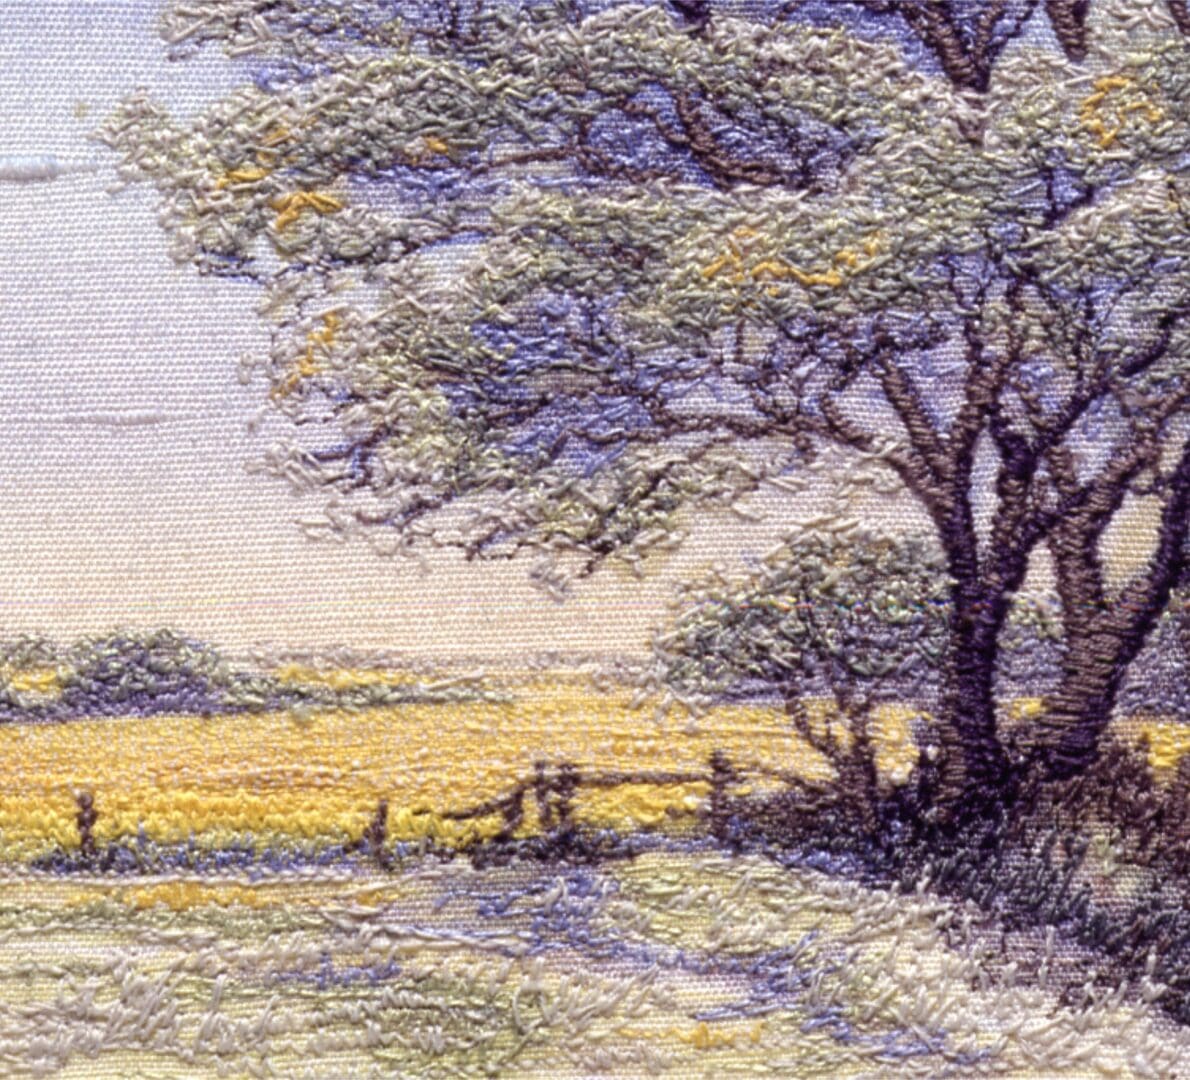
embroidered picture of a yellow spring landscape of oil seed rape and trees
The monochrome sketches had colour, added in layers from the distance working forward.

My Thread Paintings sold well, at Craft Fairs, Galleries and Exhibitions and I was invited to give talks and displays, did some teaching, wrote a few magazine articles, but never a book, the opportunity never arose and besides I liked the doing and being creative far more.

Visiting a London Ski show in 1985, I saw and watched an industrial embroidery machine just personalising some skiwear, I was totally mesmerized, for here was a machine doing what I was doing, moving the hoop around underneath to a static needle….albeit remotely…. so now another 7 year phase began of my embroidery journey, that of sewing with CAD CAM machines stitching up to what was then an amazing 600 stitches a minute.

But  there was a time during my research for a suitable  embroidery machine to buy that the suppliers and  the commercial embroidery  industry thought me completely mad and said that I would never be able to do what I wanted without using a trained professional digitizer….. they talked over my head to Paul instead of me. This determined deaf woman, I guess was too much for this male dominated world at that time…… I reluctantly gave them some of  my artwork and they murdered it completely…..

Eventually I was lucky, to meet Tom Clark, an enterprising engineer who was inspired by what I wanted to do and was invaluable with his support and  help  giving up several of his weekends to make sure the latest machine he was to sell me,  had the potential to do what I wanted. It was a fascinating time and I am forever indebted to him. 

So I became the proud owner of a twin head SUPERSTAR with 6  needles ( no trimmers and no screen like now) and  a digitizing board with the first of the floppy disk readers after the punched tape, two training days and there I was on my own…What had I done?
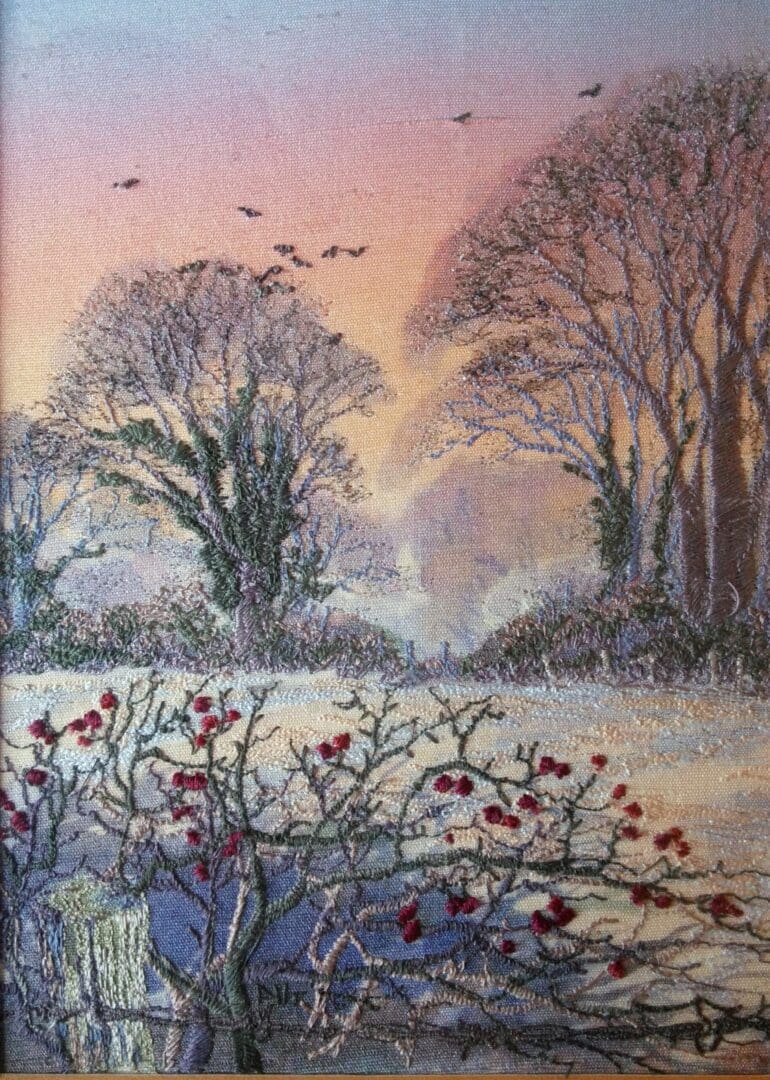
A machine embroidered Thread Painting of Hawtrhorn berries in a hedge looking across a field to winter trees with late evening glow in the sky around November and feels misty and coldter tree
Hedgethorn, a Thread Painting on hand dyed and painted silk, digitised and produced by Pauline Thomas for a limited production run.

So I learnt  to digitise my landscape drawings myself, the hard way….it took 6 months of hard work, a lot of mistakes and positive rubbish but  fast forward a few years and my  ‘Hedgethorn’ picture  as a typical example of the proud result of creating my own path, with new technology and being the first person to create a ‘Thread Painting’ on hand painted silk as an ‘unlimited edition,’ in this way. Much as an artist would print from an etching plate, each one being slightly different due to the inking up of colours each time.

The next phase of my embroidery journey, was shaped by necessity, the economy, aches and pain, opportunity, technological changes, market changes and personal interests and of course the arrival of a full computer screen as we know it now, which forced one of those seismic 7 year changes that I mentioned. The newer machines ran ever faster at over 1000 stitches per minute. No time to stand still.

Now I do not just draw with thread, I colour it in too, with pattern, layers, highlights and form, so decorating things with my designs was the next phase. The Hare became my mascot, featuring again and again, in my designs and popping up everywhere, almost as my stitched signature.

GOLD metallic threads too, used in a three dimensional and sculptural way became a big part of my new work. After all, artistically I am a three dimensional person and not two, as traditionally associated with textile designers. 

Creatures with an eye for attitude, flora and fauna all became part of my new landscapes.

My name is Pauline Thomas, I am not always hearing, but always looking, always creating and I love what I do. 

Before you go….  Feel free to comment….  Subscribe  if you want to read more… I promise it will be shorter

Till Next Time 
Posted on — Leave a comment

Gold and Red Radiance

I gain a lot of inspiration while out running with the dogs, did you know it’s actually a sport called Canicross or Canix for short? I don’t enter races, I find that I get enough satisfaction with the local trails…which is where certain tiny details in nature catch my eye.

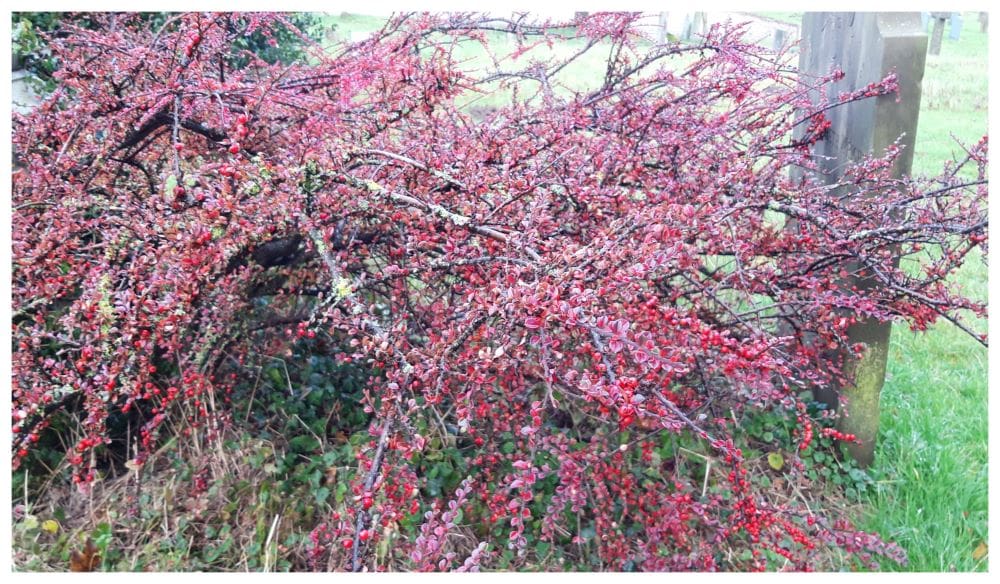
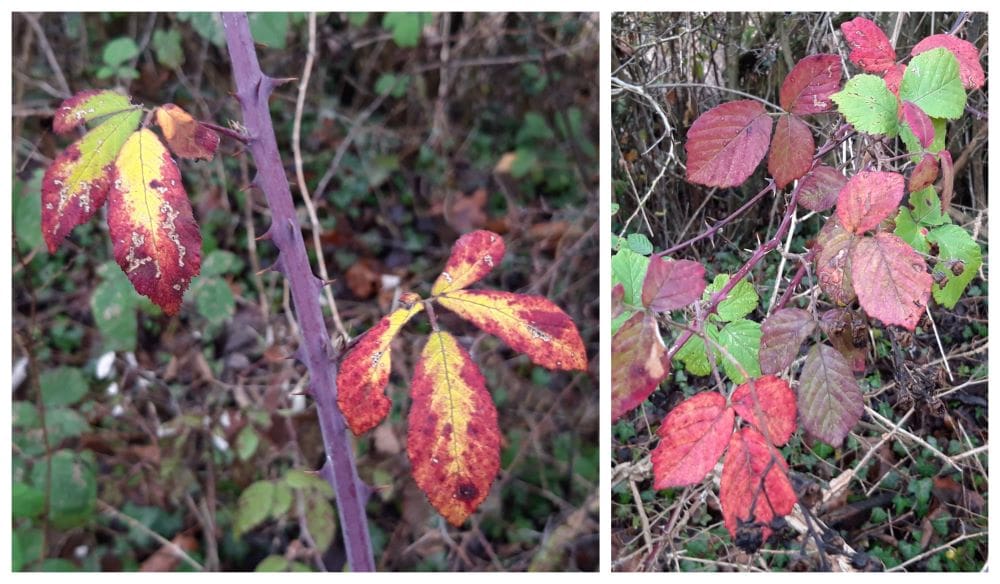
It was while I was out on one of these runs that I passed a wonderful Cotoneaster plant cascading over the ground with it’s scarlet leaves and berries. It was quite a sight!

cotoneaster

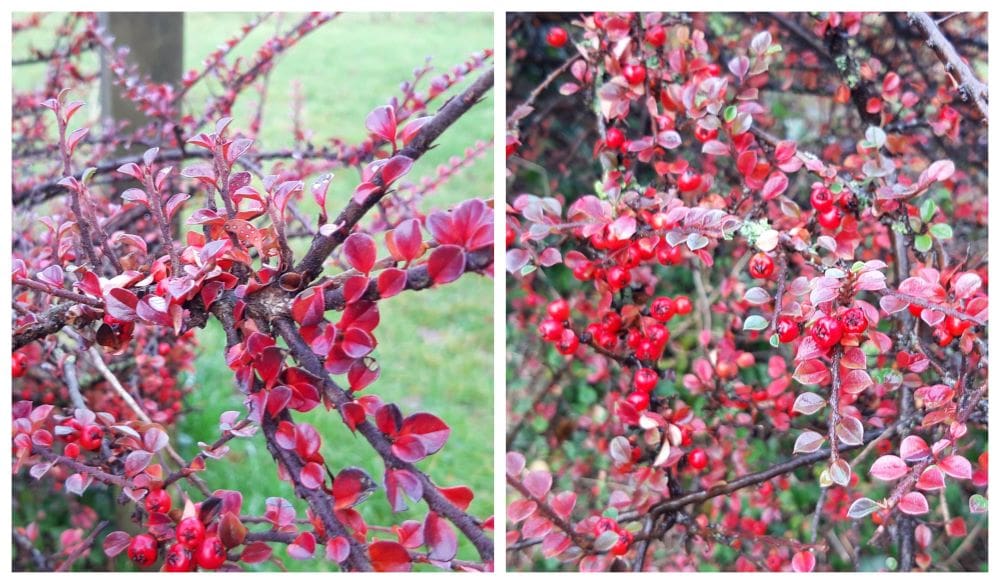
cotoneaster

The tiny leaves and the number of them and did I mention the colour!? Wow! I knew that I had to make something based on this! Paired with another find of the gold centred red leaves of brambles also turning in the cold late autumn weather I had the perfect combination for something very special. Did you know that red is considered a lucky colour by some people? 

brambles

This is where the Red and Gold Radiance bridal range was born.

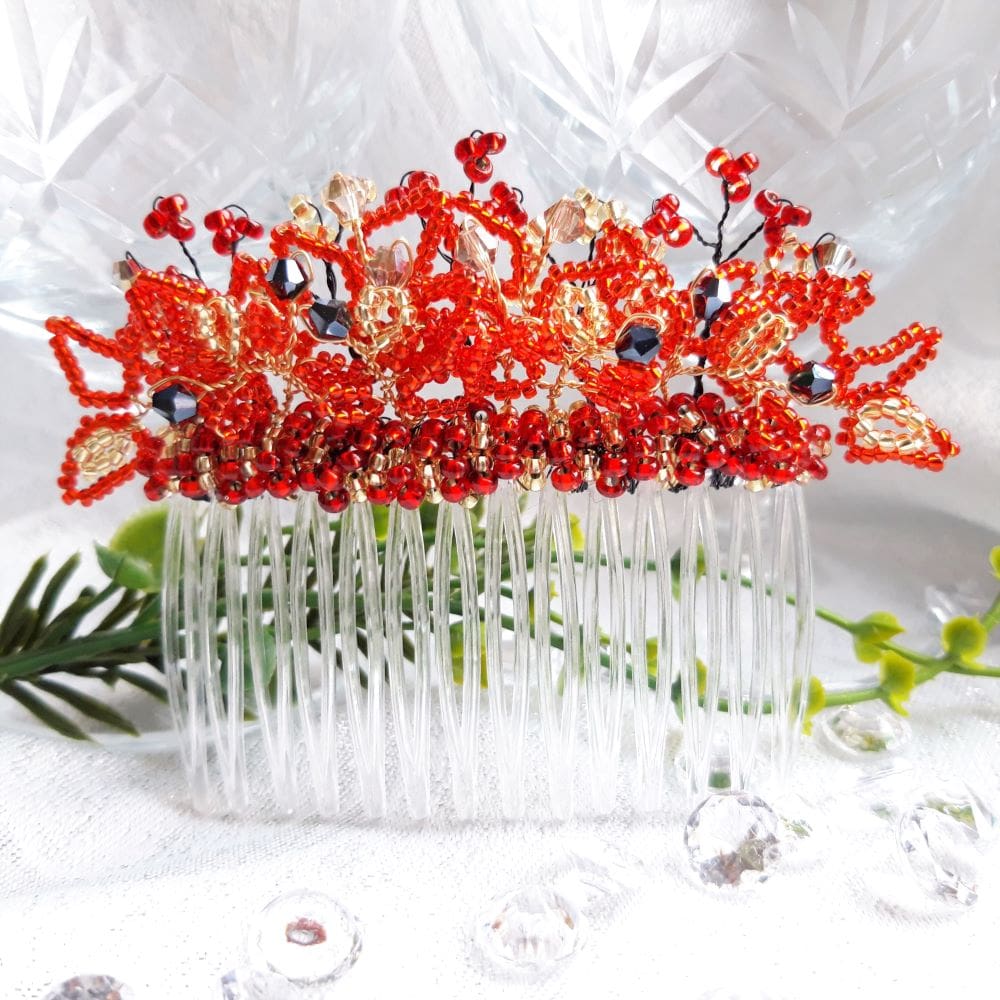
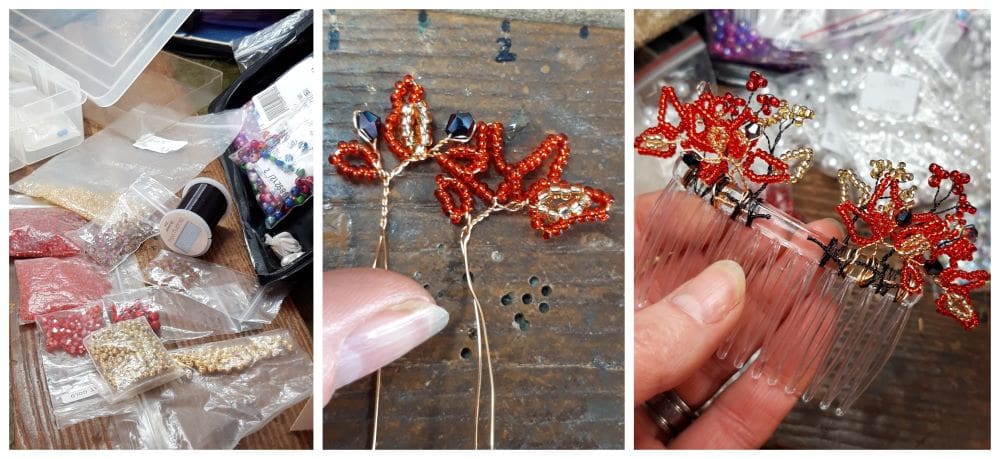
Starting with a clear acrylic hair comb, while I mulled over the larger details of the tiara, and a number of different coloured beads of various sizes and shapes I drew together the elements that would work well together adding in extras to embellish and be a contrast against the richness of the red and gold; something to draw the eye in and to hold the attention.

Working very much in an organic way the gold centred red leaves and foliage began to take shape. Wire twisting and bending into curved stems. Stems building and a dense design beginning to unfold and grow.

bead work

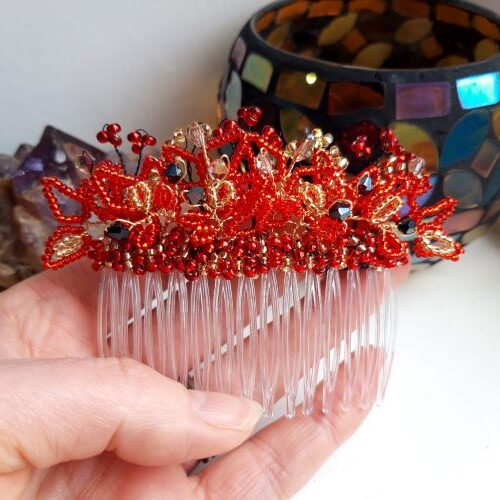
Stems secured onto the hair comb by the tail ends of the wires, twisting and trimming the excess the before the finishing touch of a band of red and gold could be placed as a boarder hiding all the working and bringing the piece to a stunning conclusion.
hair comb in held in hand  
Posted on — Leave a comment

Happy New Year!

Happy New Year!


Christmas is done and dusted, the decorations are stored away, the house has been cleaned and I am off to the florist to buy flowers. The hyacinth bulbs I bought at the village Christmas Fair flowered early because I failed to store them somewhere cool and dark. I simply loved the pot they came in too much to hide it away!

I am looking for something bright and cheerful to herald the arrival of Spring, although I know it is still a while away.

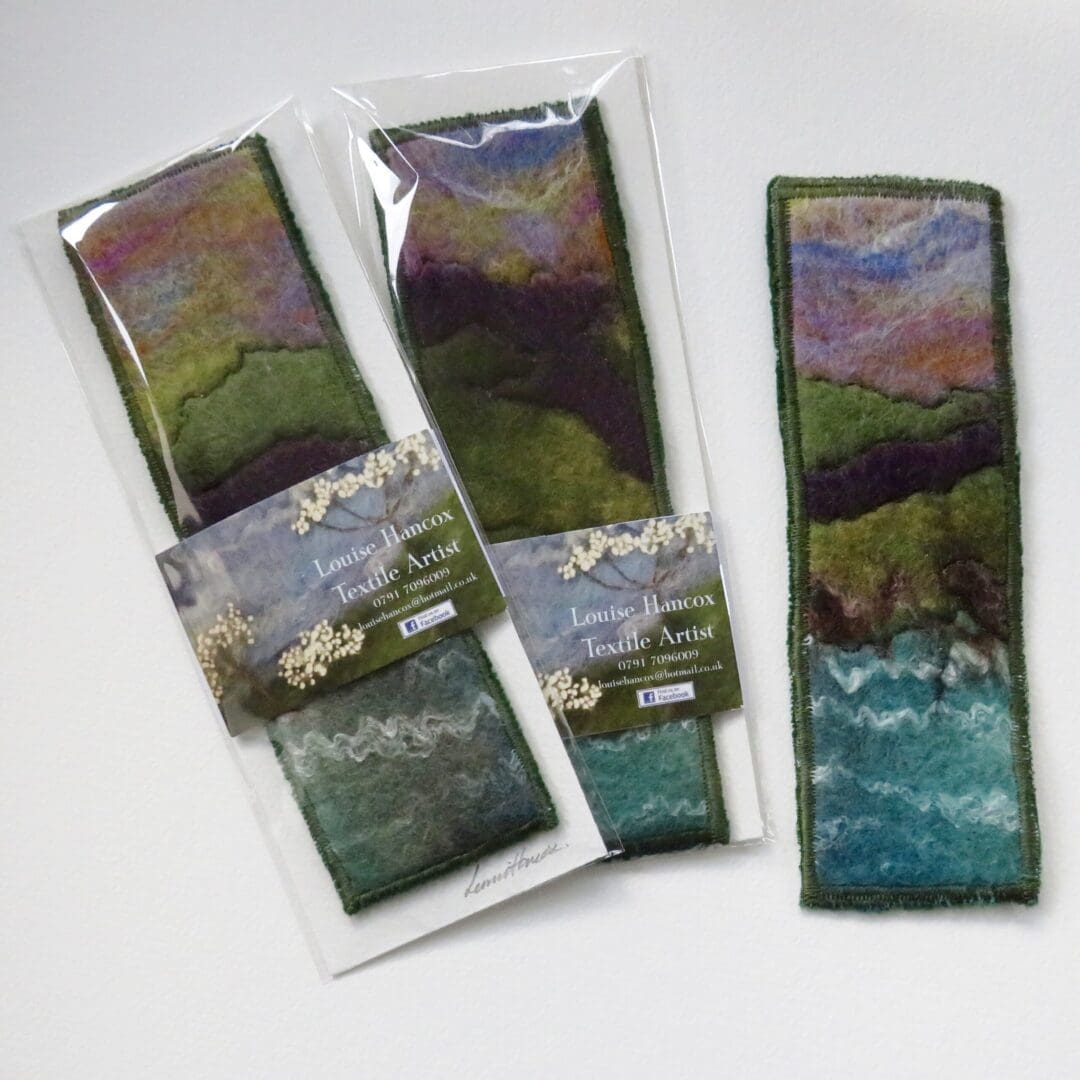
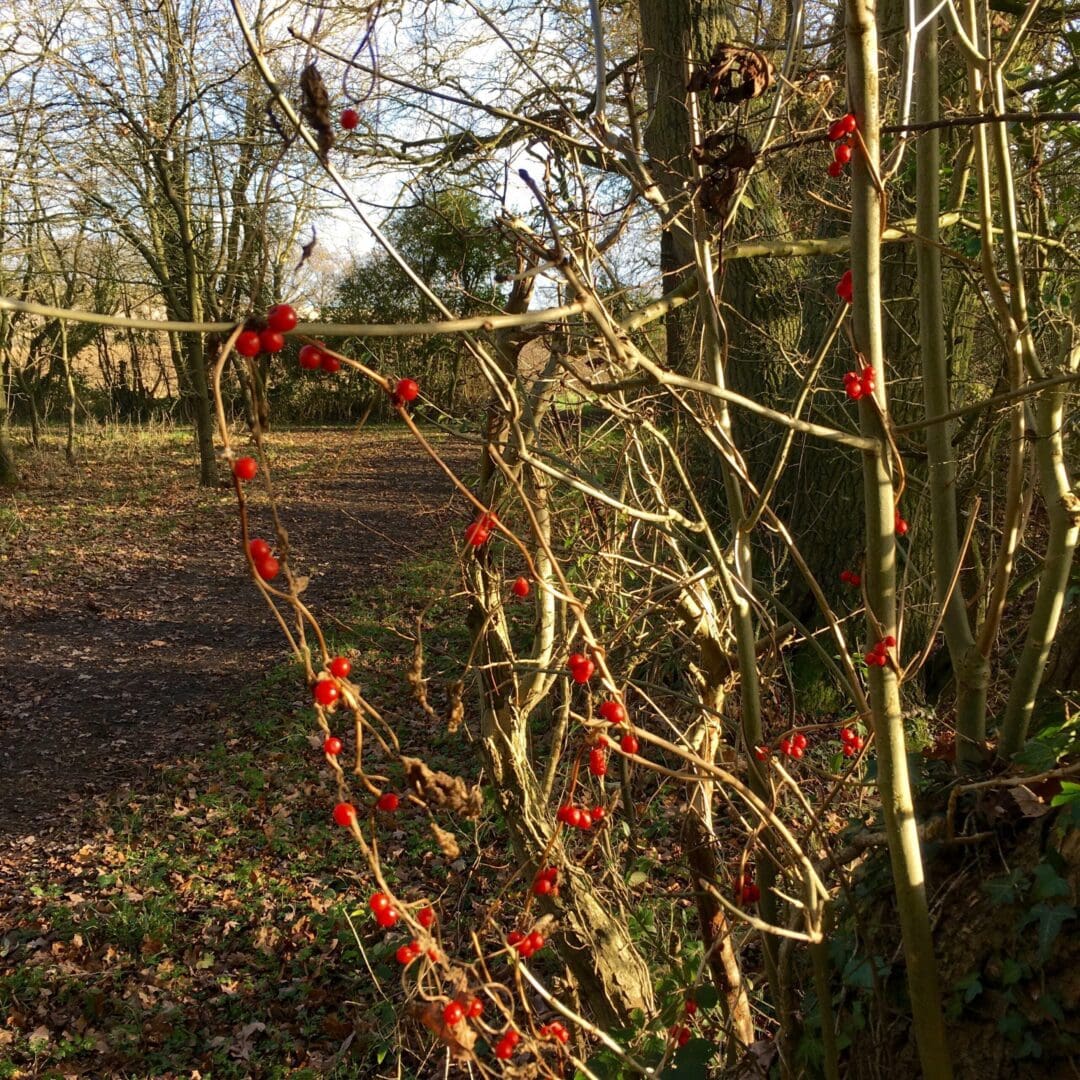
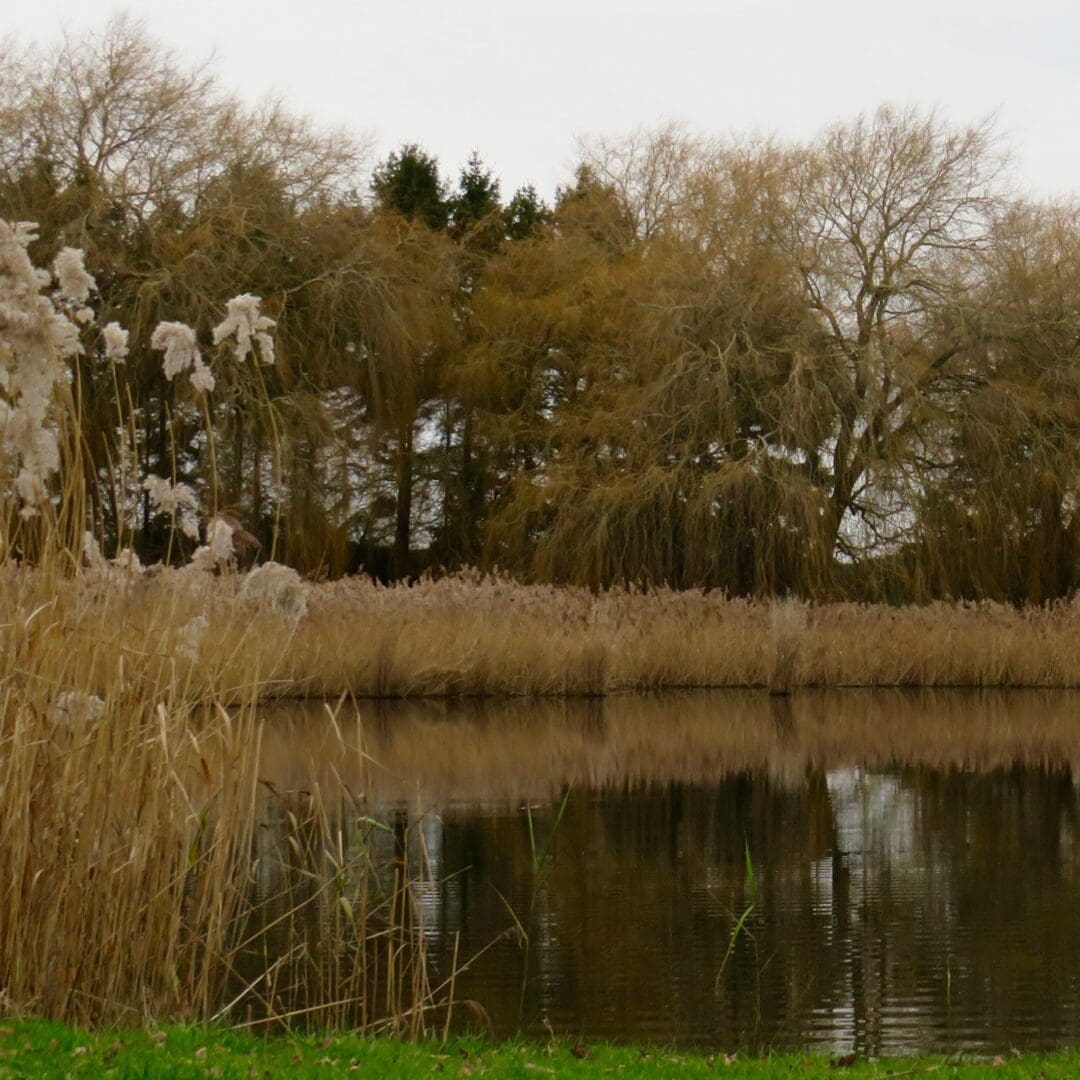
 The New Year always brings fresh ideas as the seasons move forward and nature’s palette changes. I love to choose new colours to interpret this, and I am currently working on some smaller pieces for Valentine’s Day and Mother’s Day. I am drawing inspiration from the landscape, from our garden, a trip to the market, even my visit to the florist and a whole host of photographs I have taken. I look for shape, colour and form in all sorts of places and these can all help to spark the beginnings of an idea.


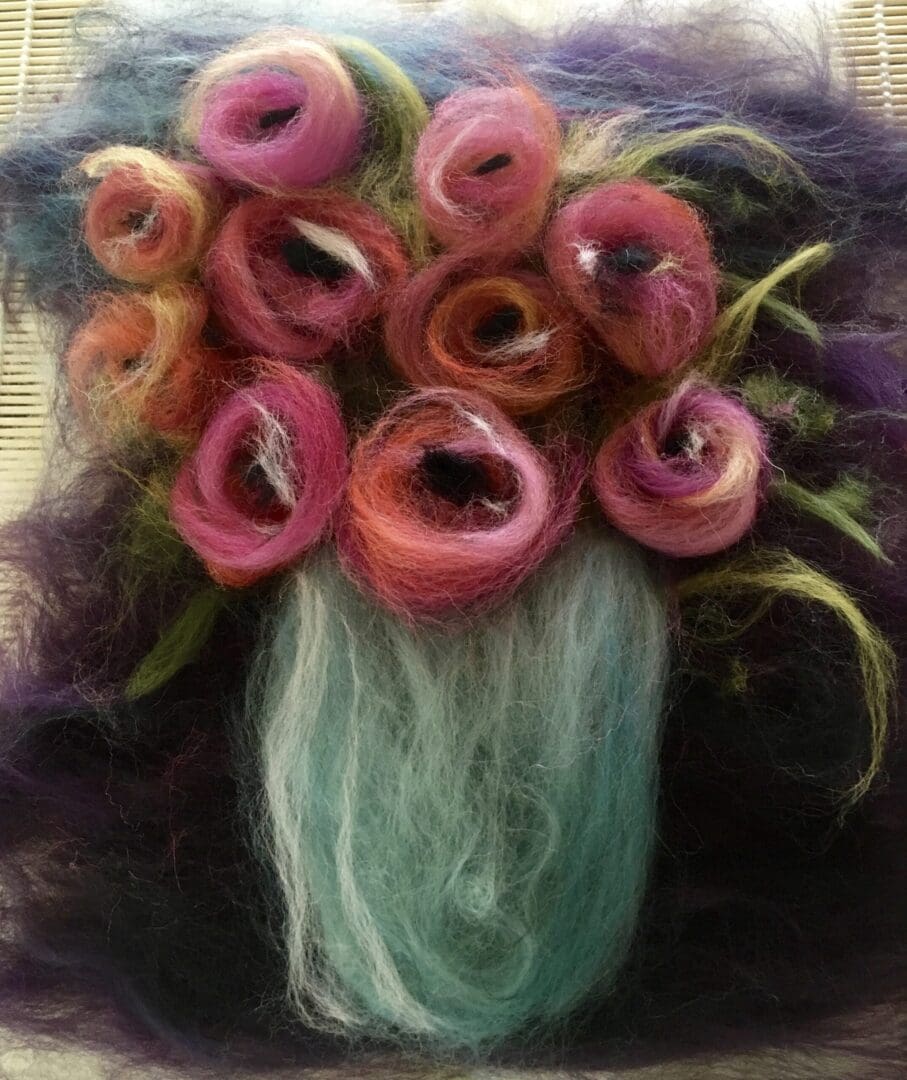
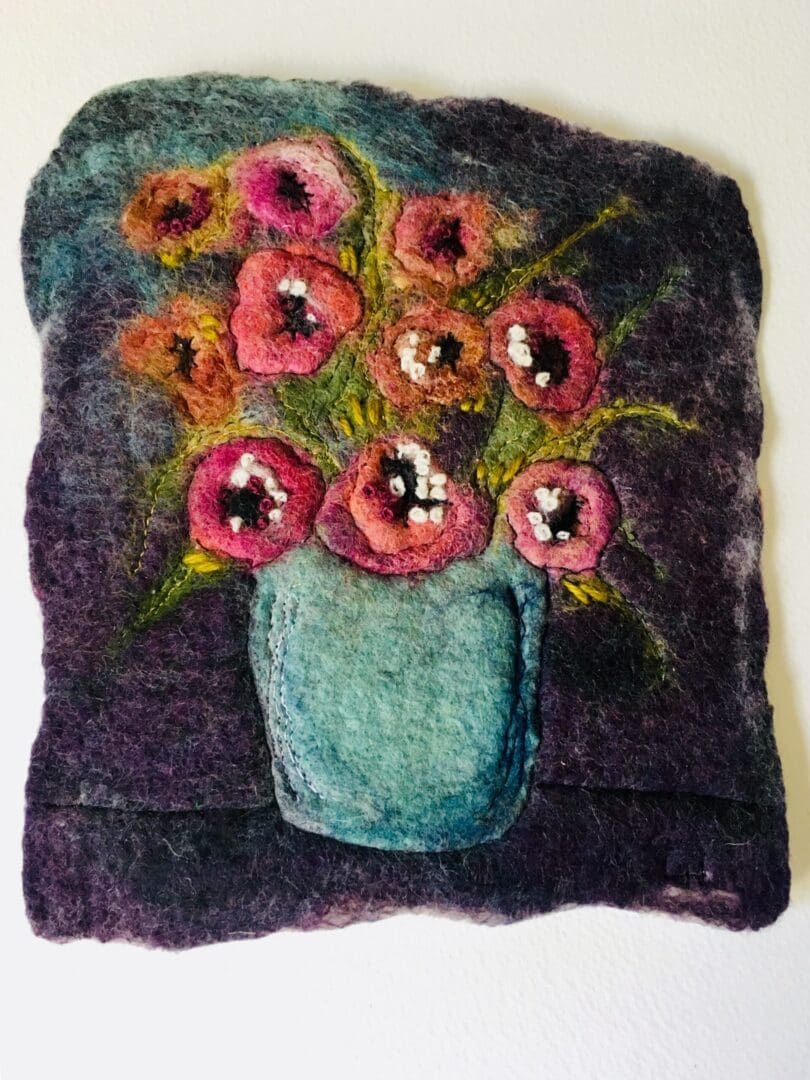
My first ever piece was a still life. I chose this composition because it was a first hand reference to interpret. I call it ‘The Blue Vase’ simply because I had some lovely flowers in my favourite blue vase at the time. I’m not naturally gifted when it comes to drawing or painting, I don’t have an art degree or indeed any formal artistic or textile training, so I am really pleased with the way it turned out. Once I had taken the time to enhance it with both free motion and hand embroidery stitches, it really came to life. I love to create and this process feels really natural to me.


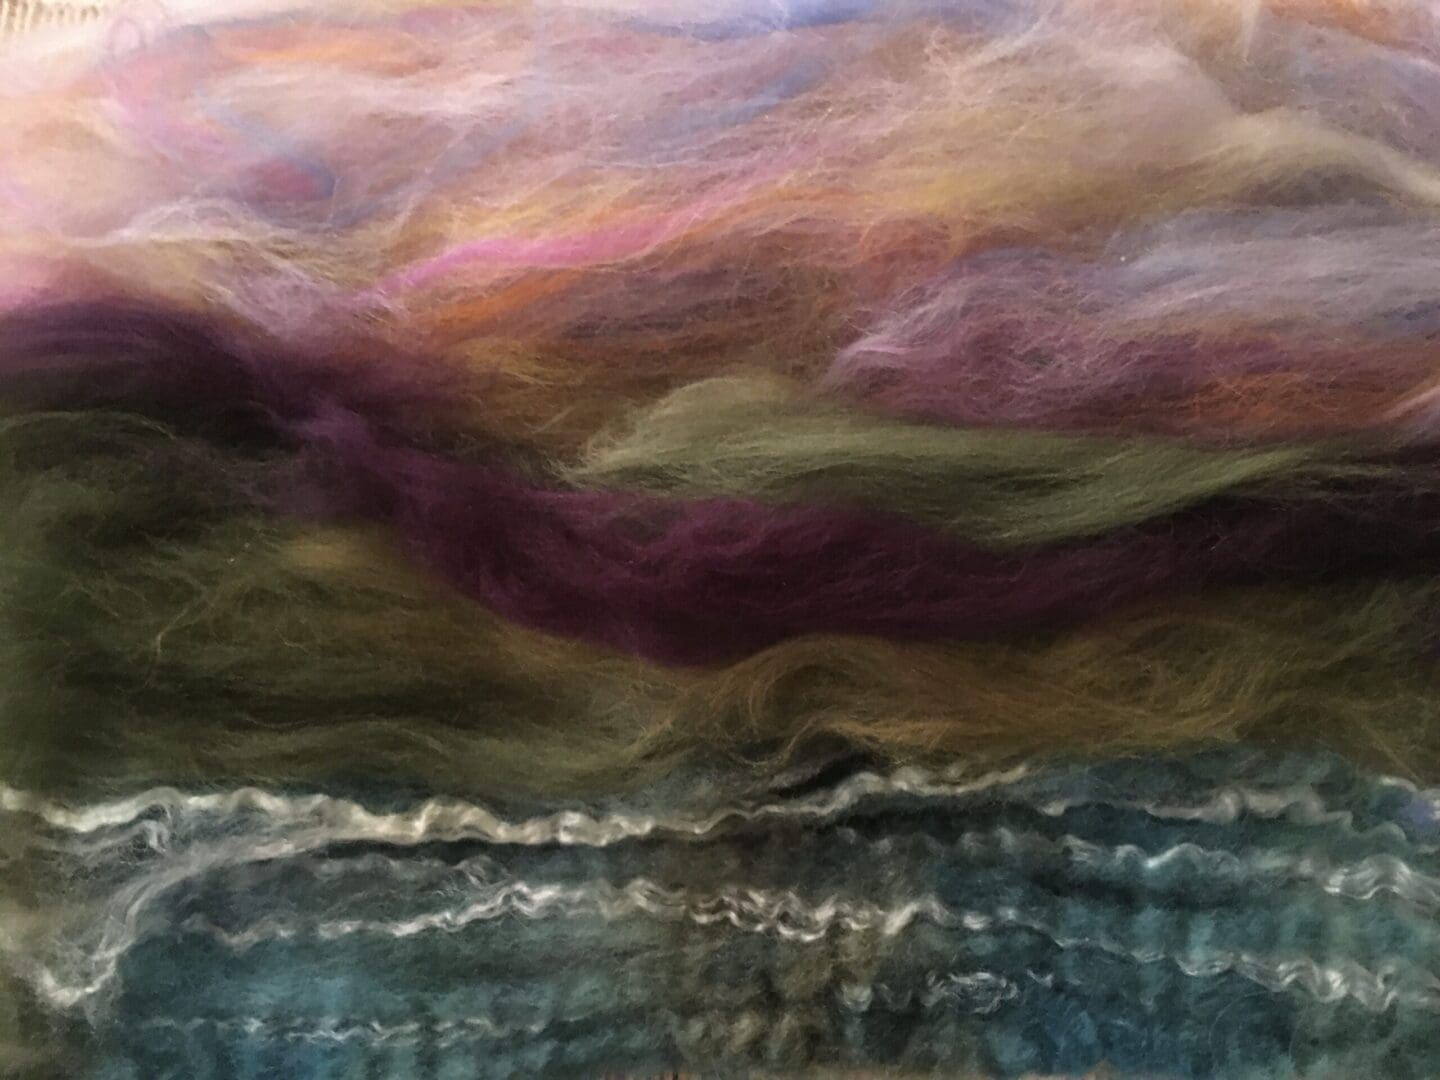
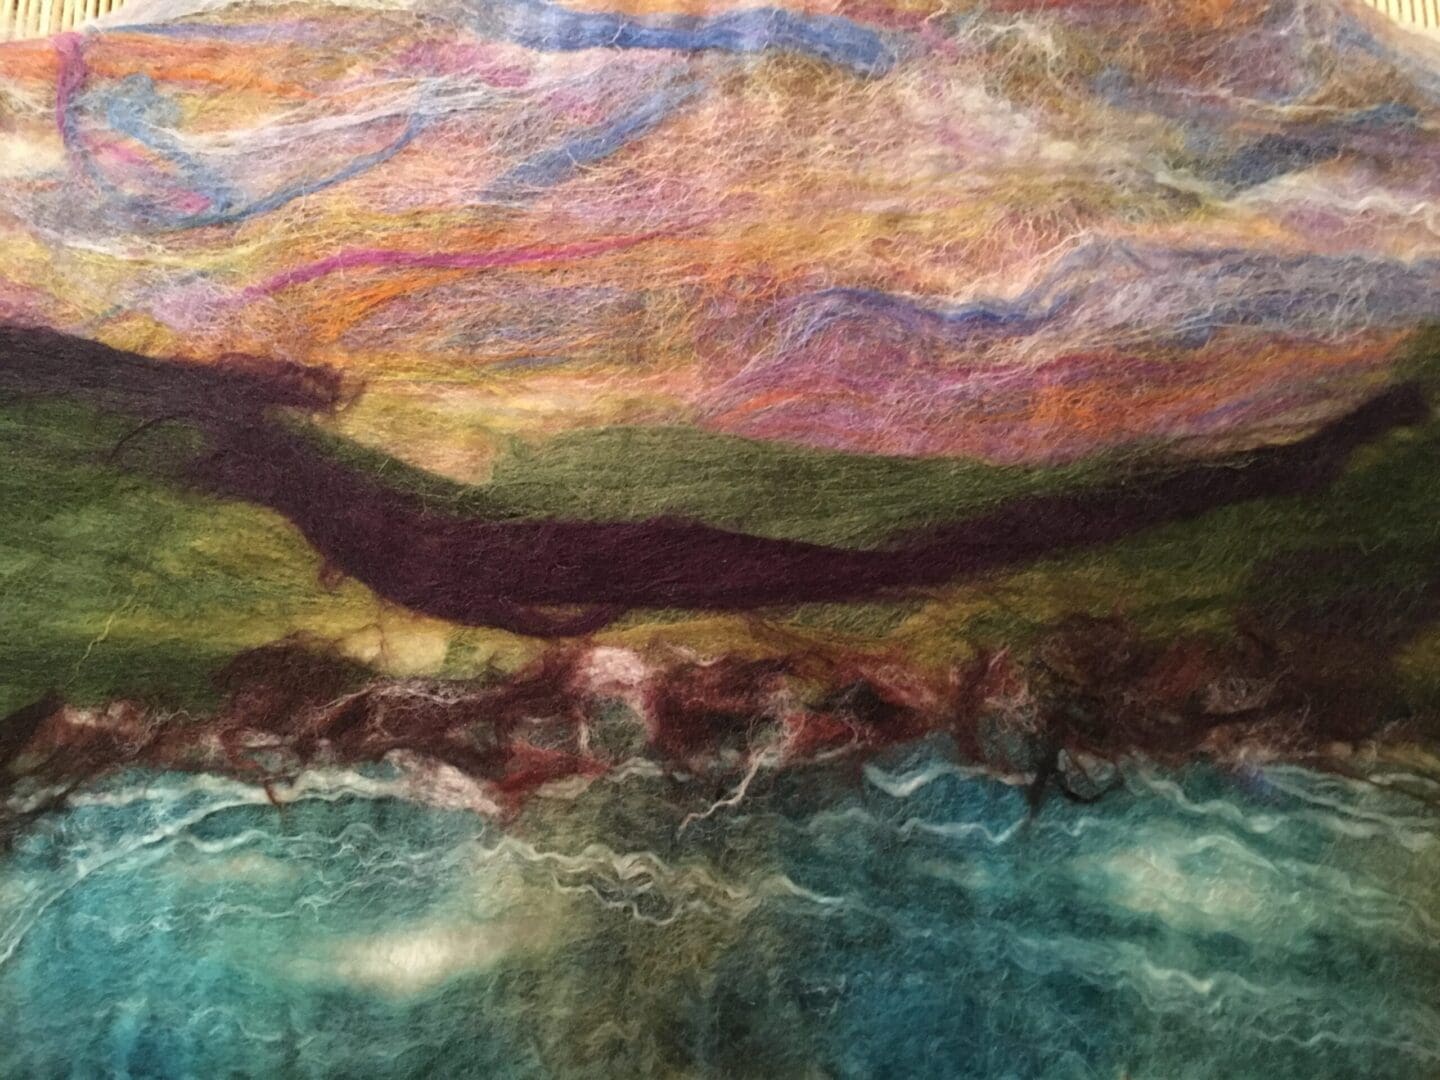
Since then, I have allowed my love of landscapes to come to life.


I love laying out the fibres, and whilst I have an idea of what I want to create, I never quite know how it will transform. The colours can change quite dramatically, so it’s always a bit of a surprise when I remove the piece from its bamboo roll!


I very often wet felt in the early evening, so I can leave the piece to dry overnight. I am always impatient to get stitching into a new piece, and this way, it’s ready to go the next day. 


I find the creative process so very satisfying, it calms me and takes me out of myself for hours at a time.

I love to get out into nature and I love to be creative. One informs and inspires the other, both help to balance my being. Here is a little bit of what helped to balance and inspire me this week. 


Louise x


Posted on — Leave a comment

Hares, Boxes…and a Big Cat sculpture commission!

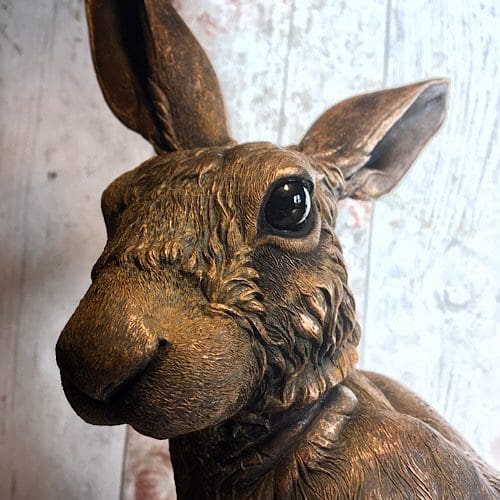
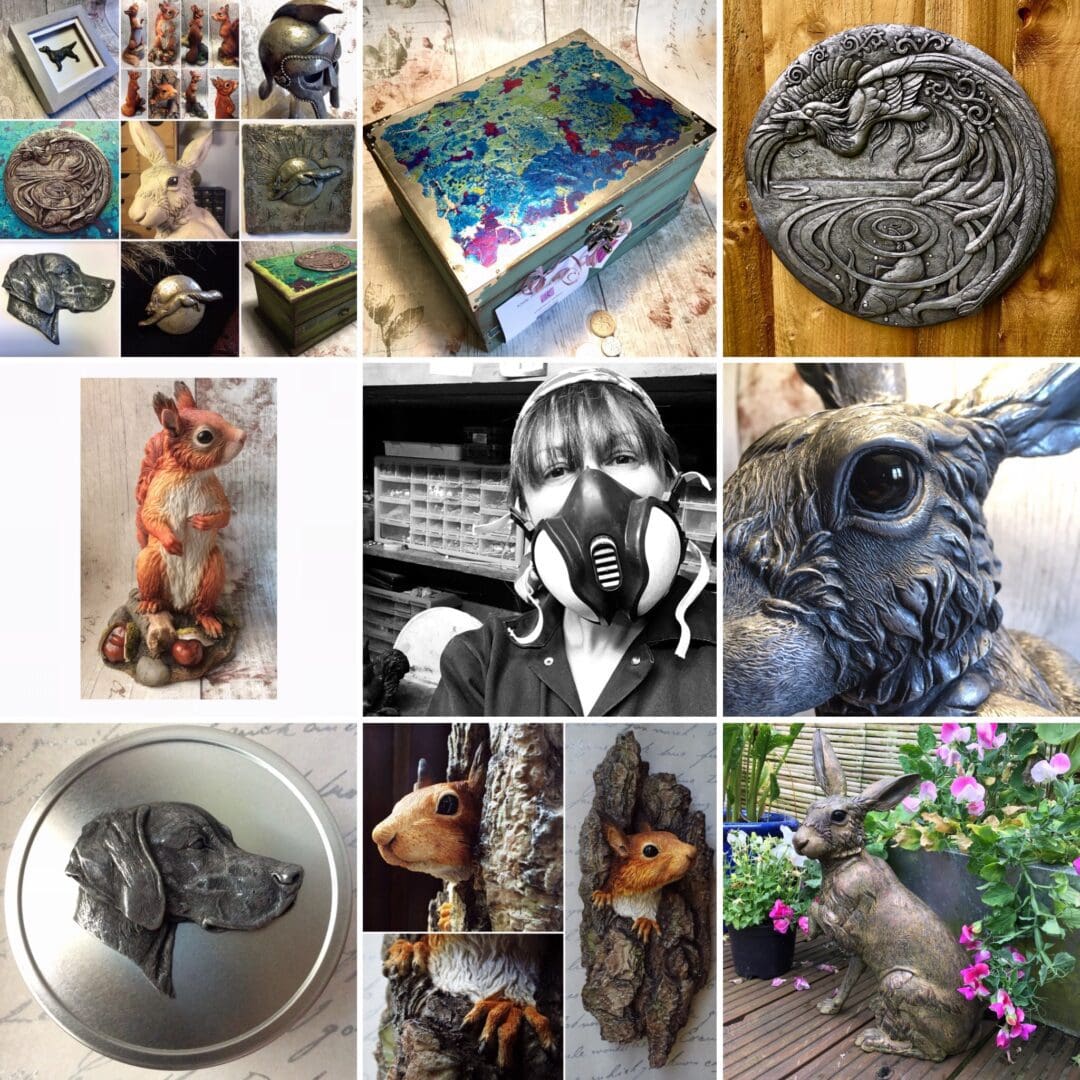
I often find that January is almost as busy as December and I certainly have quite a few orders to keep me busy; Harriet Hares to polish, as well as a handful of my lichen keepsake boxes to make! I also have a large Sculpture commission to start of an extinct big cat which will be quite nerve-racking to start with…but I do like a challenge!

Just Kirsty Sculpture & Gifts
Posted on — Leave a comment

How to hang a front door wreath!

Front door wreaths are becoming increasingly popular, not just at Christmas but all year round! They look beautiful at any time of year, and you can attach them to any kind of door! Two things I hear more than anything else as a wreath maker are ‘I’d love a wreath but I worry it will get stolen’ and ‘I have no idea how to attach a wreath to my glass/plastic door’ Hopefully I can help!
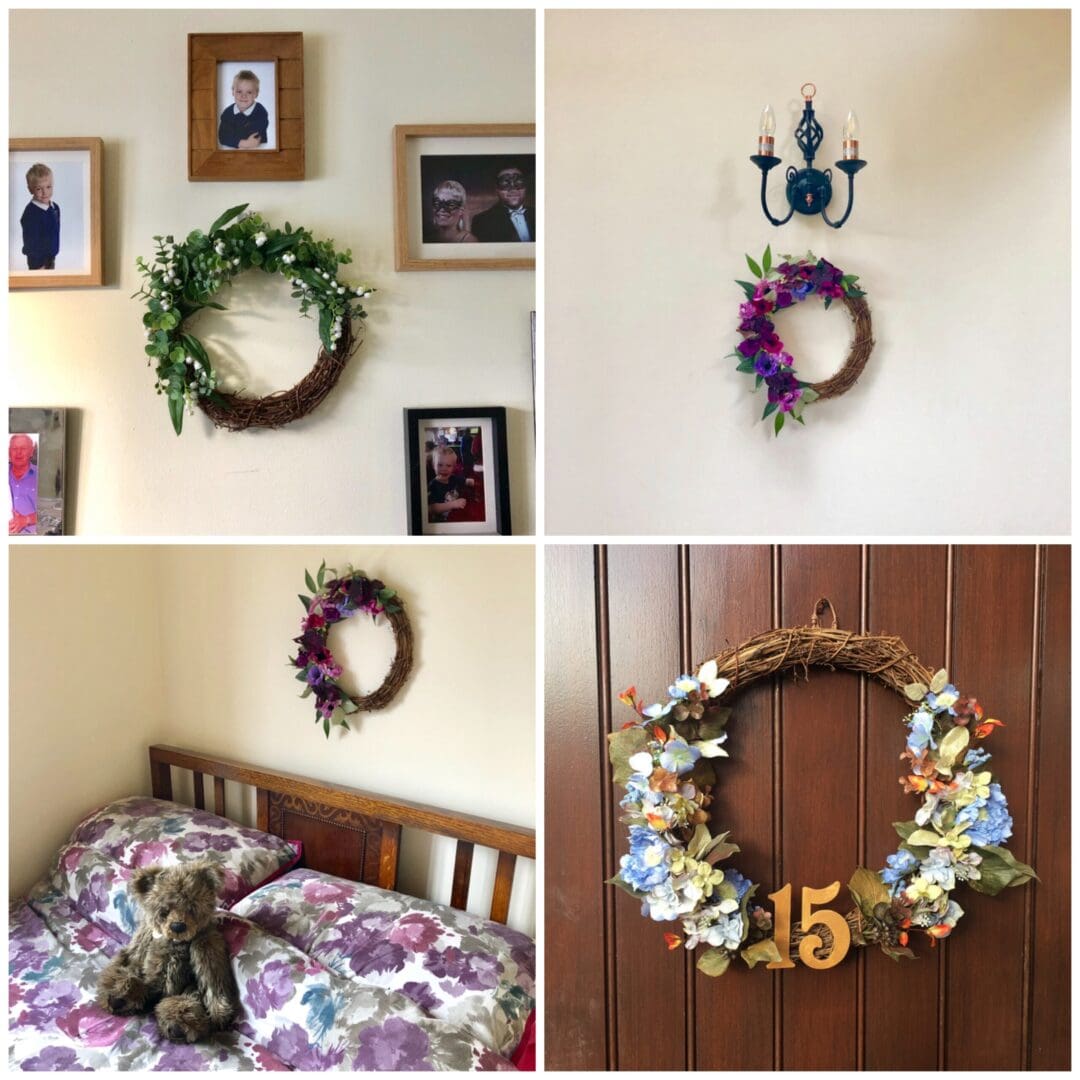
In response to the first comment; I cannot of course guarantee that no one will think your wreath would look better on their door, but I can say that in my nearly 4 years of wreath making I’ve never once heard of one being pinched! Basically, please don’t let this put you off owning one, but if it is a concern there are ways to hang your wreath that will make it more difficult to remove from the outside. Of course if you’re still concerned you can hang one inside instead, there’s no rule that says they have to be on a front door, you can hang them on a wall or interior door instead, or even have one personalised with your house number or name! 


The following methods are all easy to use; the products I mention are all readily available from various shops and online, but feel free to ask me if you have any questions or would like suggestions as to where you can buy them. Whilst nothing is guaranteed, I have noted the methods I believe to be less secure as ‘not pinch proof.’

The over door wreath hanger.

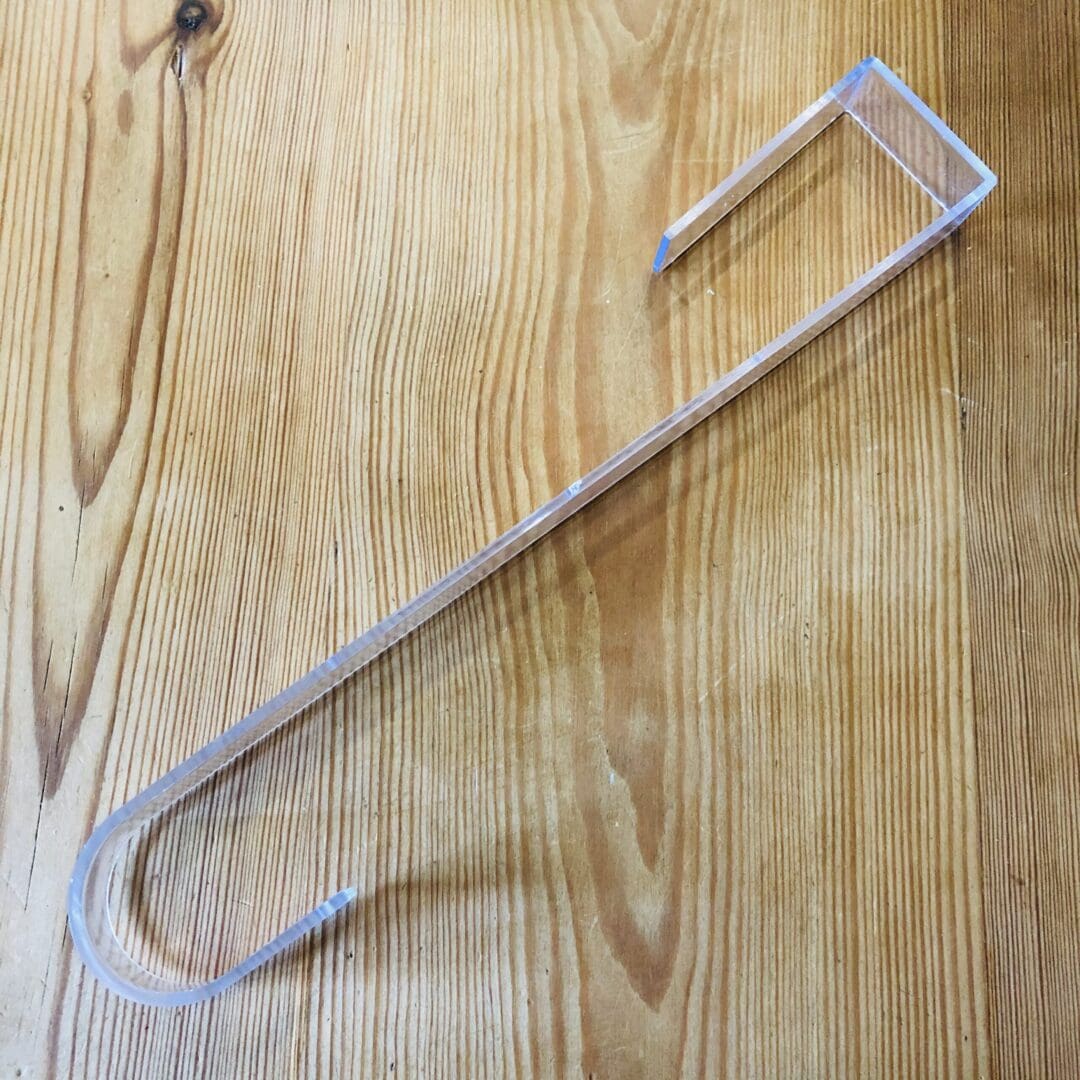
This is a common way to hang a Christmas wreath, and probably the easiest and quickest method for all door types. The hanger itself is usually plastic or metal, it comes with a curved end and a square end.

The square end sits snugly over the top of your door with the curved end hanging at the front. You simply pop your wreath onto the curved end and voila! You’re done!

The main advantages of this method are:

They’re easy to come by


They’re fairly cheap

They come in a variety of styles and colours, I prefer the clear ones, but you can get fancy looking ones if you prefer!

And the disadvantages:


Not pinch proof.                                                                                                                                                                                                                                                   

You can see them; some people might find them unsightly but that is a personal preference.


If you have a particularly thick door it might not sit properly causing the door not to close or the hanger to bend, resulting in it sticking out at the front.

An over door wreath hanger

The ribbon method.
This method involves using a ribbon or piece of string. You will need to measure the distance from your door handle, up and over your door down to where you want your wreath to sit, making sure you have enough excess to attach the wreath and tie a bow if required.

You simply tie the ribbon around your wreath, or through the hanging loop on the back if it has one, and create a bow if required. Take the other end of your ribbon over the top of your door and tie it to the door handle on the inside. Make sure to tie it tightly so it doesnt fall off every time you open the door! 

Advantages:

Its difficult to pinch unless you come prepared with a pair of scissors!                                                                                                                                                           

If you use a ribbon it can be changed to match seasons, or just when you feel like it! If you’re good at bow making it can add an extra dimension to your wreath.                                                                                                                                                                                                                                                                                

If you have a glass or plastic door that you can’t hammer a hook or nail into this is a good alternative.

Disadvantages:

It can be a bit of a nuisance; having a ribbon attached to the back of your door can look ‘messy’                                                                                                                 

It doesn’t stay in place very easily. Wind will blow it around, and potentially opening and closing the door will cause movement, and wear and tear of the ribbon over prolonged periods of time.                                                                                                                                                                                                                       

If you have a glass door the ribbon will be visible from outside.    

        I’ve used string in my example, but ribbon would look much prettier!                                                                                            
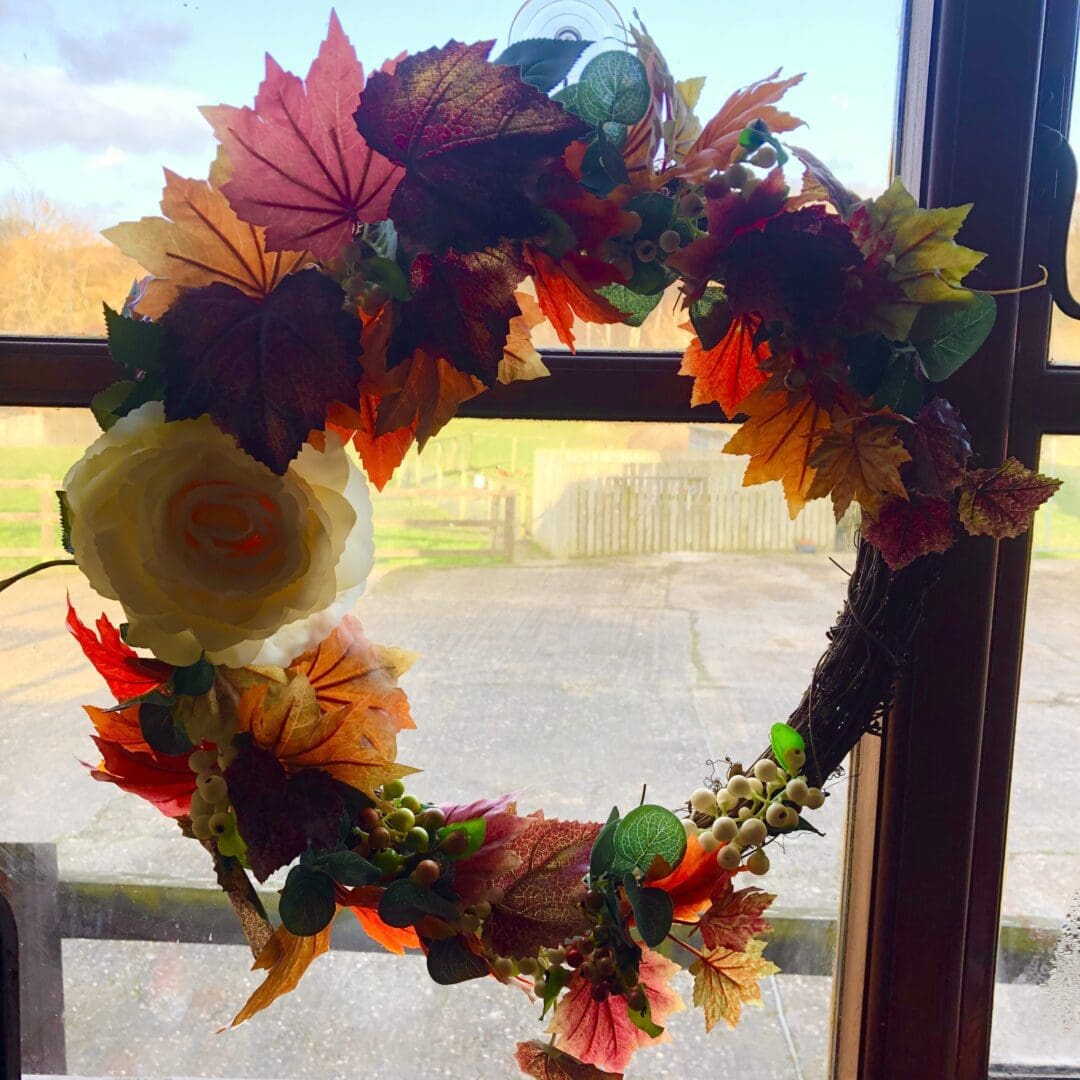
Suction cups

There are many varieties of suction cup on the market these days; some of which are designed specifically for attaching wreaths! These can be cheaply and easily obtained on the internet, or sometimes at garden centres. Do go for a nice big one if you can; they are not permanent fixtures and can of course fall off, so you want one that is designed for the purpose. 

Advantages:

If you only want to hang a wreath for a short period of time, eg at a wedding venue, or a Halloween party etc, suction cups are a great option. They are easily removed and don’t leave permanent marks.                                                                                                                                                                                                              

If you want to hang a wreath on a window they are perfect! 

Disadvantages:

Not pinch proof.                                                                                                                                                                                                                                                        

They are easy to remove, and can fall off at any given time, particularly on windy days.

Command strips

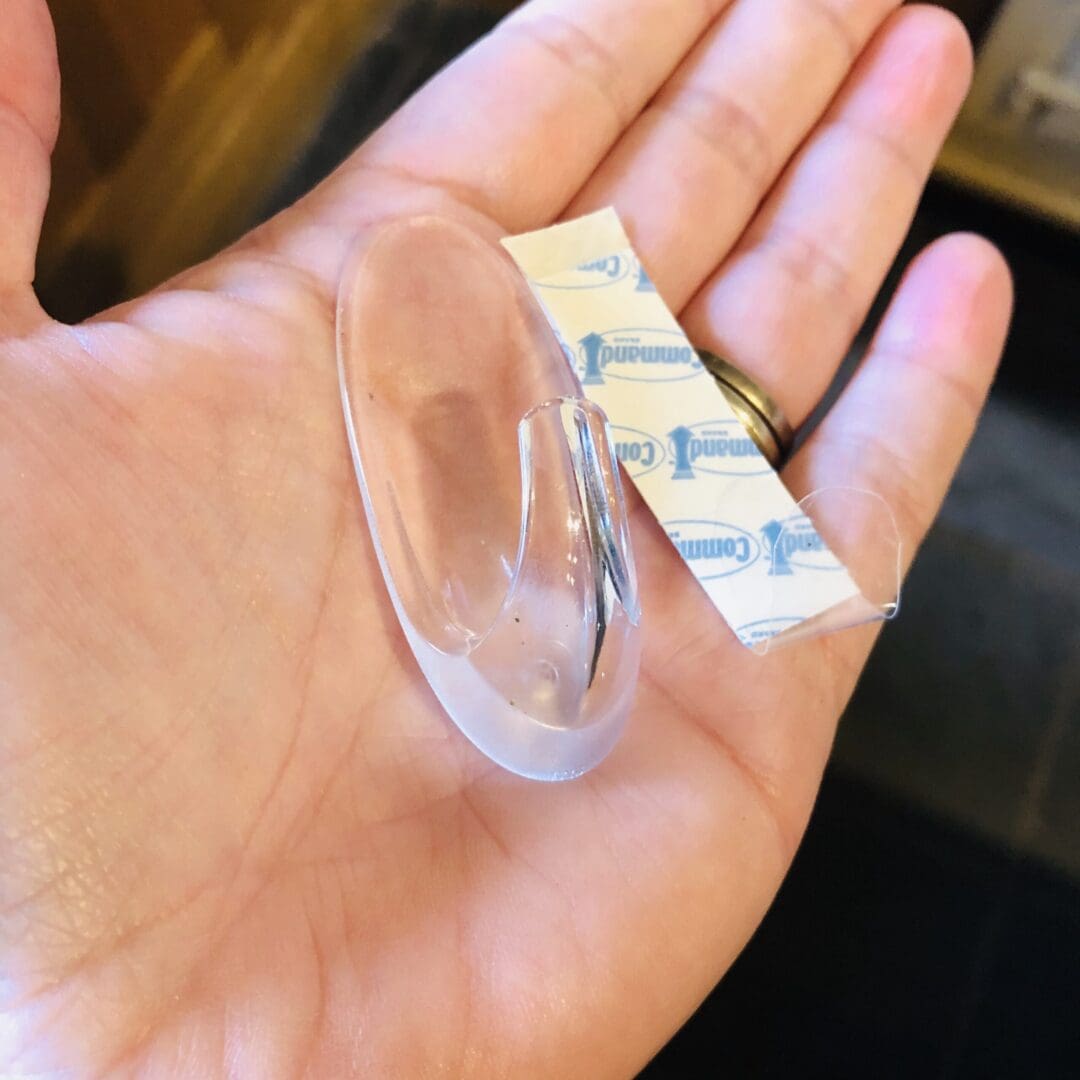
Command strips are excellent for hanging wreaths (among other things!) on walls in bedrooms, internal doors and anywhere you don’t want to leave a mark. They come in two parts; the hook and a sticky strip that attaches to most surfaces. They also come in a variety of sizes and strengths. When you want to remove them you just pull the little tab and the whole thing comes off leaving no marks. (I’m not affiliated with Command Strips or their brand, this is all based on my personal use of them) 

Advantages: 

They leave no marks, making them perfect for people who rent their homes and can’t use permanent fixtures.                                                                               

They come in a huge range of sizes and styles, different ones can carry different weights.

Disadvantages:

They aren’t as cheap as some other methods, but they do come in multipacks.                                                                                                                                                 

Once removed the sticky part cannot be reused.                                                                                                                                                                                                       

They aren’t recommended for use on glass.

The two parts of a command strip

The obvious method-a nail or hook.

If like me you have a solid wooden door that you don’t mind banging a picture hook or nail into, this is the obvious long-term choice. 

Advantages:

Totally sturdy- its not likely to fall out if you’ve hammered it in well.                                                                                                                                                                  

There’s no visible hanging method. All of my wreaths have a hanging loop so you won’t see anything sticking out of the top. 

Disadvantages:

For wooden doors only. Of course if you rent or have a very expensive door this may not be an acceptable method to use.                                                                  

Not pinch proof, anyone can lift the wreath off.    

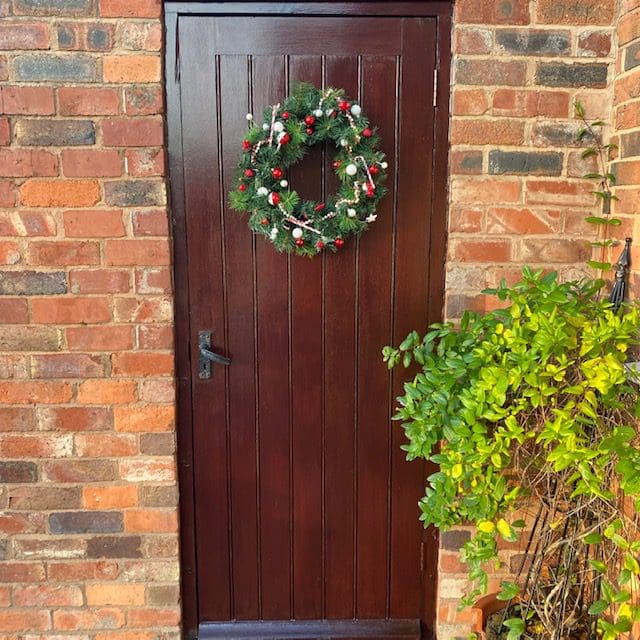
Red-and-white-christmas-wreath                                                                                                                                                                                                                          

The door knocker method.

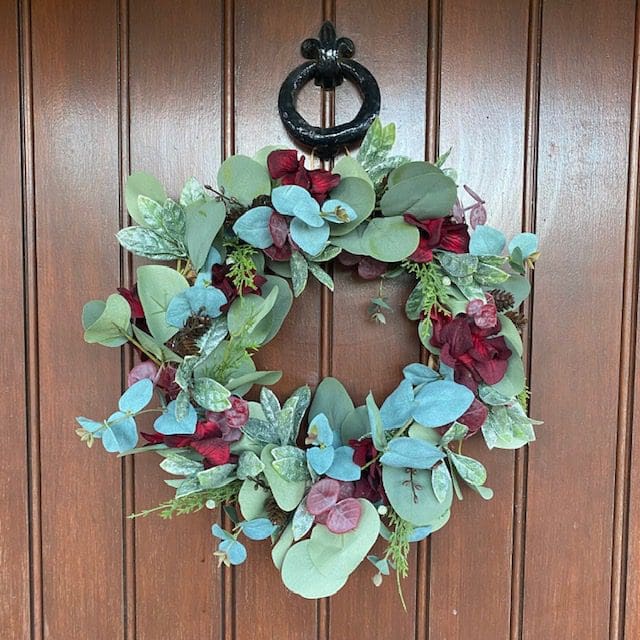
If you have a door knocker you can simply hook your wreath over it. The ‘knocker’ part will hold it in place and stop the wind from blowing it off, and it requires no effort whatsoever. This will only work if you have a hanging loop on your wreath, as all of my designs do.

Advantages:

As above, no particular effort is required!                                                                                                                                                                                                                  

The heavy moveable part of the knocker will hold your wreath in place and stop the wind froom blowing it away.                                                                                 

It’s not permanent and will not damage your door or leave marks.

Disadvantages:

Not pinch proof.                                                                                                                                                                                                                                                                

If using the knocker your wreath could potentially be knocked off.

Eucalyptus-and-hydrangea-christmas-wreath

You can purchase this wreath here: https://staging.thebritishcrafthouse.co.uk/product/eucalyptus-christmas-wreath/

None of these methods are entirely perfect; but hopefully one of them will be right for you! I hope you’ve enjoyed reading my guide to hanging your wreath!

 Hayley, owner of Silver Halos

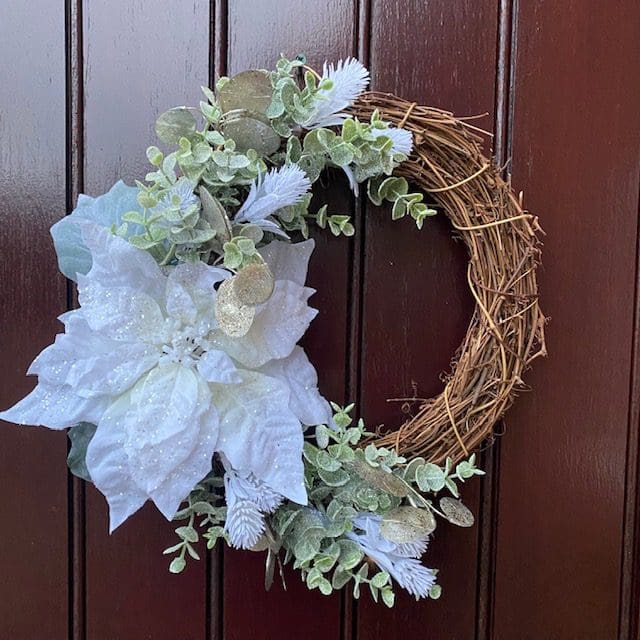
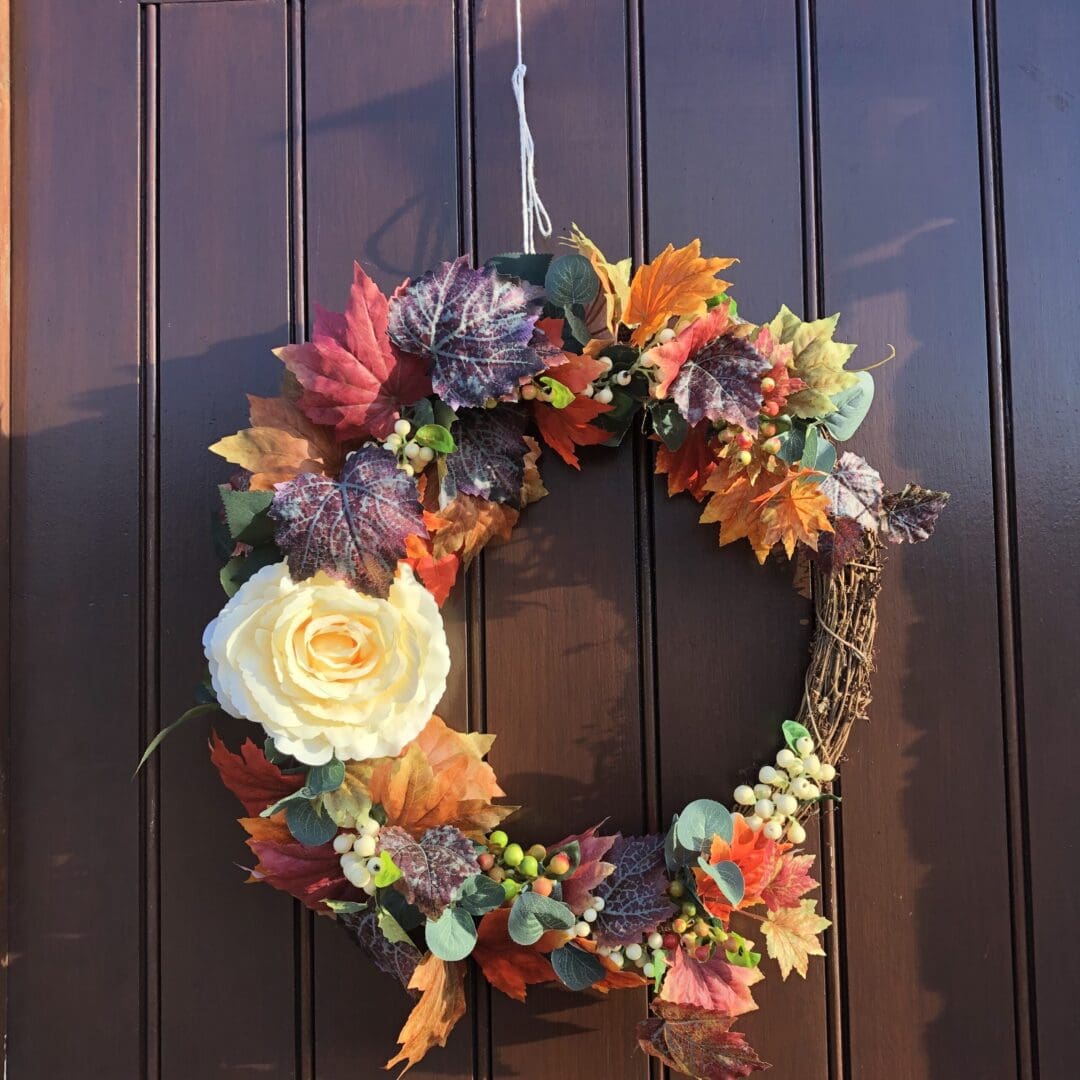
Main image wreath can be purchased here: https://staging.thebritishcrafthouse.co.uk/product/white-christmas-wreath/

Posted on — Leave a comment

Happy New 2020

Firstly, can I take the opportunity to wish you a Happy New Year.

While we were all enjoying probably too much food and maybe a few too many drinks ? I have been continuing my learning curve and I have also been making lots of notes for new products that I want to bring into my shop.

LouLou & Reg was always about bringing products to the market that I couldn’t find elsewhere but it has now lead me to a place where I love having a blank piece of wood in front of me and seeing what I can make from it.

Whilst we have been ‘relaxing’ my extremely supportive and very capable husband has been teaching me how to use lots of power tools and whilst they are a little scary, I find it so exciting! If I want to produce lots of lovely items, I need to be able to produce them quickly so I can now use a pillar drill and a chop saw but must remember to keep my thumb tucked in when using the chop saw!!!!!!

I am so excited to see where I can take LouLou & Reg in 2020 as my items will be changing slightly to include more quirky home accessories as well as my sentimental signs and photo holders.

I hope you will continue to come on this journey with me as I would love to have you along for the ride.

Posted on — Leave a comment

My first blog!

Thought I’d tell you a little about myself and then later, in a new blog, take you through my process of making a bridal hair comb.
     
Always interested in detail, innovation and processes I studied Aeronautical Engineering at what was then Hatfield Polytechnic and now University of Hertfordshire, obtaining a BEng degree in 1990. Oh, that seems so long ago now!
     
I then moved to Suffolk and worked in Cambridge as an Aircraft Stress Engineer. Simply put, I was a mathematician who worked out whether any repairs or modifications would be strong enough for safe flight. It involved sorting through paper engineering drawings to find all the relevant details and using hand calculations with complex equations for various scenarios. No computers then and no fancy computer generated models to do all the work, they were just starting to come on the scene when I left work to raise our family.
     
Always handy and craft orientated I found projects large and small to fit around family life but, gravitated towards jewellery making. After having a pair of amber set gold earrings repaired, which then needed repairing again a year later (gold is in fact a soft metal and wears quite easily. A small gold nugget can be hammered into an incredibly thin sheet and used for gilding) I thought I’d source the parts I needed myself. I ordered a catalogue and become inspired by all the wonderful shapes and colours. That enthusiasm and simple pleasure of creating something so complex out of a few individual tiny beads still drives me.
    
Inspiration from the colours and shapes of the materials has gained additional input over the years from a love of trail running with my dogs, which I found a love of when the last of our three children had reached school age and I had a little time for myself. As the seasons change and indeed as the days change there is always something new to catch my eye; nature is such a giver.
Posted on — Leave a comment

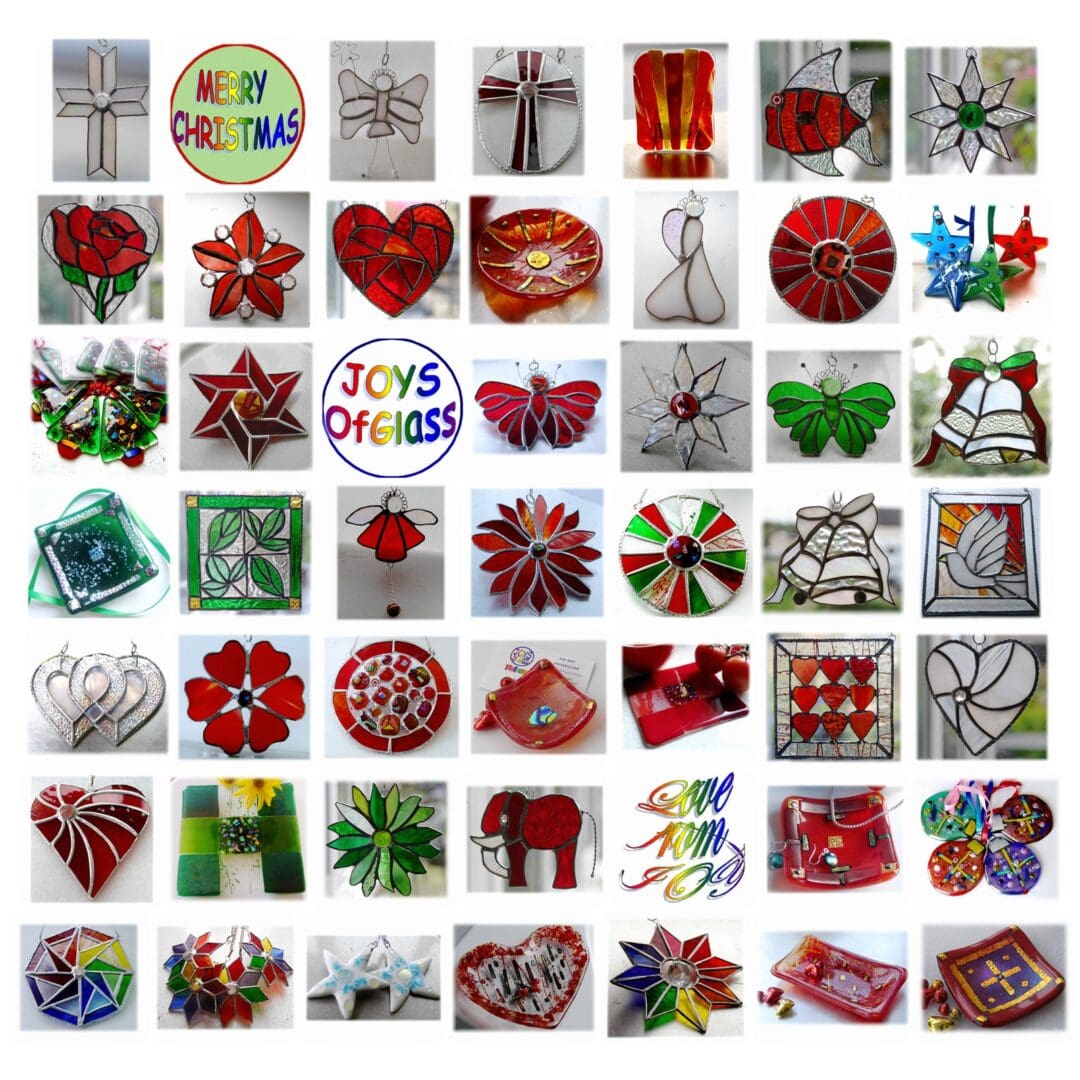
MERRY CHRISTMAS with love from JOYsofGLASS XX

An Enormous Thank you to Dottie for setting up this wonderful Handmade British site for artisans and artists and craftsmen (should that be craftspeople ?  ?). 

Thank you also to all those who have visited my Joysofglass shop and stopped to browse and even to buy.  I do hope you have enjoyed what you have seen and look forward to seeing you again soon. 

The British Craft House has not been here long, less than 2 momths, but it’s been blooming fantastic so far.
Onwards and Upwards for 2020.